Ethiopian Tea Spice Mix

Ethiopian Tea Spice Mix

A few years ago, my Ethiopian friend S showed me how to make a remarkable spice mix. It’s so simple, and also so versatile. Although its main purpose is as a tea mix, (similar to Bengal spice, except for the ginger), it can also be used to flavor coffee. Lately I’ve used it successfully to make a spiced coffee cake and as a steak rub.

The recipe itself is super simple. To make 1 spice jar (about 100ml) here’s what you do:

Ingredients:

cinamon 7g

whole cardamom 10g

cloves 10g

Method

I use a dedicated coffee grinder for grinding spices, so just throw these 3 ingredients in, grind them up and voila!

What can you do with it?

  • Make a tea: approximately 1 tsp per mug. Top up with boiling water and enjoy. If you want to replicate Bengal Spice add ½ tsp of dried ginger.
  • Flavor your coffee: If using a crema, bodum or espresso, add ½ tsp to the single serve coffee you are making.
  • Meat rub: add salt (weigh the meat and divide by 60 to determine how much salt to use), pepper and the spice mix so it is lightly covering the meat.
  • Spice cake: I have not worked out the precise measurements. Depending on your cake, add approximately 1/2 tsp per egg used in the recipe to the dry ingredients. Try a small cake first and adjust your spice mix to your taste.
  • Cookies: I haven’t tried these yet, but a similar amount would apply.
  • Vegetable Casserole: One of the issues some have with Ethiopian cuisine is its dependency on Berbere and Nitr Qibe – the spiced butter. Using this mix as the key flavoring in a vegetable dish provides a wonderful compliment to your other Ethiopian dishes. It would likewise compliment any of the tropical world cuisines that rely on strong spicing.

Wild onions part 3: Braised nettles

This is a continuation of the last blog where I’m still experimenting with wild onions. 2 weeks in and the wild onions are at their height. A few days ago, the forest was a carpet of trout lillies, and today it is a wash of green and white trilliums. In the past 2 days, all the leaves have suddenly come out on the trees. Such a magical time of year.

This recipe features nettles – another of the first springtime crops to come up here in Ontario. I buy them in a bag of maybe 50-60g from the market. ( I don’t have a personal spot in the woods yet). When I buy them in the bag I don’t touch them until they are cooked.

I’ve covered the cooking of nettles and other wild greens a couple of years ago, and this recipe follows that basic braising technique.

Ingredients

2 tbs coconut oil

1 bag (about 60g/2oz fresh nettle leaves

1 medium onion

2-3 garlic cloves

15 or so fresh wild onion leaves

3 tbs chevre

salt to taste

pepper to taste

1/4 tsp nutmeg

Instructions

  1. Dice onions and garlic and sautee in coconut oil with a 1/2 tsp salt until nicely caramelized.
  2. Once they are well caramelized, throw on the bag of nettles, cook on a bare simmer, lid on, for maybe about half an hour. Add water if needed.
  3. Meanwhile, toast the sunflower seeds in a dry frying pan until they’re a little toasty.
  4. Cut the chevre into a few small pieces.
  5. Chop the wild onion leaves so they are like a garnish & set aside.
  6. Mix in the chevre. It will act as a sauce. Mix in the cranberries, sunflower seeds, nutmeg.
  7. Taste for salt and pepper and transfer to a serving dish.
  8. Spread the wild onion on top.
  9. Serve immediately. Its probably best served warm.

Wild onions part 2

It’s been a long time since I’ve blogged here. February 2021 was my last. It’s been an exceptionally busy time boiling down our lives from a house in the city and another place in the country to just one place in the country. It’s meant packing, selling, donating and tossing. This work still continues. It’s time to get back into blogs, though. I miss doing this a lot. They are my vehicle to learn about food and cooking.

Much has changed in how I approach cooking. There’s much more of a focus on simplicity. A focus on one or two ingredients in a dish to showcase those specific flavours. I’m cooking in smaller quantities, and preparing fewer dishes. Somehow I seem to be getting a lot more efficient as well.

The place we are currently living is Grey County, Ontario on the Niagara Escarpment. We’re in an area full of wonderful deciduous forests. At this time of year there’s a succession of new growth as the first gentle green of the year comes in. Just in in this past week the trout lilies are in full bloom turning the forest floor into a carpet of green speckled with little yellow flecks of the emerging flowers. These will be followed by carpets of trillium, with ferns coming in short order while the trees bust out their annual leaves.

In terms of cuisine it’s significant because it’s the rare two to three-week period in the year where wild onions are available. It means I have the wonderful luxury of heading out my door into the woods and foraging for just enough wild onions for the meal at hand. This blog documents my recent exploration using wild onions in a variety of ways. I’ve written about wild onions before and my work in developing a hot Wild Onion jelly condiment. I still have a few of those and they are quite unique, different and also delicious. The fact that two years on I still have them also speaks to the uniqueness of the taste. This year my focus is on using the leaves fresh and examining different treatments and uses of them. With wild onions, you do need to keep tasting to get the right balance between them not showing up at all and being too overbearing with their unique musky forest taste.

I developed 4 recipes using the leaves, and this blog describes them. In the first case I wanted to make a potato salad. Potato salads typically involve potatoes, some kind of a mayonnaise type dressing and sprinkles of parsley or chives to give a little kick in flavour. Here I am using the wild onions for that garlic/onion function. I also decided to use a couple of boiled eggs in the mix. I felt that would be a nice taste and textural complement to the potatoes. There aren’t specific quantities here. I used 4 potatoes, 2 eggs, and a couple of tablespoons of mayo. I also have some chives growing and I used those as well. Pretty simple: combine the ingredients, tasting as you go. Obviously there’s some salt and pepper to taste.

The second recipe I worked on was a spinach salad. The same principles apply: wild onions substitute for regular onions and garlic, taste as you go for the right amount and balance. Spinach is the fairly neutral base of the dish, with the other ingredients adding the pop and excitement. In this case its the wild onions, chives and sorel.

My third application was a beet salad salad. Beets already have a pretty strong individual taste, so they can take a lot more wild onions to balance the flavors. I like some heat in my beet recipes so a little bit of Scorpion sauce went in too. Olive oil and apple cider vinegar as the dressing were the dressing base. A final addition was pomegranate seeds. These are always great to provide that bright, fresh slightly tangy pop in any dish they appear.

My final effort which worked out really well was a barley salad. Again the wild onion leaves form the base of the flavoring. to taste, a dressing of olive oil and apple cider vinegar, The wild onion is finely chopped wild onion, with salt and pepper to taste. Since I already had that pomegranate out, it seemed like a natural addition. For the cup or so of cooked barley grain I used about a third of the seeds of a pomegranate. Other possibilities that would have a achieved a similar result could have been dried cranberries or Granny Smith apples. I wouldn’t want more than that otherwise the dish would be too busy and the wild onions would recede to the background.

I should make a note about cooking whole grain barley used here. Start in the morning. 1 part barley to 3 parts water. A little salt. Simmer for 30 minutes, lid on. Take off the heat, keep the lid on, and leave it for the rest of the day. It can be used in multiple ways: in soup, salads, as a breakfast grain, a substitute for rice or other grains….

I hope where you are that you can get into some local woods and suss out some wild onions. These are but a few possibilities – there are many more!

Nit’ir Qibe

Nit’ir Qibe

Nit’ir qibe is a spiced butter that is as key to Ethiopian cuisine as berbere and injera are. Its the secret sauce that makes all of the recipes in my Breakfast Blog work.

I remember when we made our Ethiopian breakfast, all the ingredients were from scratch and I could easily weigh them and record them. There was one – a tub of yellowish buttery looking fat that I was told there were “special ingredients that were exceedingly difficult to find – and don’t ask me what they are right now. You will eventually find out.” The finding out took a couple of months, but I finally did learn how to make it, and I now have this wonderful multi purpose flavoring oil at hand.

Although nit’ir qibe recipes are to be found online, what is presented here is S’s special and personal version. Although similar to ghee, there’s something of a different focus. To begin with, the spices are toasted, then ground. Although the butter is heated (separating the butterfat from the milk solids and water), the main purpose is to slowly infuse the taste of the spices into the butter. The challenge is finding the ingredients as there are four unique ingredients only, and even rarely available in a groceries catering to the Ethiopean community: Kosseret (from the Verbena family – but its not verbena either) and Korarima (or Ethiopian cardamom that tastes very different than our common green cardamom.) Ajowan tikur asmud, and finally, ground fenugreek .

In this blog I will be presenting S’s original personal and special recipe, followed by a reasonable alternative that can be made from more common ingredients.

My rant on spices and misappropriation.

When I began this project, one of the first challenges was to get clear about my nomenclature. What was I going to call the dishes, and the ingredients in them? This was particularly true of the nit’ir qibe. Indeed I began by calling this ‘spiced butter’ which is true enough in English. But really, since this particular condiment exists only within Ethiopian cuisine, it became quickly clear that it has a name: nit’ir qibe. That is then how it should be called by everyone.

Similarly the spices have their unique names. This is where we ran into some problems of identification. Some of the herbs and spices in nit’ir qibe uniquely come from Ethiopia. Some are only be found in that part of the world. Others are more common in Arabic and Indian cuisine as well. Some of these herbs have somehow acquired along the way, quite misleading English common names, even though they are unrelated. I’ll describe each in turn:

Here are the Ethiopian/anglicized/latin name & link/ as well as possible substitutes

Tikur asmud – Nigella Sativa ‘black cumin’. Possible substitute: onion/black pepper/oregano

Nigella Sativa has been used for centuries throughout the Mideast as both a spice and a medicinal covering numerous ailments. What it is definitely not is a variety of cumin. Clearly someone felt it looked a little like cumin (really??) and so for Anglophones, the name stuck. Some other names include nigella, kalojeera, kalonji or kalanji. Its probable that it can be purchased in grocery stores catering to middle east and Indian cuisines. Possible substitute: onion/black pepper/oregano

Korarima – Aframomum corrorima – ‘Ethiopian cardamon’ is of the ginger family, though it tastes nothing like either one. Possible substitute: nutmeg/cardamom

Ajwain Trachyspermum ammi– Bishop’s weed – Possible substitute: thyme

Ajwain is used widely in Indian cuisine as well, associated with ghee. Its also used in Ayurveda herbal medicine

Kosoret Lippia abyssinica – – Verbena -Possible substitute: oregano, mint leaves. Its used in herbal medicines and shows some antibacterial properties.

Fenugreek Trigonella foenum-graecum the final item is to be already ground. Of them all this should be reasonably available. Don’t roast the whole fenugreek, then grind it. The taste is not the same.

S’s original recipe

Ingredients

  • 3lb unsalted butter
  • 1 tbs ground funugreek
  • 6 tbs Koseret
  • 1 tbs Ajowan
  • 1 tbs tikur asmud
  • 3 tbs koramima

Instructions

  1. Melt butter in fairly large pot on a low to medium heat. you want it to melt but not boil.
  2. Heat a cast iron pan on high for a couple of minutes, add the ajowan, koiramama and tikur asmud, turn down the heat and stir. When it begins to smell good, then take off heatnitir-qibe20201013_121540-19
  3. Grind the roasted spices to a medium/fine consistencynitir-qibe20201013_121540-15
  4. crumble the koseret in your hands
  5. Add all ingredients to the now melted butter, put a lid on it and leave it on low for between 1-4 hours.nitir-qibe20201013_121540-13
  6. Using a very fine cheesecloth over a jar (make a cup in the neck of the jar and put an elastic band around it) and carefully pour in the butter. Near the end. heat up the butter to make it less viscous and squeeze all you can through the cheesecloth.nitir-qibe20201013_121540-5
  7. Leave it at room temperature overnight then store in the fridge.nitir-qibe20201013_121540-2

An alternative version with more common spices

Its pretty clear that if everything in this and the Breakfast blog which follows hinged on the 5 ingredients most people (including Ethiopians) can’t get their hands on, there would be little interest in trying out these dishes. That would be terrible! Although the nit’ir qibe will not be quite the same, you can still make a tasty version with more commonly available herbs and spices. The ingredient that really carries the day is the fenugreek.

Here are 3 alternatives:

Common ingredient alternative 1 (for a 1 lb quantity of unsalted butter)

454g unsalted butter 1 lb

5g ground fenugreek – 1 ¼ tsp

5g diced ginger root 1 ¼ tsp

5 g pressed garlic (small clove)

3g cardamom nibs (the seeds inside the cardamom pod) – ¾ tsp

Common ingredient alternative 2

All of alternative 1 plus 8g thyme (2 tbs) and 8g oregano (2 tbs)

Common ingredient alternative 3

All of alternative 1 plus 19g thyme 4 tbs and no oregano

Instructions for common ingredient alternatives

The basic process is the same as for the original recipe except that I toasted all of the herbs and spices.

  1. Melt butter in fairly large pot on a low to medium heat. You want it to melt but not boil.
  2. Prepare the herb & spice mix
  3. Heat a cast iron pan on high for a couple of minutes, add the herb & spice mix, turn down the heat and stir. When it begins to smell good, then take off heat
  4. Grind the roasted spices to a medium/fine consistency
  5. Add all ingredients to the now melted butter, put a lid on it and leave it on low for between 1-4 hours.
  6. Using a very fine cheesecloth over a jar (make a cup in the neck of the jar and put an elastic band around it) and carefully pour in the butter. Near the end, heat up the butter to make it less viscous and squeeze all you can through the cheesecloth.
  7. Leave it at room temperature overnight then store in the fridge.

What can you do with it?

Lots! Here is a brief list:

  • Flavor a grain: fluffy rice, bulgur, couscous, buckwheat, …. Steam the rice gently, leave the cover on at the end, and add the Qibe at the very end. This would be like the kinche recipe in the breakfast blog.
  • Braised vegetables: begin with sauteing onion in qibe butter – same as what you would use as butter or oil. Once the onions are translucent to caramelized, add sliced root vegetables, gently layered in on top. Add a little stock, or white wine. Cover at a low simmer for 40-60 minutes.
  • Chicken – same process as the braised vegetables except use chicken pieces. Use enough and you have Ethiopian buttered chicken!
  • A meat stew – check the Firfir recipe in the Breakfast Blog and adapt it to another meat
  • Anywhere you would use butter to cook and also want the unique flavor of this fragrant condiment.

What about other spiced butters?

Sure – go wild! You can use any combination of herbs and spices to make your own spiced butters. For a Mediterranean palette, consider garlic and rosemary. For Mexican, garlic, cumin and lime. A couple of words of advice: Don’t use many ingredients – they will cancel each other out. Start with just a little and keep notes. When I was developing the alternatives, I used 100g of butter at a time and a jeweler’s scale to keep things accurate.

Here’s one I made with a Mediterranean feel to it:

  • 1lb butter
  • 8 tbs thyme
  • 4 tbs rosemary
  • 3 cloves fresh garlic

Finally, keep in mind that these are prepared with unsalted butter, so you will inevitably need to add salt to whatever you are cooking, and you may need to add quite a bit too. Salted butter is about 3% salt by weight so if you are experimenting with either salted butter or ading in salt, keep that in mind.

And oils?

Sure! Why not! One of my fav appetizers is duck confit. In it you cure the duck in a salt sugar and herb mix for a number of days, then cook it sous vide at 180F in its own fat. All of the cure for the duck flavors the fat. Once the confit is done, pour the fat into a jar and you have really delicious spiced duck fat.

It is important for the emulsification of the additives that your fat is hard at fridge temperature. This would preclude using cooking oils – although maybe not. I’ve seen many an artisanal ‘Rosemary Olive oil’ or what have you. I have not yet tried coconut oil, but this would be really interesting too, especially combined with spice mixes from countries coconuts naturally grow in.

2 cracker recipes

With sourdough and non sourdough options

These two cracker recipes were both attempts of mine to replicate commercially available products. In both cases I have backwards designed them to attempt to replicate the original. I think I may have improved on them.

In the first case, we got these as a gift, and my wife really liked them. The milk, oats and sugar in combination give it a very pleasing and gentle mouthfeel.

The second cracker comes from a Toronto baker who’s claim to fame is that they use spent beer grains for part of their mix in both breads and crackers. These spent grains are interesting. When one makes beer using whole grains, they are roughly milled and then immersed in a 68C bath for an hour or so. In this way the fermentable sugars are extracted from the grains and eaten by the yeasts to produce alcohol in beer. The grains add fibre to the product, and roughage too, though the starch, sugar and protein has long left them into the tea. (I personally don’t by the nutritional claims made!)

Understanding that not everyone has a sourdough starter in the fridge, each recipe has a sourdough and a non sourdough version. My sourdough starter is 166% hydration – or 60g flour to 100g water.

Effies oatcakes

Sourdough version

Oatcakes

Ingredients

  • 100g 166% starter
  • 70g oats
  • 70g oat flour
  • 20g sugar
  • 100g milk
  • 48g melted unsalted butter
  • 16g salt
  • 8g baking soda
  • 100g flour

Instructions

  1. Mix and knead all items except salt.
  2. Leave at room temp for several hours to get the yeast working, or refrigerate for a day
  3. Add salt and thoroughly knead
  4. Oven to 375 convection. If you do not have a convection option, check them after 15 minutes – some will be cooked while others won’t be. Remove the ones that are and keep the other ones in checking every 5 minutes or so until all are crisp
  5. using a roller and parchment paper, roll out the dough until they are about 1/4″ or 6mm. The final rolling should be done on parchment paper which is transferred to a baking sheet so that the entire baking sheet has a flat sheet of dough.
  6. Using a pizza cutter, cut the crackers into desired shapes
  7. oven for 15 minutes, or until stiff. Let cool then package in airtight containers. They must be completely dry!

non sourdough version

Ingredients

  • 165g flour
  • 70g oats
  • 70g oat flour
  • 20g sugar
  • 140 ml milk
  • 48g melted unsalted butter
  • 16g salt
  • 8g baking soda

Instructions

  1. Mix and knead all items.
  2. Oven to 375 convection. If you do not have a convection option, check them after 15 minutes – some will be cooked while others won’t be. Remove the ones that are and keep the other ones in checking every 5 minutes or so until all are crisp
  3. using a roller and parchment paper, roll out the dough until they are about 1/4″ or 6mm. The final rolls should be done on parchment paper which is transferred to a baking sheet so that the entire baking sheet has a flat sheet of dough.
  4. Using a pizza cutter, cut the crackers into desired shapes
  5. oven for 15 minutes, or until stiff. Let cool then package in airtight containers. They must be completely dry!

Beer Crisps

non sourdough version

http://spentgoods.ca/beer-crisps/

What’s cool is that they actually give their recipe on their website, calculating that few crazies are going to take the trouble to try to make them. My recipes below are not quite the same, and I prefer them.

Ingredients

  • Original has used beer mash about 20% (replace 40g flour with 40g mash)
  • 50g Kamut flour Other flours can be substituted: spelt, chickpea, rice, all purpose….
  • 375g red fife or some whole wheat flour
  • 60g butter melted unsalted
  • 190ml water (or this can be replaced with beer)
  • 7g sugar
  • 14 g salt
  • 70g sesame seed

Instructions

  1. Mix and knead all items.
  2. Oven to 375 convection. If you do not have a convection option, check them after 15 minutes – some will be cooked while others won’t be. Remove the ones that are and keep the other ones in checking every 5 minutes or so until all are crisp
  3. using a roller and parchment paper, roll out the dough until very thin. The final rolls should be done on parchment paper which is transferred to a baking sheet so that the entire baking sheet has a flat sheet of dough.
  4. Using a pizza cutter, cut the crackers into desired shapes
  5. oven for 15 minutes, or until stiff. Let cool then package in airtight containers. They must be completely dry!

sourdough version

Ingredients

  • Original has used beer mash about 20% (replace 40g flour with 40g mash)
  • 250g 166% starter
  • Kamut flour 50g Other flours can be substituted: spelt, chickpea, rice, all purpose….
  • 220g red fife or some whole wheat flour
  • 60g butter melted unsalted
  • 44 g water (or can be replaced with beer)
  • 7g sugar
  • 14 g salt
  • 70g sesame seed

Instructions

  1. Mix and knead all items except salt.
  2. Leave at room temp for several hours, or refrigerate for a day
  3. Add salt and thoroughly knead
  4. Oven to 375 convection. If you do not have a convection option, check them after 15 minutes – some will be cooked while others won’t be. Remove the ones that are and keep the other ones in checking every 5 minutes or so until all are crisp
  5. Using a roller and parchment paper, roll out the dough until very thin. The final rolls should be done on parchment paper which is transferred to a baking sheet so that the entire baking sheet has a flat sheet of dough.
  6. Using a pizza cutter, cut the crackers into desired shapes
  7. Bake in oven for 15 minutes, or until stiff. Let cool then package in airtight containers. They must be completely dry!

Here are some pics and more technique explanations.

The dough will initially be quite stiff and patience is needed. Flour it to prevent sticking. Notice It is being rolled out right on the parchment paper.

Your goal is to make it thin, even and the same shape as your cookie tray.

Folding it over helps get that rectangle.

Once they are even and nice and thin, gently slide the parchment paper onto a cookie tray.

Only cut them with a pizza wheel when they are on parchment paper and in the baking tray. You don’t have to cut all the way – they will break easily when done.

Yes, there will be tasty morsels.

Bon Appetit!

The yeast connection

The Yeast Chronicles (part 1)

Or How to love your trub and find all kinds of uses for it.

A warning: This blog is a tad nerdy. It’s a journal kind of blog chronicling my thoughts and mini experiments regarding bread, beer, and what joins them at the hip, yeast.

This blog entry chronicles my thoughts around yeast and its connections to both beer and bread over the course of a week when I did not have to think about the courses I’ll be teaching shortly.. In it I am trying a variety of experiments that consider the use of the same yeast samples in both baked products and beers.

In this phase of things, I’ve been inspired/influenced by the following bloggers and resources:

Bread Cakes and Ale https://breadcakesandale.wordpress.com/2017/06/18/crumbs-brewing-and-the-bread-beer-relationship/ Lots of great info on the connection and history of beer and bread from a British perspective.

http://brulosophy.com/ this is a blog all about beer experimentation. Great ideas!

Foodbod https://foodbod.wordpress.com/2017/07/26/fruit-yeast-water-bread/ where I was inspired to try the apple fermentation

The Early English Bread Project https://earlybread.wordpress.com/

September 9th

  • Used 200g of trub made from safale 04 yeast. Treated it as ‘starter’ and added 200g water and 120g flour; let ferment for 6 hours at room temperature. This starter is to be called ‘ale starter’
  • Used 200g of this to make a 66% hydration loaf. (dark, malty taste; not bitter)

Sept 12

  • Refreshed the ale starter; let rise 6 hours room temp, made a 1700g bulk rise. The starter still has a malty taste to it though not as dark or strong as its prior version. (note to self: try either using beer to refresh or use beer as your bread liquid. ) Bulk rise left out overnight (@ 8 hours)

Sept 13

  • Baked 900g loaf from the bulk rise (made from ale starter). Both starter and dough have performed very well.Spring is good, crumb is fine. The taste is not as malty as the earlier loaf, but it has a complexity and darkness that is not present in my usual sourdough. I’m wondering if I keep refreshing it as a SD culture if the unique flavour of the yeast will endure. yeastconnection1.jpgyeastconnevtipn2.jpg
  • I refreshed equal amounts of my original starter and my ale starter. The ale starter was considerably more vigorous.
  • Can’t make up my mind on what kind of beer to brew next.
  • Hooked up a light dimmer to an old bathroom fan to develop a stirplate. I just need to figure out how to separate the fan from its metal enclosure and build a box around it.
  • Began apple and pear yeast capture: cut up each placed in 500ml jars with RO water.
  • apple pear ferment day 1.jpg

Sept 14

  • Decided to do a beer experiment with the 2 yeasts:

What I am trying to do here: That safale 04 trub starter appears to be quite strong. What I want to do in this experiment is to compare this reconditioned yeast (now in its 4th refresh) to dry safale 04 on the following parameters:

  • Strength: Does refreshing trub using bread flour contribute to a stronger yeast? Which yeast is most effective to take down a 1.070OG brew? The results will be clear – what is the FG? IN comparing this starter to my sourdough starter, it is more vigorous.
  • Taste: how different is the taste? the yeast is going to be the same. But in refreshing it 3-4 X over a week with bread flour, have LAB’s developed to sour the beer?

Methodology:

  • Make a 2 gallon brew mashed, boiled and hopped together.
  • refresh starter and brew morning prepare 20g ale starter with 200g 1.035 wort; use safale 04 dry for the other batch. Divide equally into 2 gallon jugs.

Malt:

  • 1.83kg Weyerman Pilsner (83.4%)
  • 360g Briess Carapils (16.6%)

Hops: Perle – 12.74 gOG 1.070 (came out at 1.062)

  • IBU: 20.1
  • Colour 8.1 EBC
  • Est ABV: 6.5%

Comparing the 2 starters for bread:

  • Took my 2 yeasts to see the difference in the same loaf of bread: same flour mix, same hydration, done at same time, in same banneton. Bulk rise set up around 1PM; will set up loaves tonight, bake off tomorrow AM.

2yeastsamd their doughs.jpg

Sept 15

  • The bake-off
    • The ale starter rose better – but not a huge difference
    • The crumb was similar – fairly closed. (I had used 50% durum flour)
    • The ale starter still retains a rich malty sense to it.
    • The SD starter has a definite LAB taste profile – more tangy
    • Conclusions:
      • both make excellent bread, both are very different.
      • The ale starter is more vigorous
      • Its always worth setting up an ale starter when one does a brew.
      • I’ll keep my SD starter: its been going for 3 years or more, and is likely changing as its own subspecies
    • Questions:
      • Will different brews yield different flavour profiles in bread? (They should)
      • How will the difference in the starters affect the taste in crackers? (next experiment)
      • Can I even reasonably maintain 2 starters?
      • & what happens when the apple and pear yeast captures are also part of the yeast collection?

Sept 16

It’s brew day.

  • The day started by preparing the reconstituted starter (6AM): 200g of 1.035 wort and 20g of the starter. The idea here is to use the wort to build up and strengthen the yeast. I haven’t yet developed an effective stir plate, so I whisk it often throughout the day. I’m anticipating it will be pitched this afternoon. 20170916makingstarter.jpg
  • I’ve done the mash, boiled the wort and will shortly divide the wort into 2 gallon jugs and pitch the yeasts. I used the same recipe as for my first sd brew except I’m going with Perle hops. It came in at 1.062 – a high enough OG to test how well the 2 yeasts will perform. The one with reconstituted yeast is higher as a result of the pitch being a total of 200g. 20170916ale1.jpg
  • I also made a cracker dough with the ale starter: 250g starter 250g red fife flour, 7g water, 37g oil, 12g salt, 5 g each cumin and fennel. Rolled into a ball, into fridge. Let the yeasts slowly discover their own food source while battling excess salt. I’m curious about the flavours that will come through from this yeast in these crackers.
  • Finally today, I pulled the last piece of dough from the trub dough I set up a few days ago. I added herbs – basil, oregano, thyme, rosemary, garlic, pepper – and also butter. As the picture suggests the dough was rolled out, the ingredients added, and then it was rolled up and kneaded out again into a foccacia shape.20170916beerbread4.jpg

Sept 17

  • Crackers were rolled out and baked. These were used using my bread spreadsheet – a universally editable spreadsheet to be used for any bread formulations. I added fennel and cumin to this. Note the parchment paper. It works well to roll it out on parchment paper as it makes the handling a lot easier, especially as it tends to break apart when it is quite thin. The result: Interesting, though not my best cracker. The beer aspect does indeed come through, and I should have just left it like that. With the cumin and fennel, there’s just too much going on for the pallet. This is a technique that I would not do with fresh trub. The trub for this one had been refreshed 4 times with flour over the week. Using fresh trub, for the 300 or so grams of starter used in the recipe, I would probably do 3 parts water and 1 part trub: 180g water, 60g trub, 146g flour. 20170917trubcrackers2.jpg20170917trubcrackers1.jpg
  • I did one more experiment – its still happening. Yesterday I also bottled a brew – an American pale ale. At the end of the bottling I had a partly filled bottle with a fair amount of trub and beer. Since the trub is a lot of used yeast, I decided to attempt using this bottle as both the yeast and liquid in a bread. Here is how that went down: I poiured the beer into a bowl and weighed it – 300g. Then I divided this by .66 to give me the flour needed to give a 66% hydration loaf: 454g. I then multiplied this by 2% for the appropriate amount of salt (9g). Its (hopefully) rising, though I don’t know how long its all going to take.
  • Meanwhile my apple and pear ferments are bubbling away nicely.

It has been a week now of fun and experimenting. I do appreciate that the only ones left reading are those who might be interested themselves in this amusement of beer, bread and yeast. That is after all one of the prerogatives of the blogger – to be as self indulgent as they want – and I’ve definitely been that.

But wait ….. There’s more! (just kidding) But seriously, after a week of this Its time to wrap and post. I’ll likely continue a second edition next!

So you want to make your own delicious homemade tomato sauce…

Tomato canning season is just around the corner, so I am re-blogging this post to help people plan their tomato project. This year I am going to try using a power drill to turn the press.

Power drill update: It worked sort of. I needed to use a portable drill with two speeds and torque control. The problem is that drills aren’t meant to run slowly under a heavy load for hours at a time. After about 10 minutes I caught the first whiff of it overheating, and so we stopped and went back to the hand crank. That was fine. It was quiet, and somehow more real.

The other change we made was to use two other pots. In addition to the 25L cooking pot, I used a 20L pressure canner to receive the initial sauce while the earlier sauce batch was boiling away. The result was that we were steadily busy the whole time and finished around 3PM.

Another procedural change was to put down a 6″ wide board on the ground as a platform to fill the jars from. Small, but important. Once they were in the water bath I also looked carefully for signs of bubbles as this would mean I would not get a seal. There were a few – and at the end, they all made it through – all 80 jars.

Here’s the link to the other tomato blogs – its definitely not too late to jump into this! https://homecookexplorer.wordpress.com/2015/09/06/so-you-want-to-make-your-own-delicious-homemade-tomato-sauce/

homecookexplorer

This blog post is a supplement to my previous blog documenting my own personal process. The purpose is to help the reader sort out how they can best do canned tomatoes. You may be doing it for the first time, or it could be something you have tried before. This article is intended to help you plan it out.

How much you do depends largely on the equipment you have, what your needs are, and to a lesser extent how much you want to spend.

Here in  Ontario, Canada, you should be able to buy conventional tomatoes for about $20 (cdn) per bushel and about $40 for organic, if you can get them. One bushel yields between 18-22 L, depending on the juciness and how much you have reduced them.  Flats are about  half a bushel, or approximately 10 Litres. Add in the costs of garlic, onions, herbs and spices…

View original post 1,021 more words

Pesto time

It’s Pesto time again! So I thought I should reblog this. 2 years in, I still love this recipe. The only thing I would add to it is the advice to pick your basil late in the afternoon of a really sunny day to maximise all those volatile oils.

homecookexplorer

Its Pesto Time!

As September rolls around with the last hot days of summer, its all about selecting the perfect day to harvest basil before it becomes bitter and the flowering has its day. If you are like me, that can only mean one thing: Pesto.

Pesto – that totally intense and wonderful concoction of basil, parmesan, garlic and pine nuts. So quintissentially Mediterranean. A hot, languid summer day in a jar to guide us through the long dark winter.

I don’t think I have anything new to add to the basic pesto recipe. Mine is long derived from a now old Italian vegetarian cookbook: The Romagnoli’s Italian Vegetarian Cookbook – all ingredients are measured in imperial volume measures (I’m sure at the insistence of the English publisher). But what I do have to offer here is a really useful calculator to sort out  all of the rest of the…

View original post 298 more words

My yeast experiments

April 9

For about a year now I have been trying to brew beer. I’ve been moderately successful, but nowhere near what many homebrewers are.

As always I am playing with my food, wondering ‘what if’. This is one of those process blogs which hopefully will get updated on a daily basis over the course of these experiments.

I am trying to answer the question of how can I best propagate and refresh beer yeast.

I am sure it can be done, after all brewers have been brewing beer for millennia and most of that time they did not even know there was this thing called yeast until Louis Pasteur figured it all out.

Here is the problem with yeast and beer. The yeast consumes the sugars, giving alcohol as a byproduct. The trouble is, alcohol kills yeast. So the yeast in one’s trub is, I understand, pretty degraded. For this reason – I believe – the conventional wisdom among brewers is not to reuse your yeast more than 3 times. But, I’m telling myself, that can’t be quite right, as farmers and brewers brewed for centuries without the luxury of a local brew store and yeast makers like White Labs, Wyeyeast and the like. Now on the other hand their beers could all have been like my last batch which fell from 1.065 and stalled out at 1.030. So maybe bad attenuation was the norm.

What I have read is that to propagate and refresh yeast, you should use a weak wort – about 1.030-1.040. This is 1 part dry malt extract (DME) to 10 parts water by weight. I also understand that the optimal amount of yeast slurry is likewise about 1 part slurry to 10 parts wort.

On the bread side of things – we know that bakers and brewers have co-existed and worked with each other for millennia. That is pretty obvious. They both are in the business of propagating yeast and making things from it. In one case, the yeast is nourished by the grain, the other it is nourished by the byproduct of the grain – the barley malt.

So this has led me to trying out a couple of experiments.

Experiment 1: yeast starter from Trub

April 7-8th

In this case I want to find the optimal time and conditions for propagating beer yeast using old trub that has been refrigerated since bottling a few days earlier. My cylinder holds 180ml of liquid and the hydrometer. I’ve combined 17g slurry, 17g DME, and 170g reverse osmosis water, thoroughly mixed and poured into a graduated cylinder with my hydrometer in it at 6AM – 21C. It registered 1.032. During the day there was clear fermentation, but I could not call it vigorous. It probably reached its peak by late evening (15 hours) and by the next morning (6AM) it was down to 1.010. So it would appear that between 15-18 hours is an optimal time – but I need to try it a couple of other times.

The next morning I took 17g of this slurry, 17g of DME 170g of H2O stirred, and repeated. That one is still ongoing. 12 hours on it has slowed up.

Experiment 2: bread starter

April 8

The extra slurry got me thinking about bread starter. What if I used that slurry to propagate a bread starter the same way I would my usual starter. The difference would be that it would not have the time to begin developing lactic acid bacteria. But might it be more effective at restoring yeast strength than my wort?? So: 100g of that 1st night slurry and 60g whole wheat flour. It really took off and was bubbling away within an hour. (Lag time? What’s that? ) I decided to let it go for a couple of hours. Then my next step: to use this as a slurry instead of the trub from the beer. This was set up at noon, its now 5PM and it appears to be going strong, though the hydrometer is still reading 1.030. I’ll monitor it through the evening. This setup had 17g of the 166% starter, 17g DME, 170g H20

Experiment 3

Onto the bread: (April 8)

I still had about 50g of the first nights slurry left over after experiment 2. . What to do with it? What about bread? So: I mixed up a white baguette dough – 80% hydration, (300g AP flour, 50g slurry and 190g water, 6 g salt. It too has been fermenting nicely. After 6 hours I poured it (well – it was the best it would handle!) in a baguette liner and stuck it in the fridge. I can tell it’s going to be quite chewy. (PS: It was indeed chewy. It had a fairly tight crumb, and was not quite as flavorful as sourdough. )

This experiment goes to show that with a little yeast of any kind you can do things with. You just need to make sure your flour is weighed, the salt comes in at 2% and you are specific in your hydration. I tend to go with multiples of 100g as this becomes easy to sort out the salt and liquid. A 300g flour at 70% hydration therefore needs 6g of salt and 210ml (g) of water. Using a slurry like this means that it needs to be calculated as part of the water.

Experiment 4: Yeast starter from the bread starter

April 8

Since the bread starter (experiment 2) was so resoundingly fast acting, I wondered about turning it back and using it to propogate a beer starter.

April 8, noon

So following my now usual ratios, I took 17g of this very active starter, mixed it with 17g DME and 170g H2O. I used my hydrometer cylinder and hydrometer to check on its progress. It started at 1.030.

April 8: 8PM

WTF!!! The hydrometer reading is at 1.040. What happened?

April 9 9:00AM

Its still active, reading at 1.020. I’ve also refreshed my sourdough starter, and thinking of using some of this starter to do sourbeer as it will have the lactic acid bacteria going strong. I’m thinking of doing a second gallon of beer using the flour starter from Experiment 4.

Time to make some beer….

2 PM April 9

I refreshed my 2 little experiments – the one using only the trub, and the one that had had the flour as food as well. In both these cases, I used 200g H2O, 20g starter and 20g DME. Both have started at 1.030. My plan is to brew 2 gallons, but pitch one gallon with one yeast and 1 gallon with the other.

April 10th

Brew day! Somehow I messed things up but it should turn out ok in the end. I added too much water. I needed to add a bunch of malt extract to bring things to an acceptable og (1.062 when all is said and done). But it worked out as I have enough wort for 3 x 3 litre jugs. The third will be pitched with safale 04 as a kind of control sample.  I pitched all 200g of the refreshed starter from the 2 experiments, and 20% of the Safale04 yeast which is normally intended for a 5 gallon brew (yes I hydrated it for about 30 minutes in 50ml of RO water). I also added 4g of yeast nutrient to each batch. All is good.

April 11

20 hours after pitching, all 3 jugs are actively fermenting. The two which used the old trub refreshed a couple of times are significantly more active than the Safale04 control sample. This is very hopeful because I would dearly love to be able to keep developing my own yeast for beer in the way I do for bread.

April 23 Fermentation is done!

My experiment 2 jug comes in at 1.012 YAAAY!  (6.65%)

This is the one where I added flour to the starter and let that develop

My experiment 1 jug came in at 1.018. Respectable. Better than stalling out in the mid 20’s. (5.85%)

My ‘control’ jug with safale04 yeast comes in at 1.020. (5.58%)

I have not yet bottled them  – that will come likely tomorrow.

Generally they all taste the same – a decent ale – nothing to be ashamed about.

Some tentative conclusions:

It would appear that the addition of flour to the trub and allowing it to ferment in the same way one would do with sourdough has strengthened the yeast. It is worth pursuing this more.

It would also seem that refreshing the yeast with successive fresh wort, leaving it a day between each one also makes for a stronger yeast than the basic dry yeast.

Further explorations and questions:

  1. I need to explore 2 ways of working with the flour: The variable is the point at which the flour is introduced.
    • refresh trub with wort once, refresh that with flour, refresh a third time with wort
    • begin the trub refresh with flour and then a second and third time with wort.
  2. I still want to work more with refreshing the trub with wort. I have 2 main questions here:
    • What is the optimum number of times to refresh before I hit the law of diminishing returns?
    • How much should I pitch? Which gets at one of the biggest questions: What’s really my cell count?


Backwoods sourdough

Sept 10

This blog is going to be a process blog where I don’t know quite where it will end up.  I’m also going to try to do this entirely on my phone.

Here’s the story. On the last weekend in September,  I will be going on a backwoods canoe trip facilitated by my very experienced son. It’s the first time for me and likely the last as my various commitments sadly tie me down.  Needless to say I’m really looking forward to it.

Yesterday at breakfast I had run out of bread and had only a sourdough bulk rise ready to be made into a loaf.  About 4 hours away. (Proofing baking& cooling). I tore a couple of small chunks from the bulk rise, flattened them out, put a little oil in a frying pan and a couple of minutes later, fresh delicious sourdough hotcake.  My son had one too and wondered about the potential for doing this for our trip. I said ‘sure, easy’ and showed him my lump of dough. He said “Too heavy like this. Can you do it so we only bring the flour? ” I said I would work on it.

I posed the question on a couple of Facebook forums. While there was interest, no one  (so far) had tried what I am trying to do though a couple noted that this is what Klondike miners must have done so many years ago.

My vision is to get a low hydration starter going – something that can stay in a ball. At supper I would take half of it mix it with just enough flour water and salt for an overnight bulk rise; add a little flour and water to keep the starter going. Next morning flatten out the dough into buns and fry on the stove.  If there are large flat rocks I could use them.

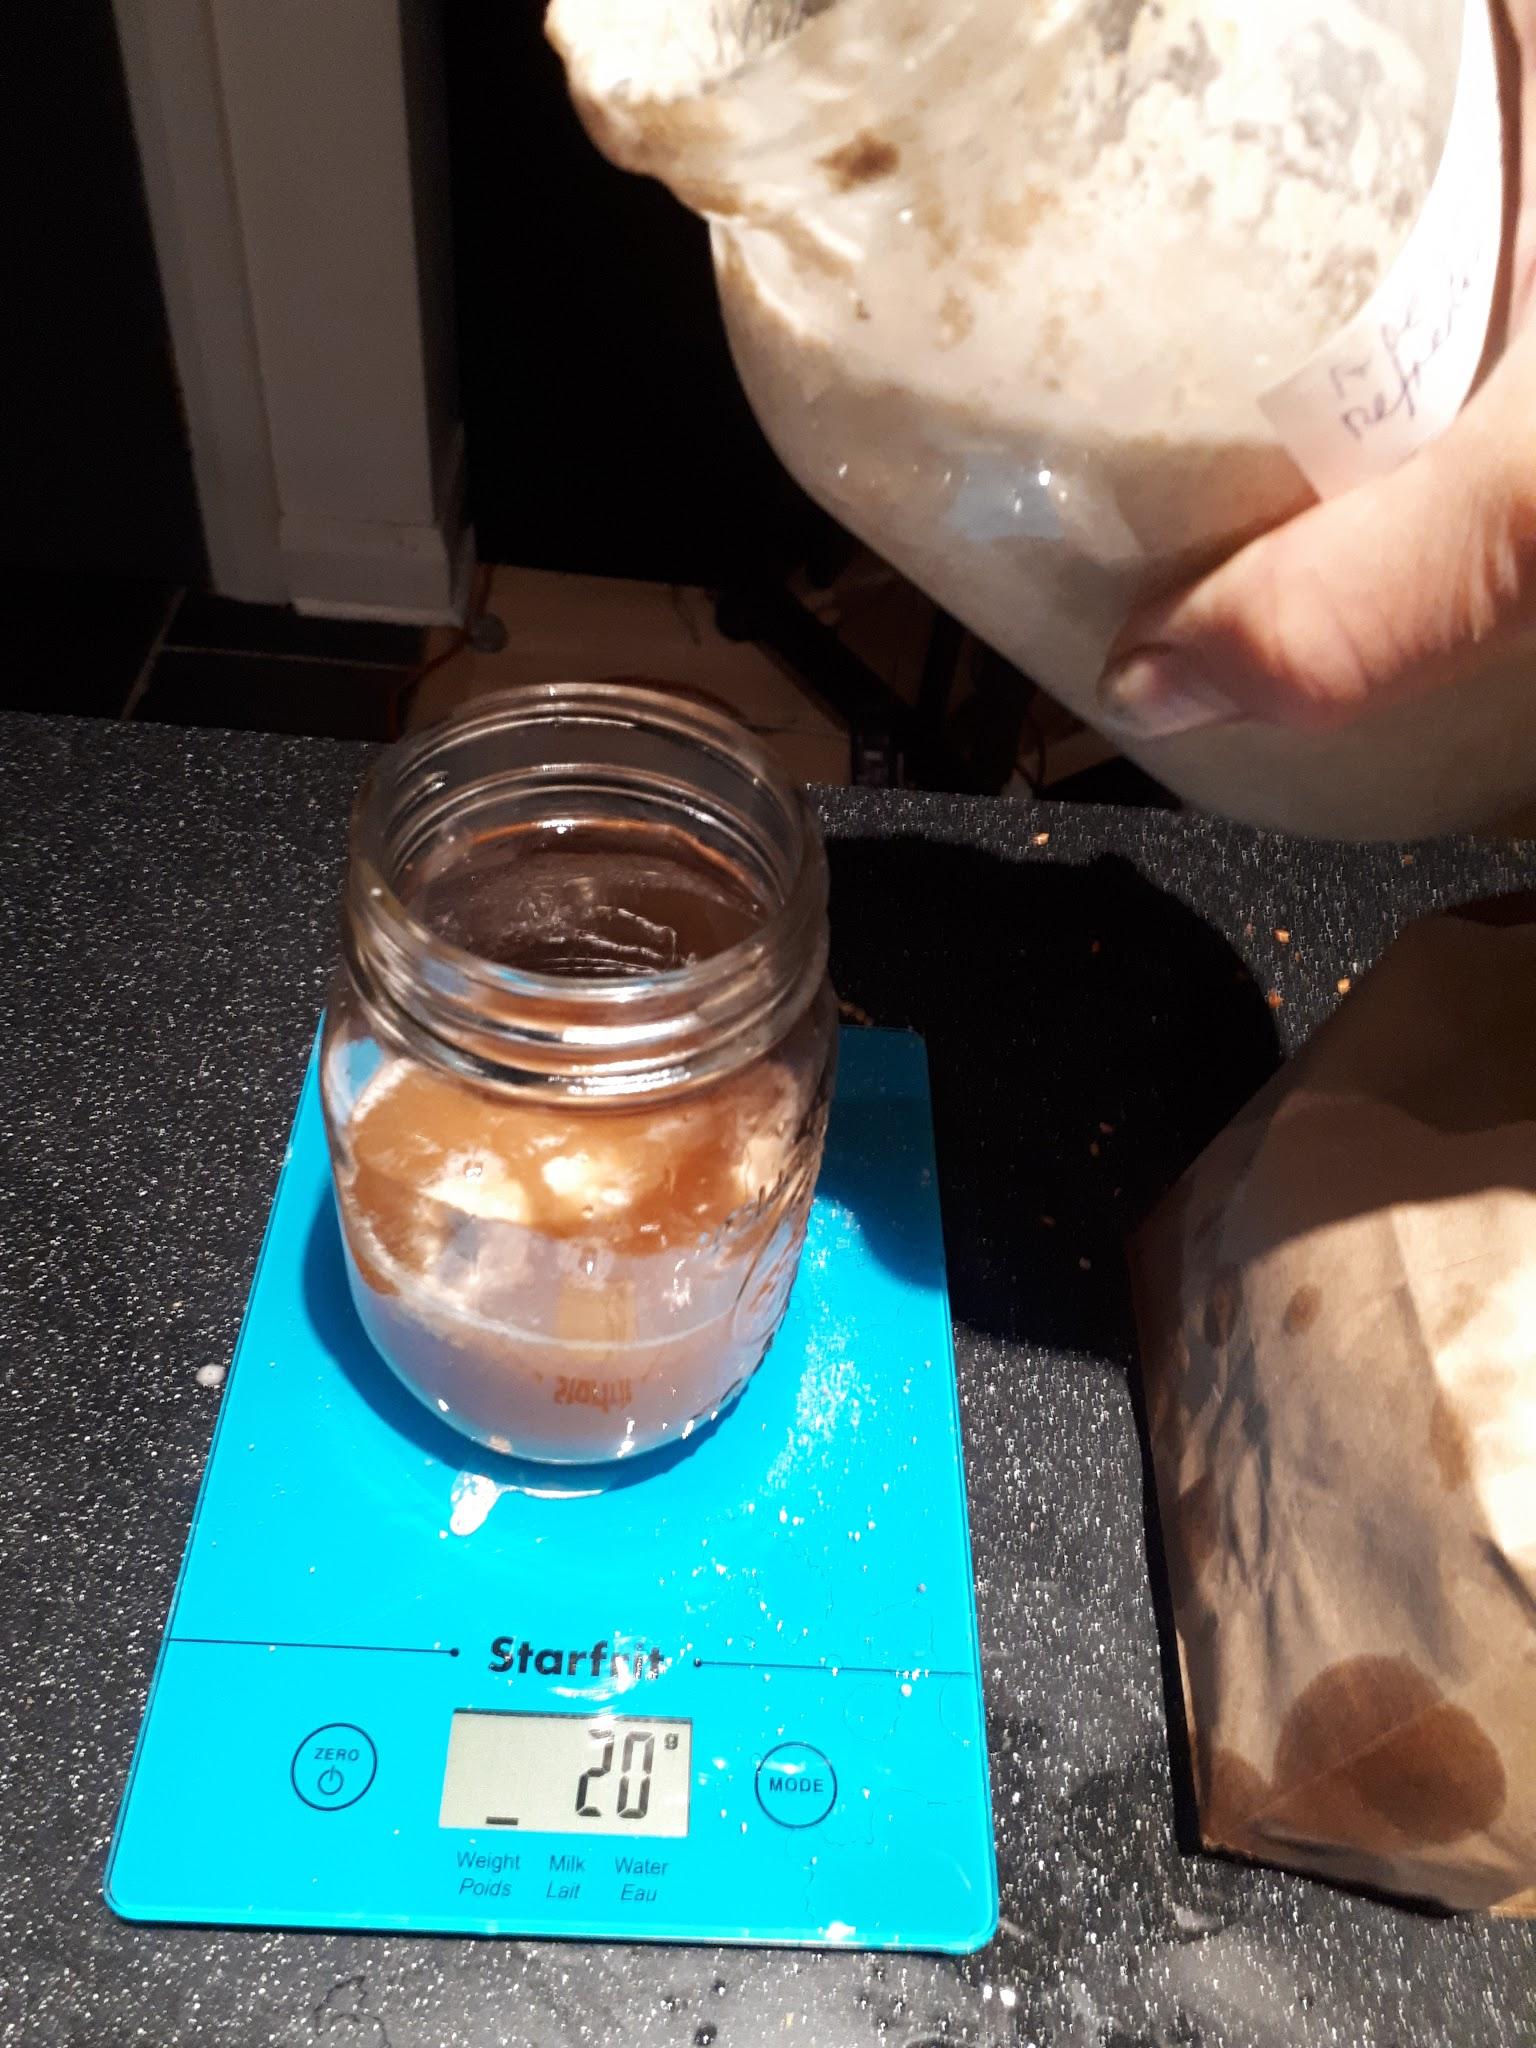
I’m about to try it all at home first – beginning with the starter. So for 100g of starter at 166% I need 104g  of flour to make it 65%. (try my hydration change calculator) This should yield 200g of 65% starter.

Best internet discussion I’ve found so far… https://backpackinglight.com/forums/topic/87645/

And I’ll keep adding to the blog as this experiment develops.

Sept 11

Last night I prepared my initial stiff starter. (I am of course in my house experimenting with nothing on the line.) This morning I peeled off half of it, (100g)  added a pinch of salt, flattened it with my hands only and put it on a hot skillet. The remainder of the starter is back in its jar, room temperature,  to be refreshed tonight.

Hotcake in dry skillet

The dough barely rose and felt stiff. Clearly a lot of work to do.


Little rise. Sadly its not like the result from my big bag of dough in the fridge. Taste is ok but then again its hot. That’s the idea though- to eat it right away. I have to double check my formula as the dough felt a lot stiffer than 65%.

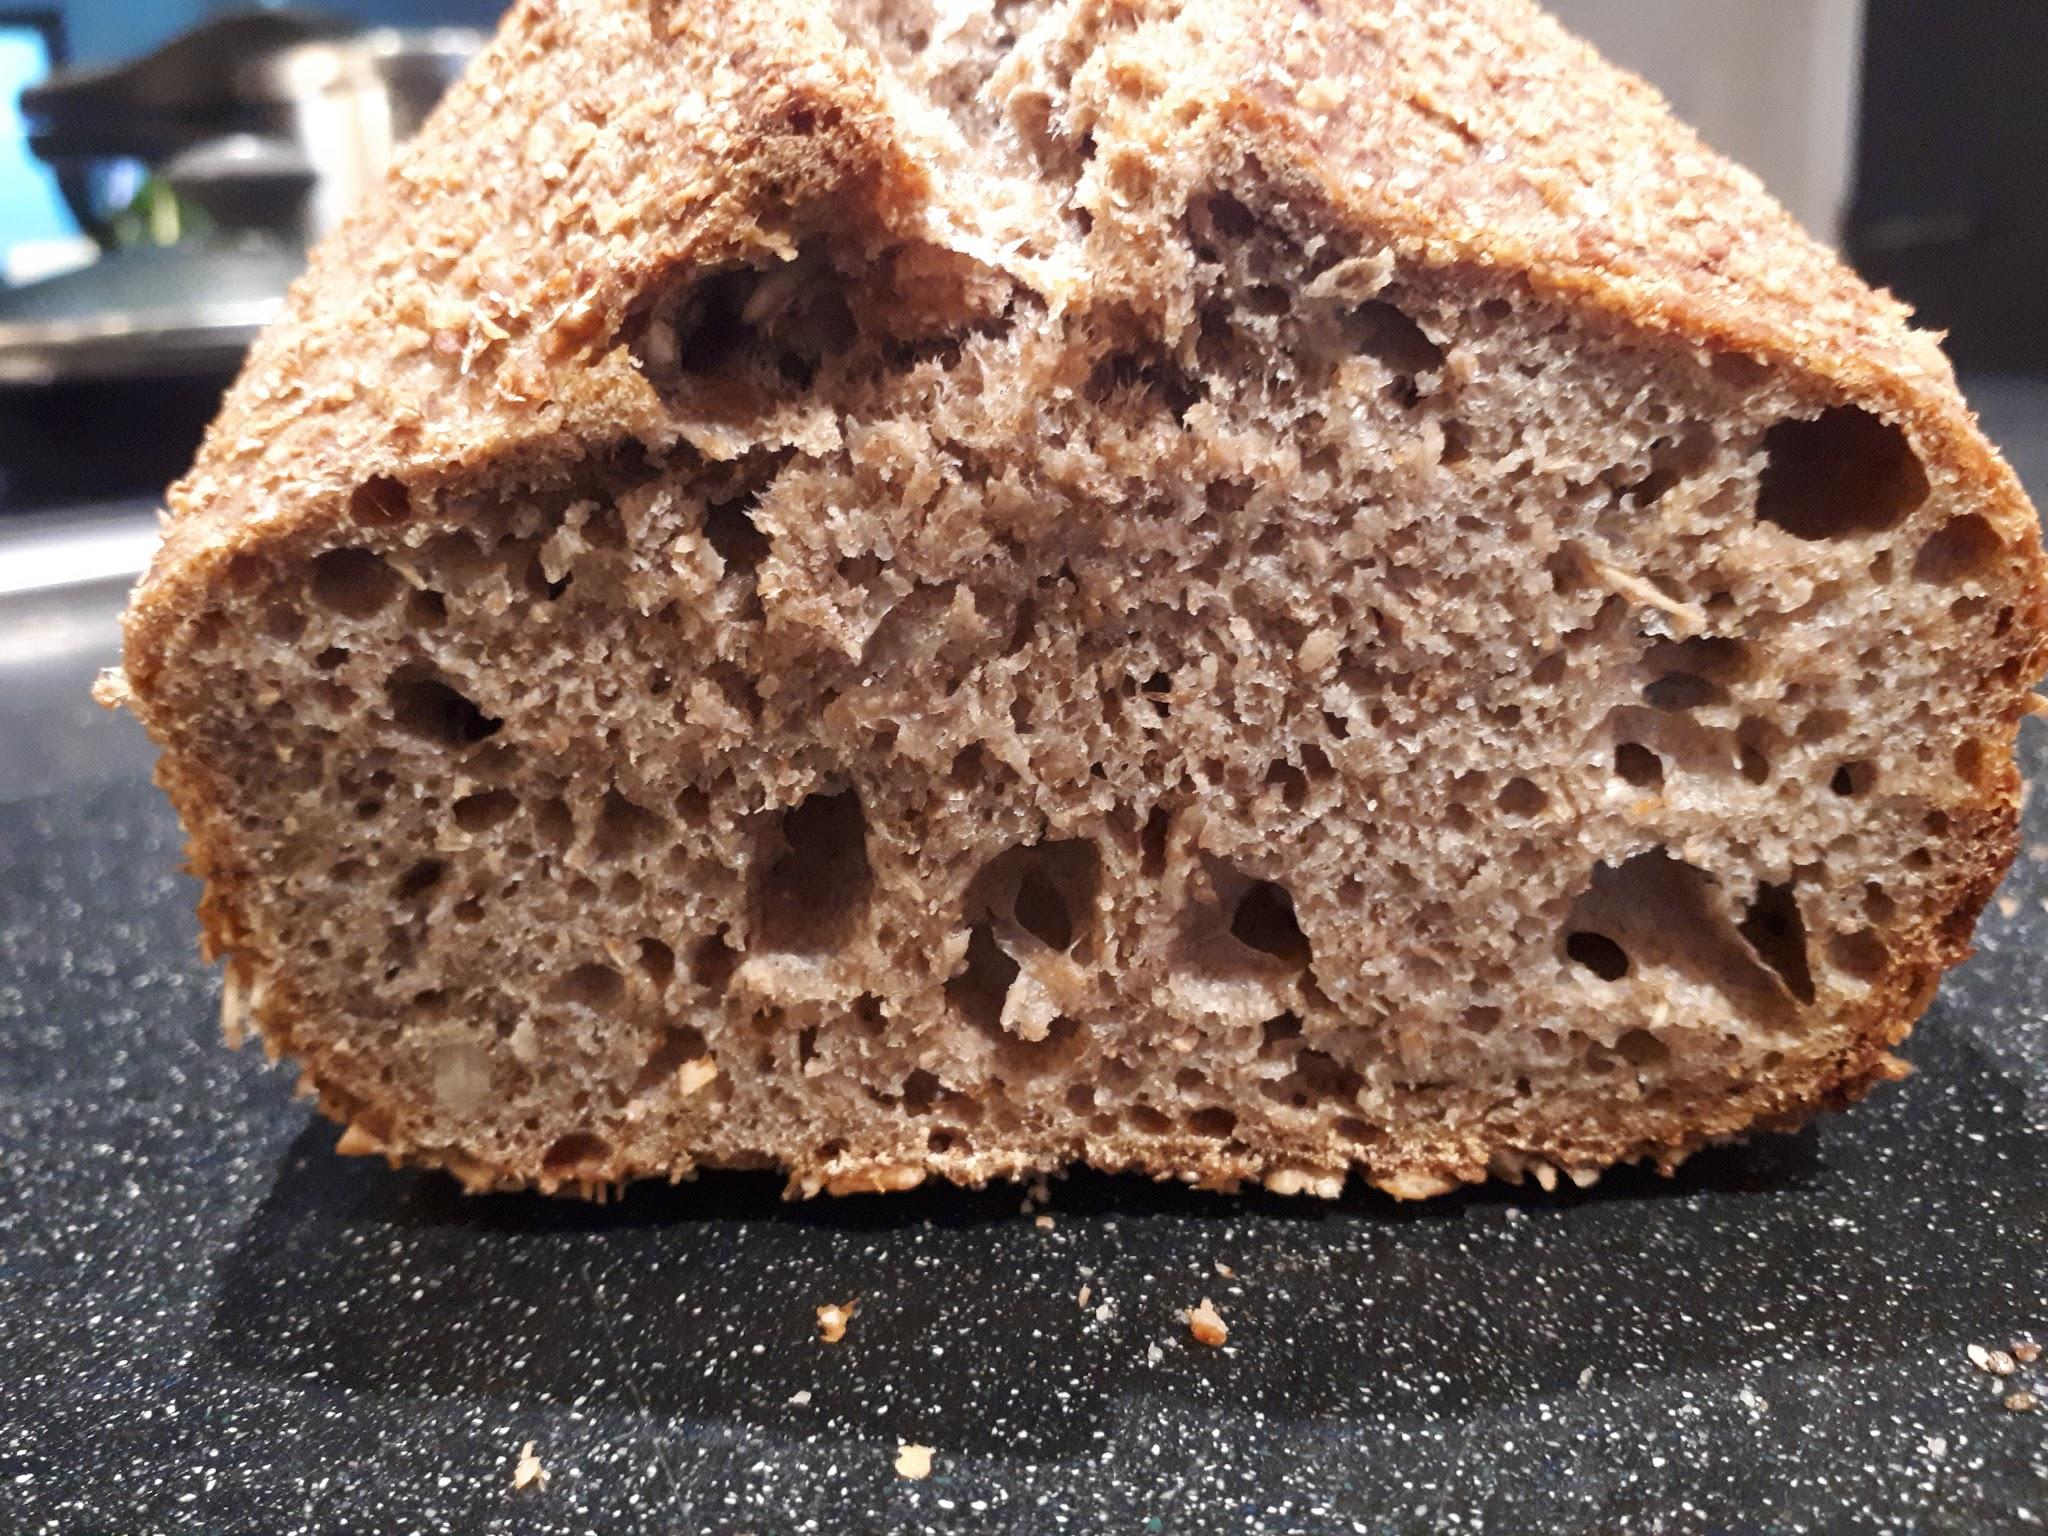
The crumb shot as such.

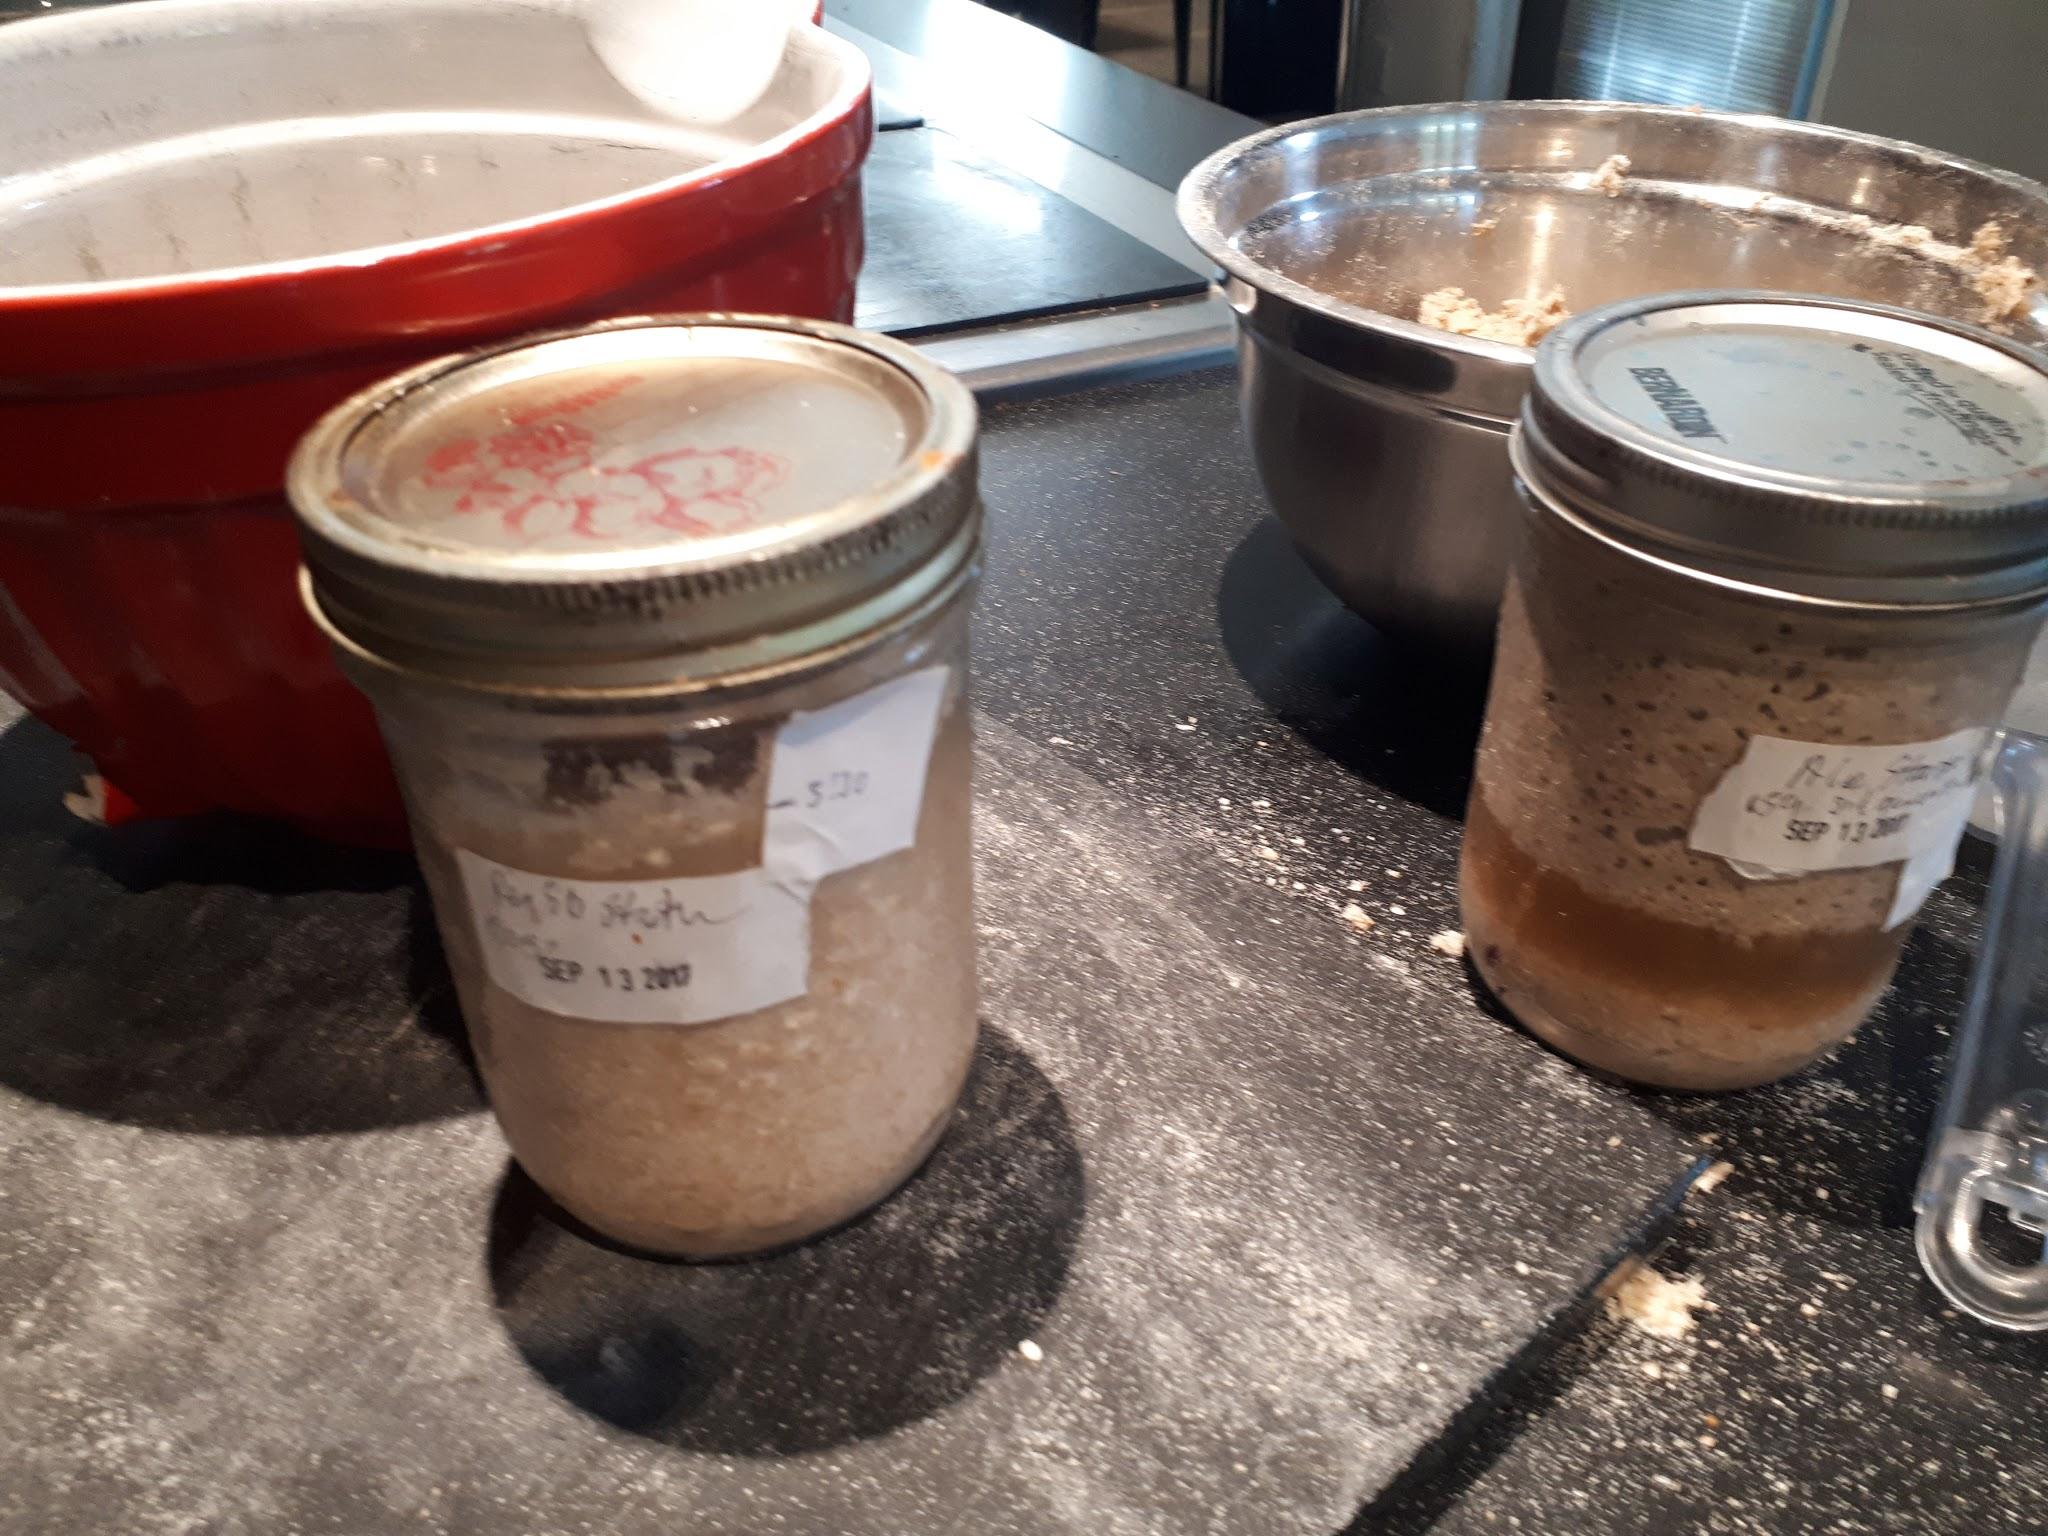
So…. a little later in the morning I decided that if I liked the dough I had in the fridge then I should use it as a starter base. So: 50g dough  (1g salt) 100g flour and 65g water. This is how it starts:

The new starter dough

Experiments like this lead to strange places. This is a “french toast fritter pancake”. Instead of soaking a bread slice in egg, egg is kneaded into raw bread dough then fried in a really light coating of oil. Next time I should let it settle / rise for a bit. I’d definitely try it again.

September 12

All is working as it should. Last evening I mixed more flour and water into my starter  (66%) and this morning tore off a chunk of it, added a pinch of salt and cooked it dry on the stove top.  My son’s analysis: “it does the job”.

Next task: scale it up so it can feed 3, but keeping the same amount of starter. What I like so far is that it’s flexible and quite predictable.  The caution: get your heat right.  Less better.

.Sept 13

First a shout out to Bud who seems to be the only FB reader to truly get what I’m doing. Thanks for all your advice!

On my jog yesterday I figured out my weight proportions: there are 3 of us which at 100g per person suggests a dough of 300g plus 100g starter. 200g flour + 130g water gives a 65% hydration dough and a little more than enough per person.  This dough is set up the night before and in the morning split 4 ways. 1 put back in the bag and 3 get a pinch of salt added and are cooked. How much easier could this truly be? Next task: figure these quantities as volumes and not weights. Also give it a final test run.

Sept 15

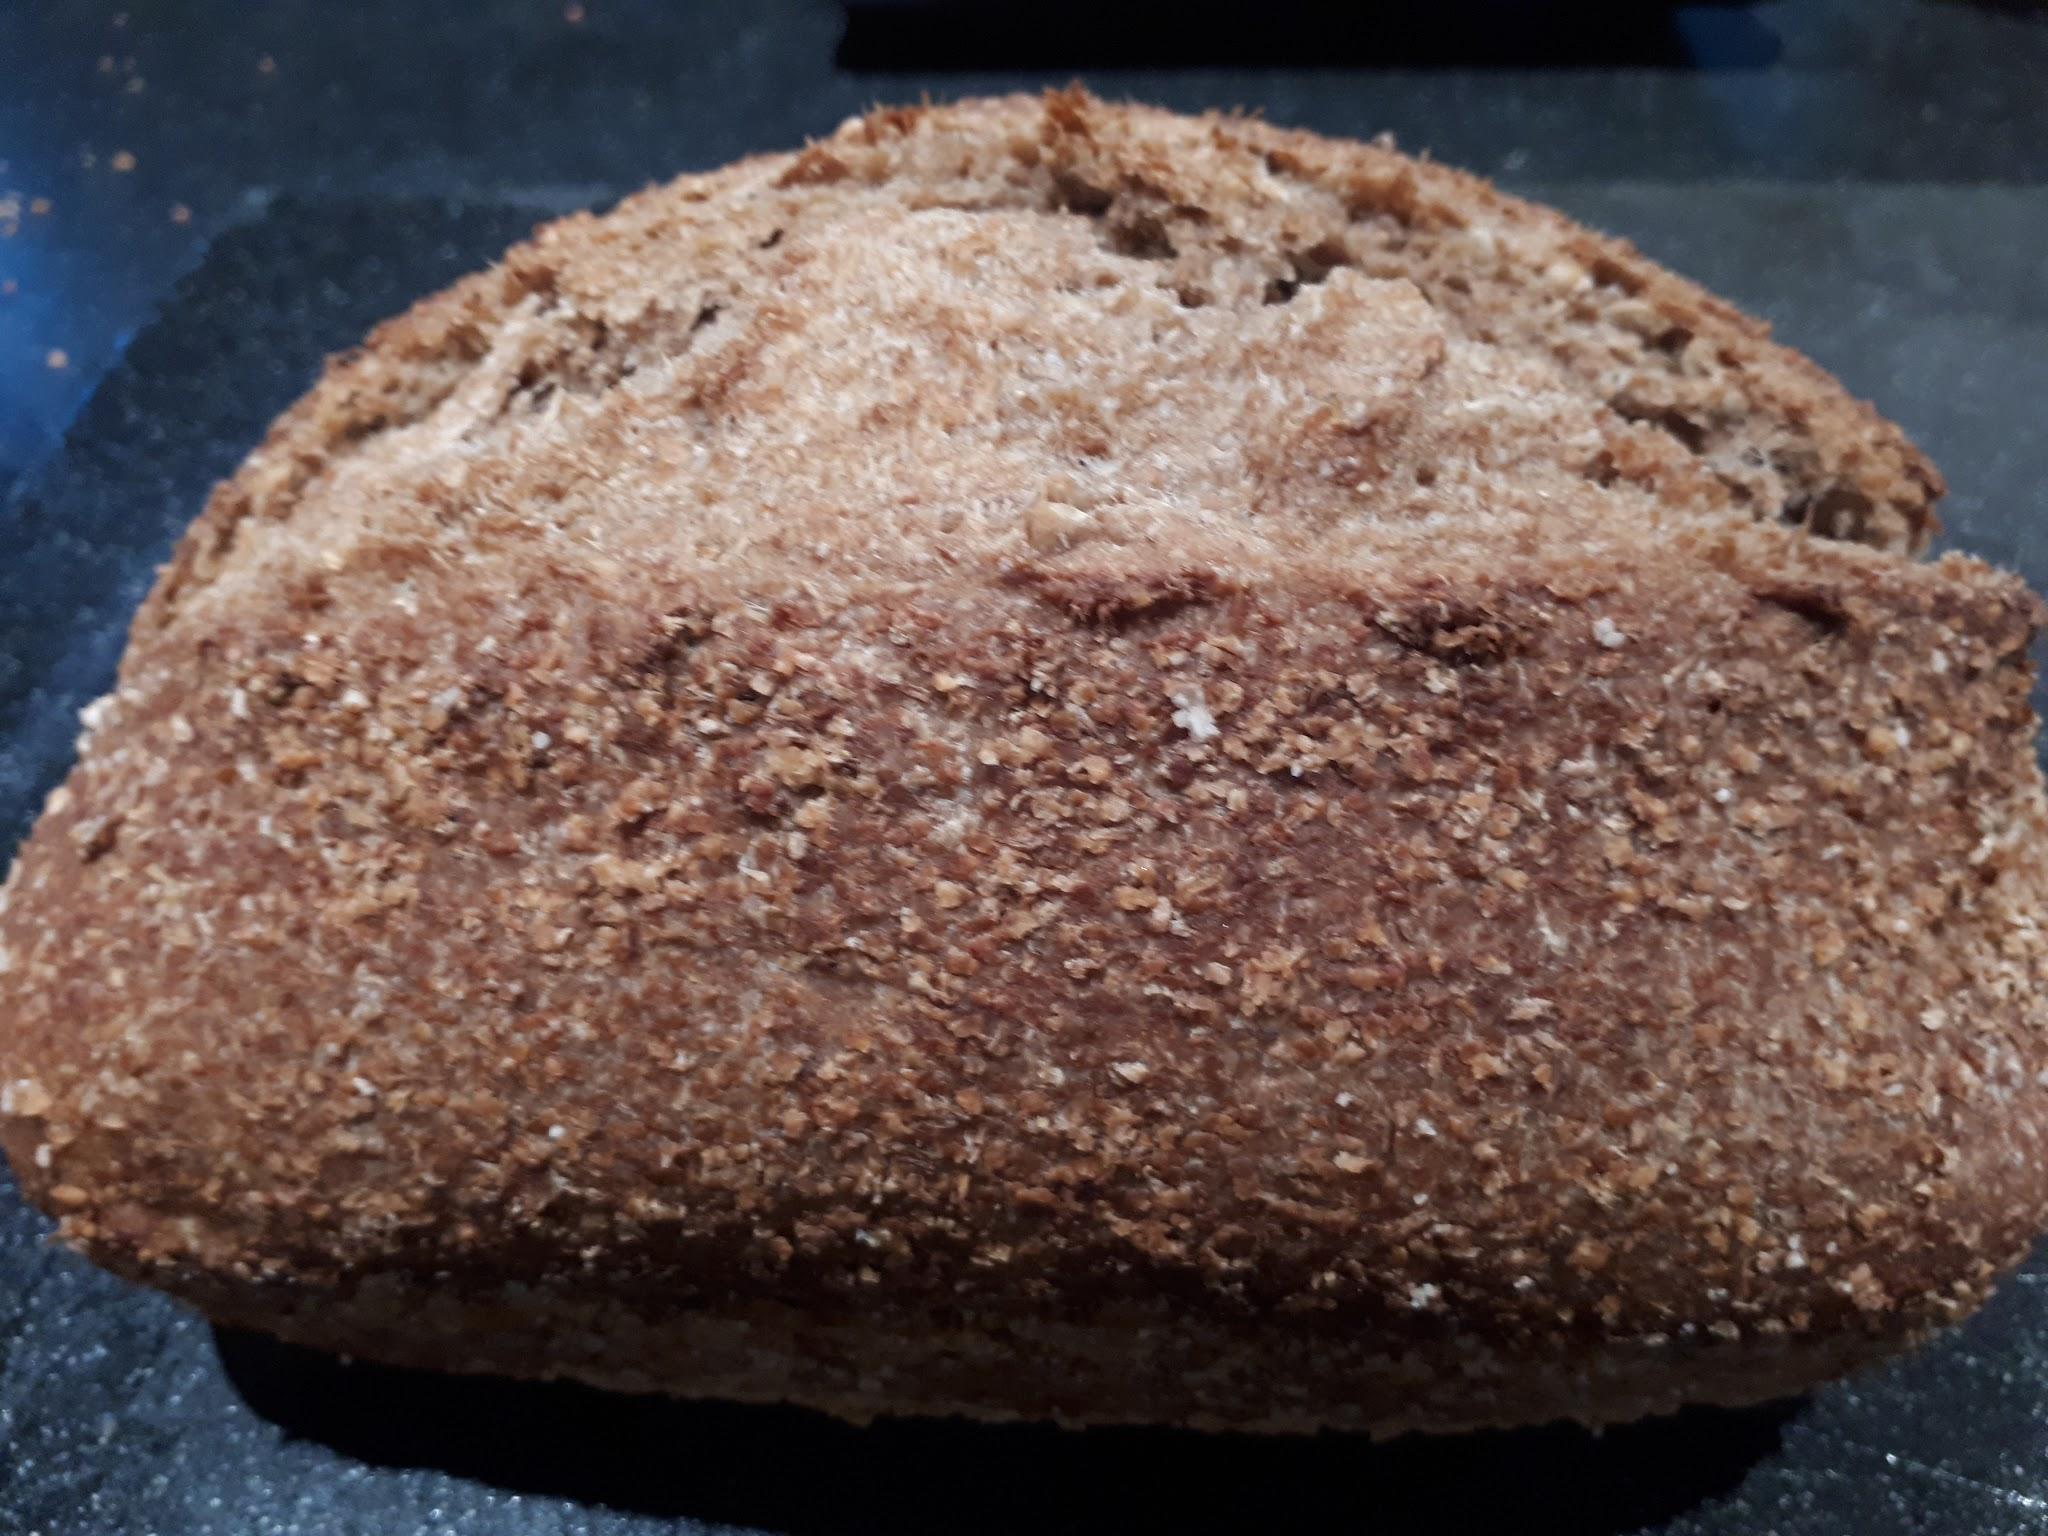
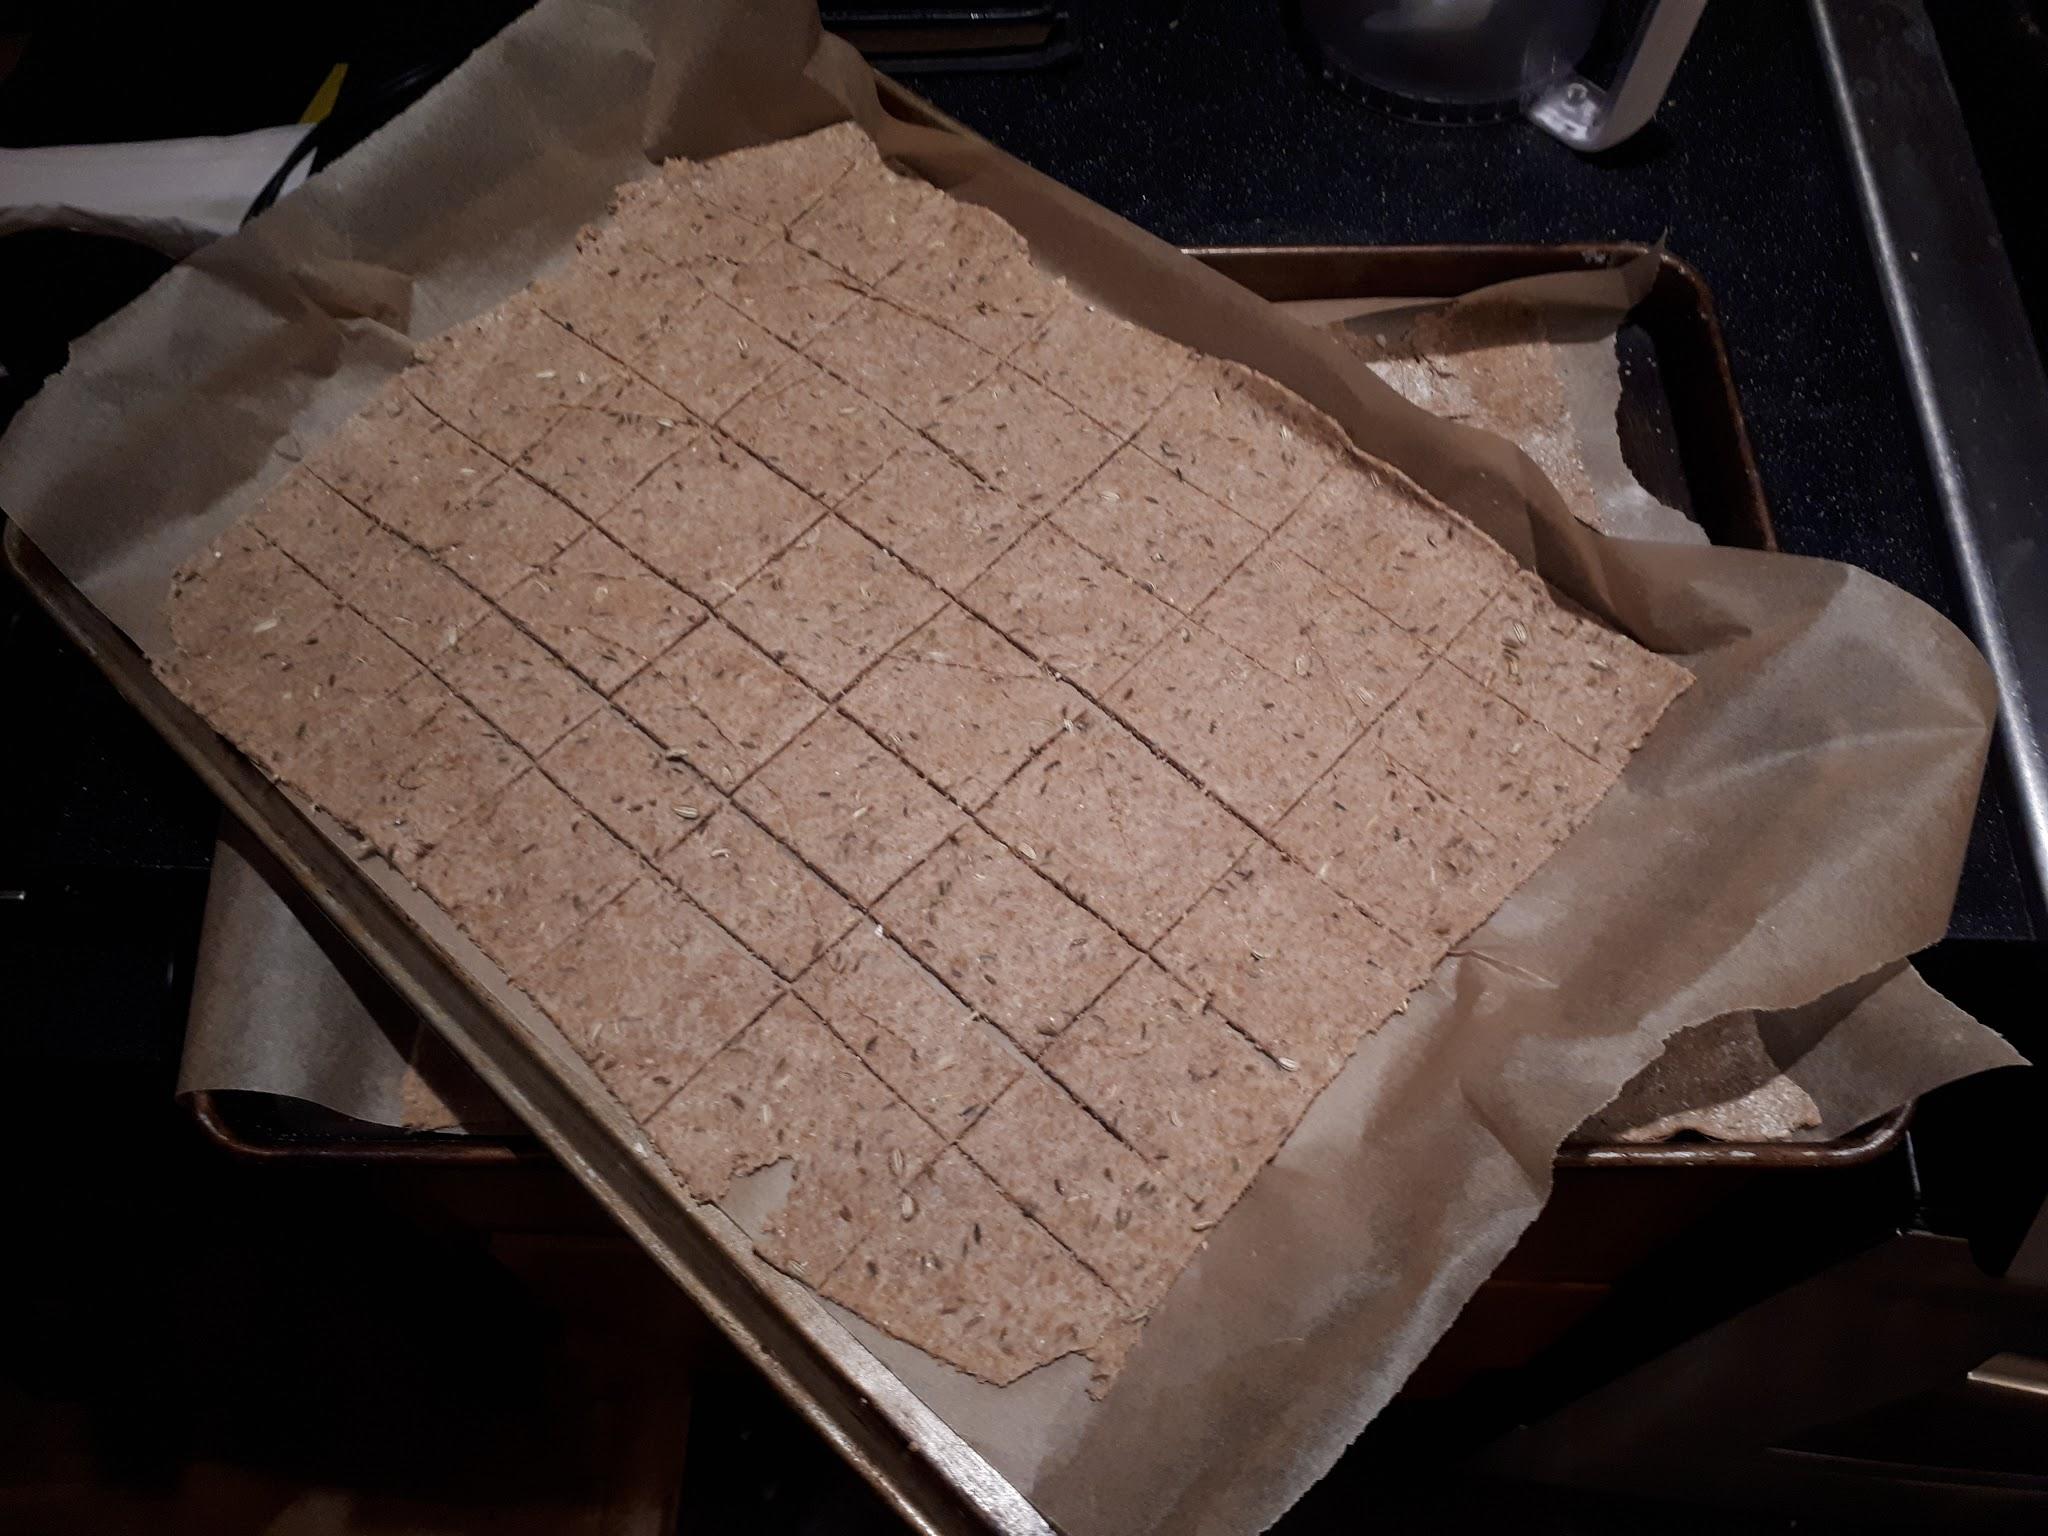
I tried my first effort with the volume needed for our trip.  I made 3 different sizes/thicknesses. Essentially if one is doing a thick bun it needs to proof just like a loaf of bread. Thin buns are a lot more forgiving.

The 3 bun shapes tried.

The thickest one definitely needed proofing!

Sept 29

We leave tomorrow.  I’ve been given interesting challenges here: pancakes and naan. Both feature oil or butter in the mix.

Here’s how the pancakes could work: a zip lock big  bag with the following little bags within: 100g dough and 9g skim milk powder; a second with 100g flour; a third with 1g flour, 7g sugar,  2g salt,  7g baking powder.

Night before: mix dough and flour with almost a cup of water and gently mix until everything is evenly hydrated. Next morning add the third bag,  and some oil. mix gently leave for 30 minutes. Batter should be ready.

Camping notes

September 29

The starter dough

I put up one of my big 2.8kg basic doughs.  Some of  this went into a loaf for the wonderful person taking care of things while we are away. From this dough I took off 2 pieces of  hundred grams and put them in 2  large ziplock bags.  I also made up of three other Ziploc bags each with 200 grams of whole wheat flour in 4 grams of salt. These would  be the hot cakes to be made on the trip.

Panini sandwiches

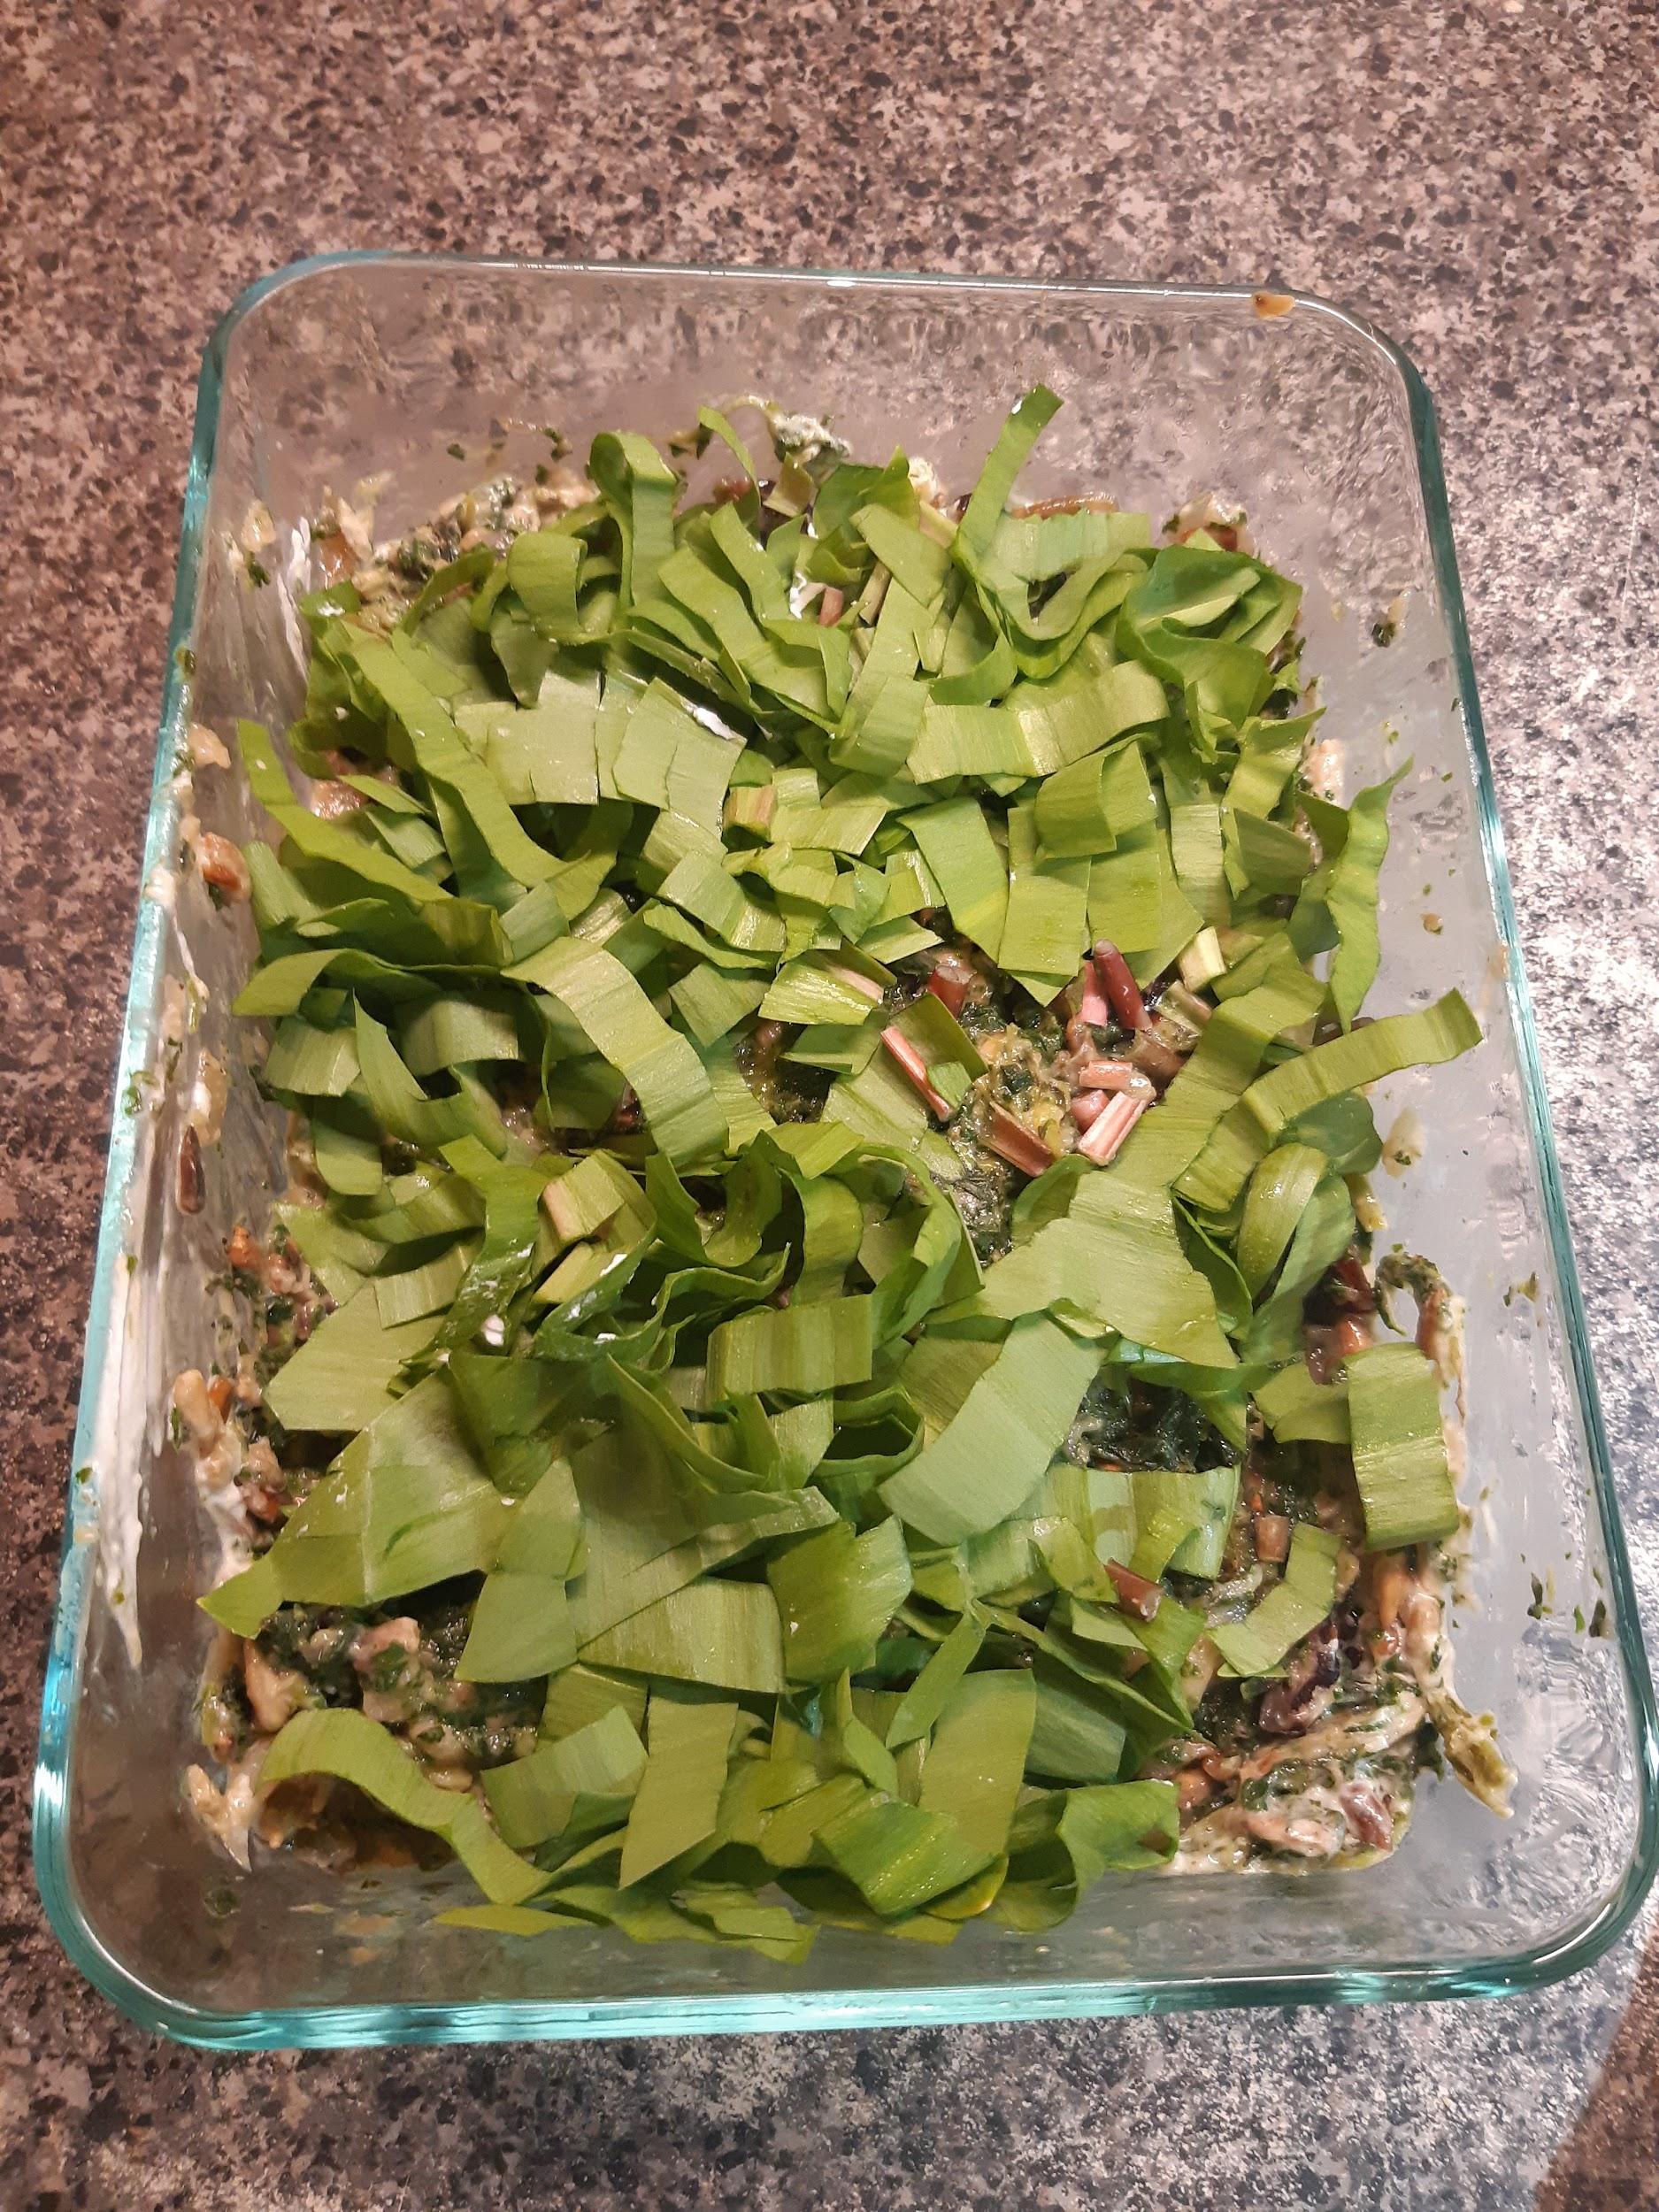
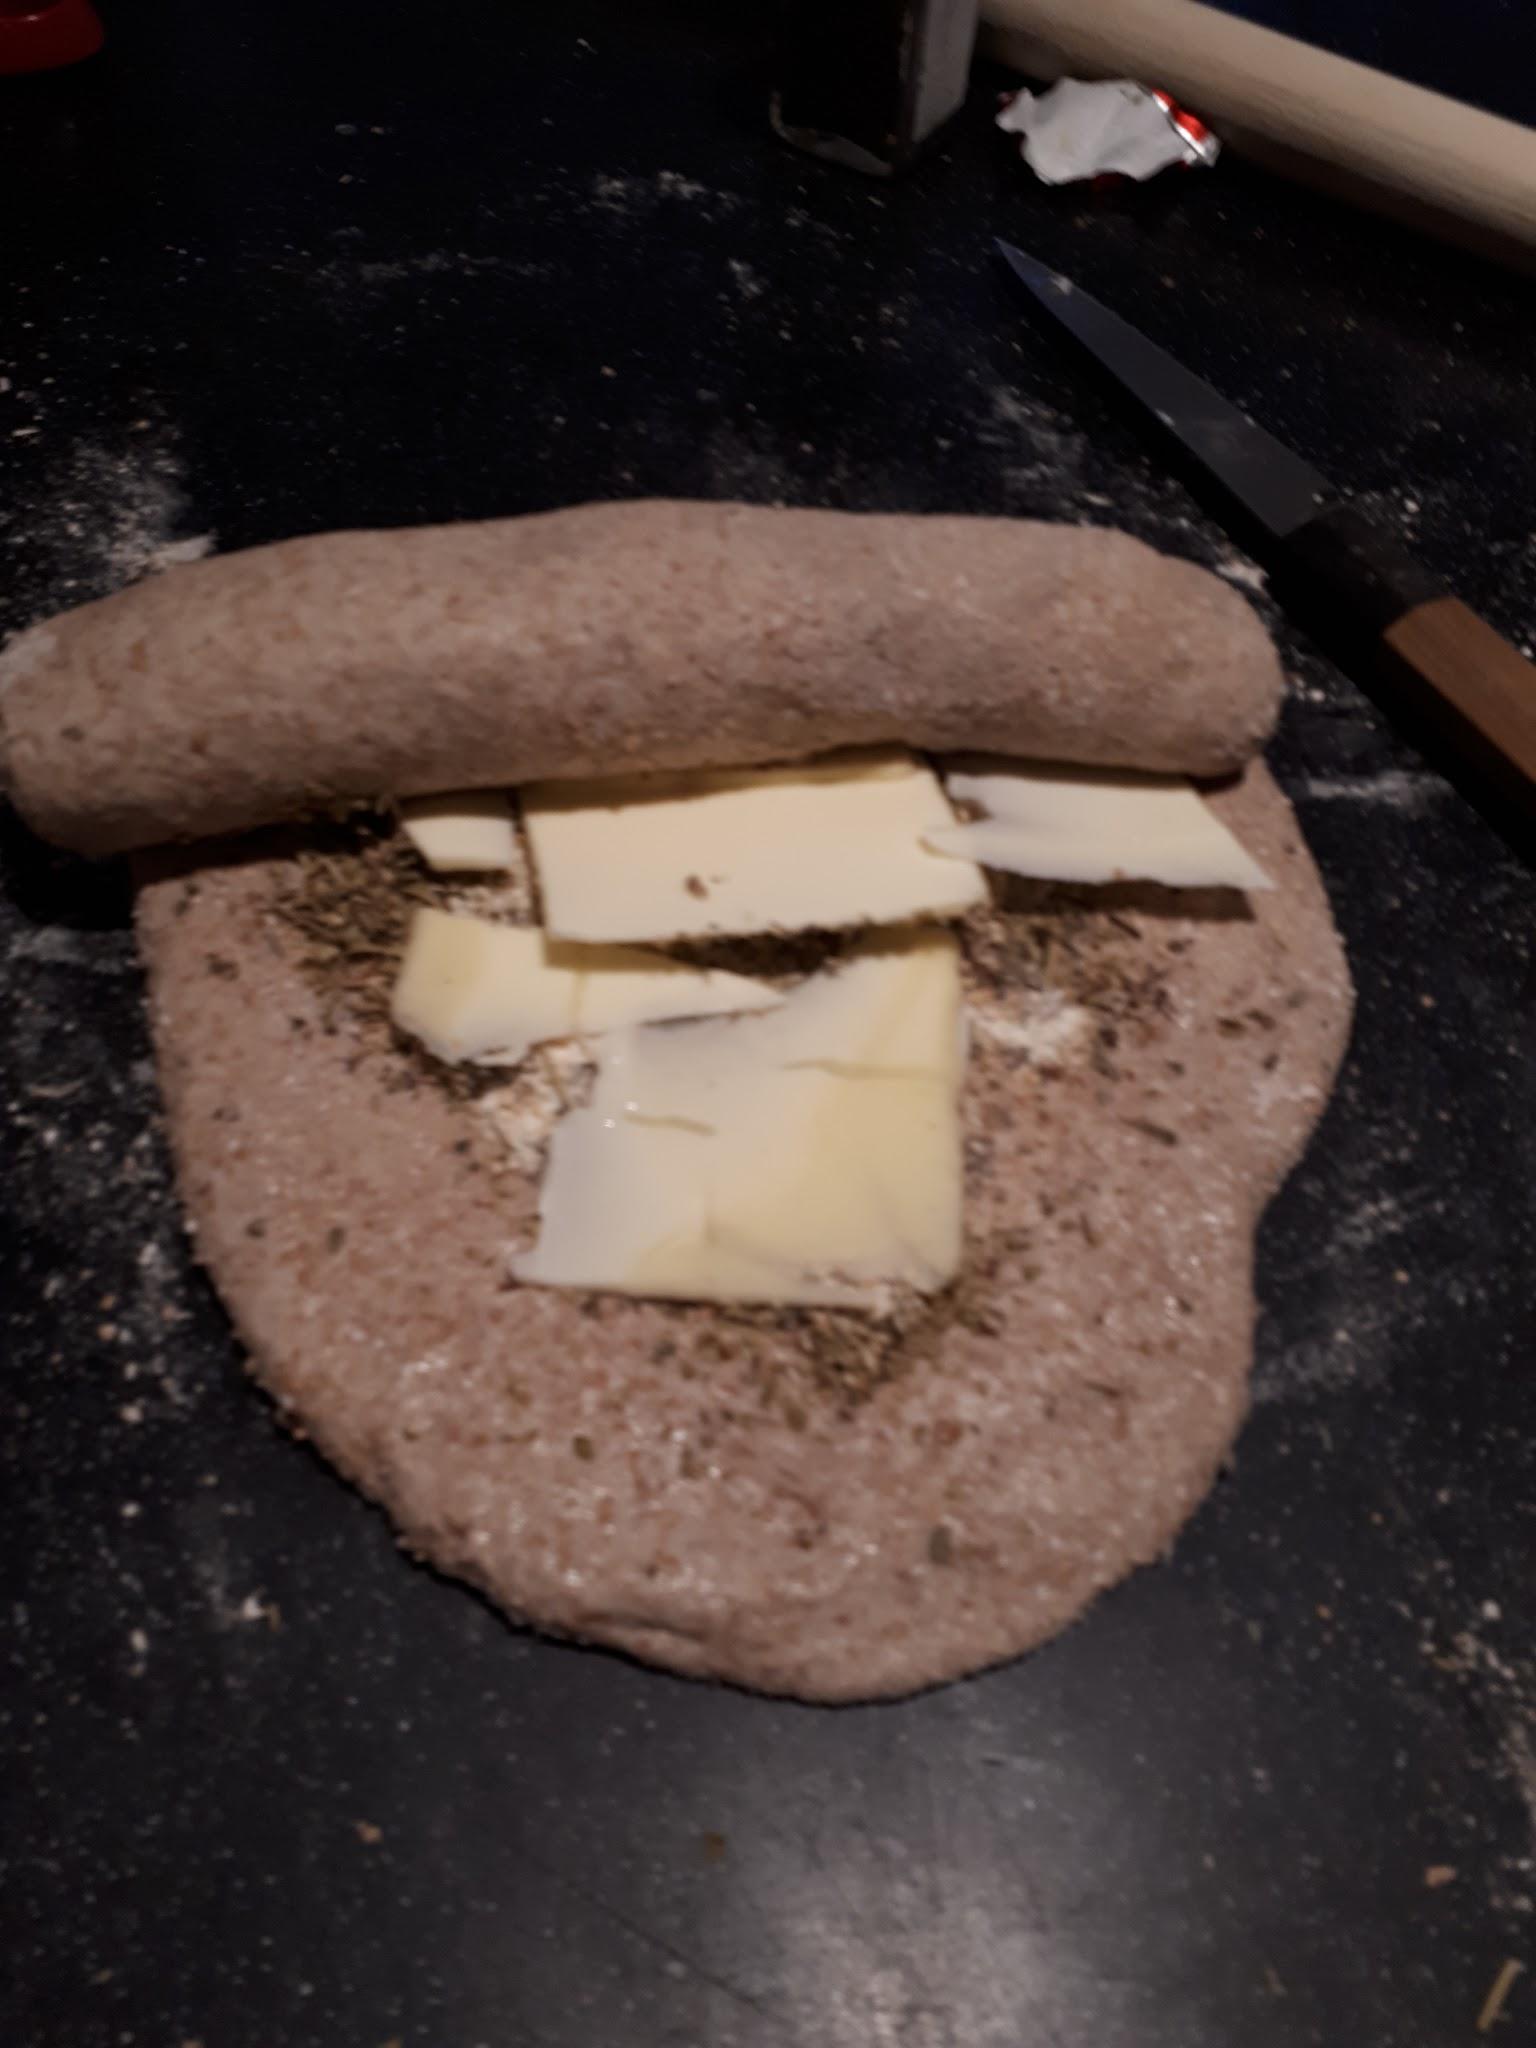
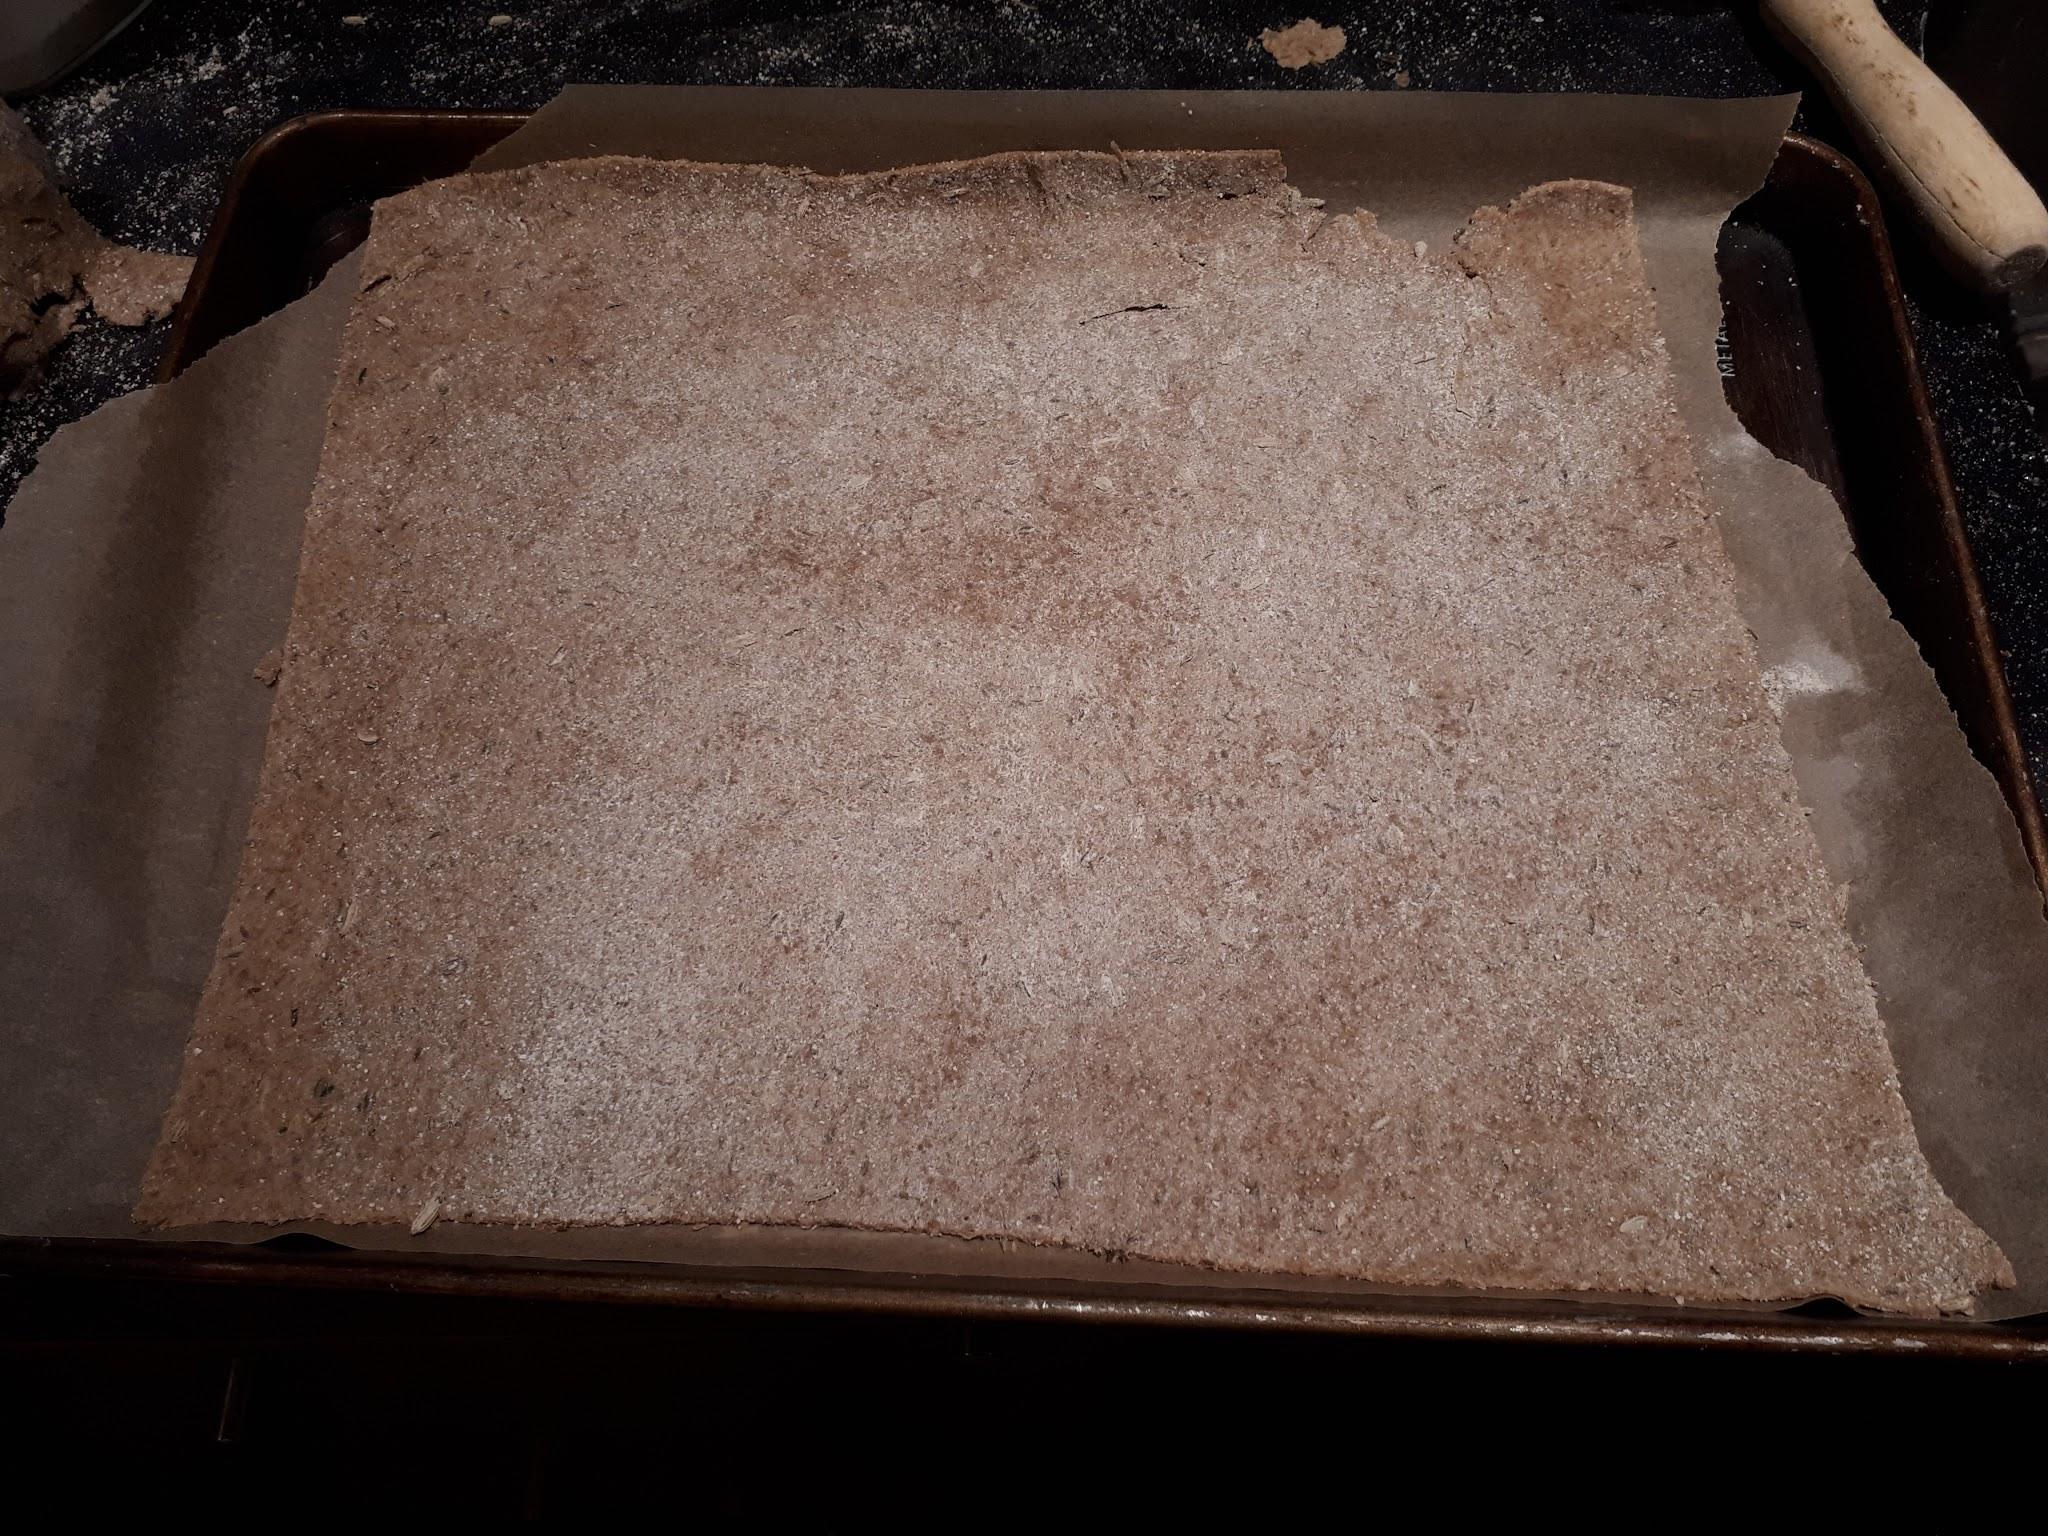
Panini sandwiches for the first day lunch had been prepared the day before and day of our trip.  I took the remaining eight to nine hundred grams of my older bulk dough from the fridge,  rolled it out and laid on slices of butter as one would do for a croissant: It was folded and rolled out several times to make a laminated dough. The final roll was approximately one quarter to three eighths inch thick. It was then cut into rectangles about 4”  wide and left them to proof for about an hour. While they were proofing,  I prepared the Panini fillings: BBQ vegetables, cold meats, pickles, brie and cheddar slices. These all went into a couple of bags for assembly early the next morning.

I BBQ’d them on a medium heat about 1-2 minutes per side until they browned and expanded.

September 30th –  we depart

Paninis

These were made for lunch on the first day.   

Before we left I did the final prep. The paninis were thick enough that they could hold together well enough to be slit open easily and filled without breaking up and without breaking the hinge at the back of side of the bread. The butter laminate and grilling method ensured that the outside would stay together and so be fully functional as a sandwich. The completed sandwiches were wrapped liberally in wax paper and labeled. (This is important for later on).

We arrived at our departure point about 12:00PM. We wanted to get going and weren’t hungry. We left the outfitters in a rented  3 person canoe around 1 o’clock and by 3 o’clock we had reached our first portage. Out came the greatly appreciated paninis. The wax paper was carefully folded and returned to the pack.

Hot Cakes number 1

I realized when we were eating the Panini’s that I had not set up the dough for the hotcakes that evening.  Standing beside the biggest beaver dam I have ever seen I mixed the hundred grams of starter dough, 200 grams of flour and salt and  then eyeballed approximately 120 grams of water from my drinking bottle. I set about massaging the dough through the plastic bag, and  realized it would be about 4 hours before I was to cook them for dinner – and they had just begun their bulk rise.  I needed to get them along quickly with their fermentation so in the bag went, under my shirt and next to my tummy for what was to be a fast rise. There they stayed  for a further three hours of travelling and a difficult portage. Once we got once we got to the campsite and began our dinner prep the first thing to do was to extract  the dough  now happily bubbling away.  This dough was divided into 4 equal pieces: 1 was put back in the ziplock bag with the next batch of flour and salt, and again the water was eyeballed. Massaged sufficiently, it was stuck it back in the food pack for consumption the next day.

I retrieved the wax paper from the paninis and use them to flatten out the dough without getting my cutting board dirty.  I put another layer of used wax paper over them to protect them from fire embers and dust. They then proofed while the  rest of our dinner –  guacamole, whitefish, roasted vegetables  and chantarelle mushrooms was being prepared. Once the fish was cooked, in went the hotcakes, soaking up the remaining lovely  oil and butter deliciousness still in the pan from the fish, chanterelles and barbecued vegetables. The result was excellent. They were hot nicely risen nicely browned and delightfully flavored with the pan drippings.  

October 1  – Hang out at the campsite day

Pancakes

it was determined on our first morning we would have pancakes with homemade jam and summer sausage for breakfast. When you think about it, pancakes are really like a super hydration bread with some oil,  sugar, and baking soda.

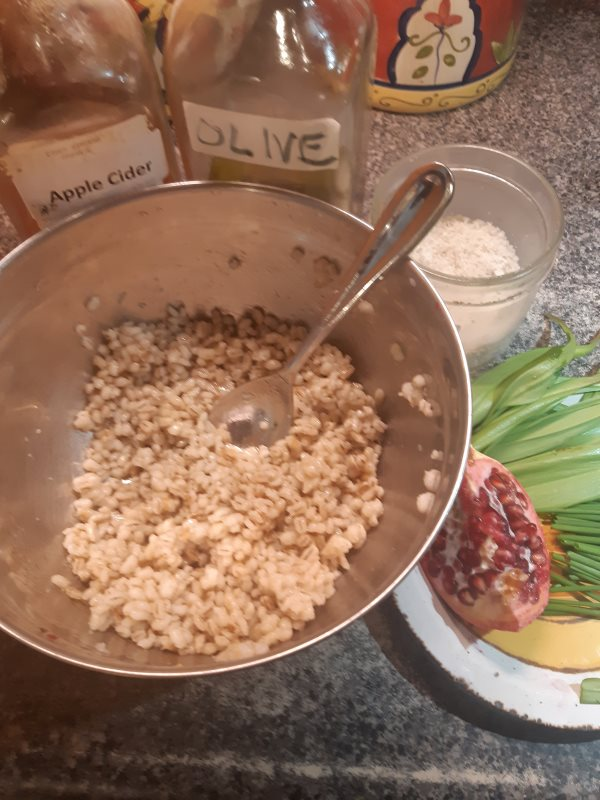
For the pancakes I decided to approach these separately from the sourdough hotcakes and it’s a good thing I did because I needed to get them started at the same time as the hot cake dough the night before. I calculated that enough pancake mix for the three of us with mean 100 grams of starter dough at 66% (this was the second bag of dough I had prepared)  Here is how I thought it through: 100 grams.of dough @ 66% + 67 grams of water would give me 166% hydration. 100 g  flour + 4 g salt + 166 grams of water would likewise also give me a 166% hydration dough. I’d need to add  230 grams of water to the dry flour and starter  to make it happen. But that is not all.  This pancake mix (according to my pancake calculator based on Theresa Greenaway’s sourdough pancake recipe)  would also needs 7g sugar 2g  salt, 7g baking powder, and 9 g of skim milk powder.  Putting all of this together I had 3 separate zip lock bags

  1. 100g of 66% starter in a large zip lock bag
  2. 100g whole wheat flour in a small zip lock bag
  3. 15 g flour, 7 g sugar 3g of salt, 7g baking powder and 9g skim milk powder in  small zip lock bag.
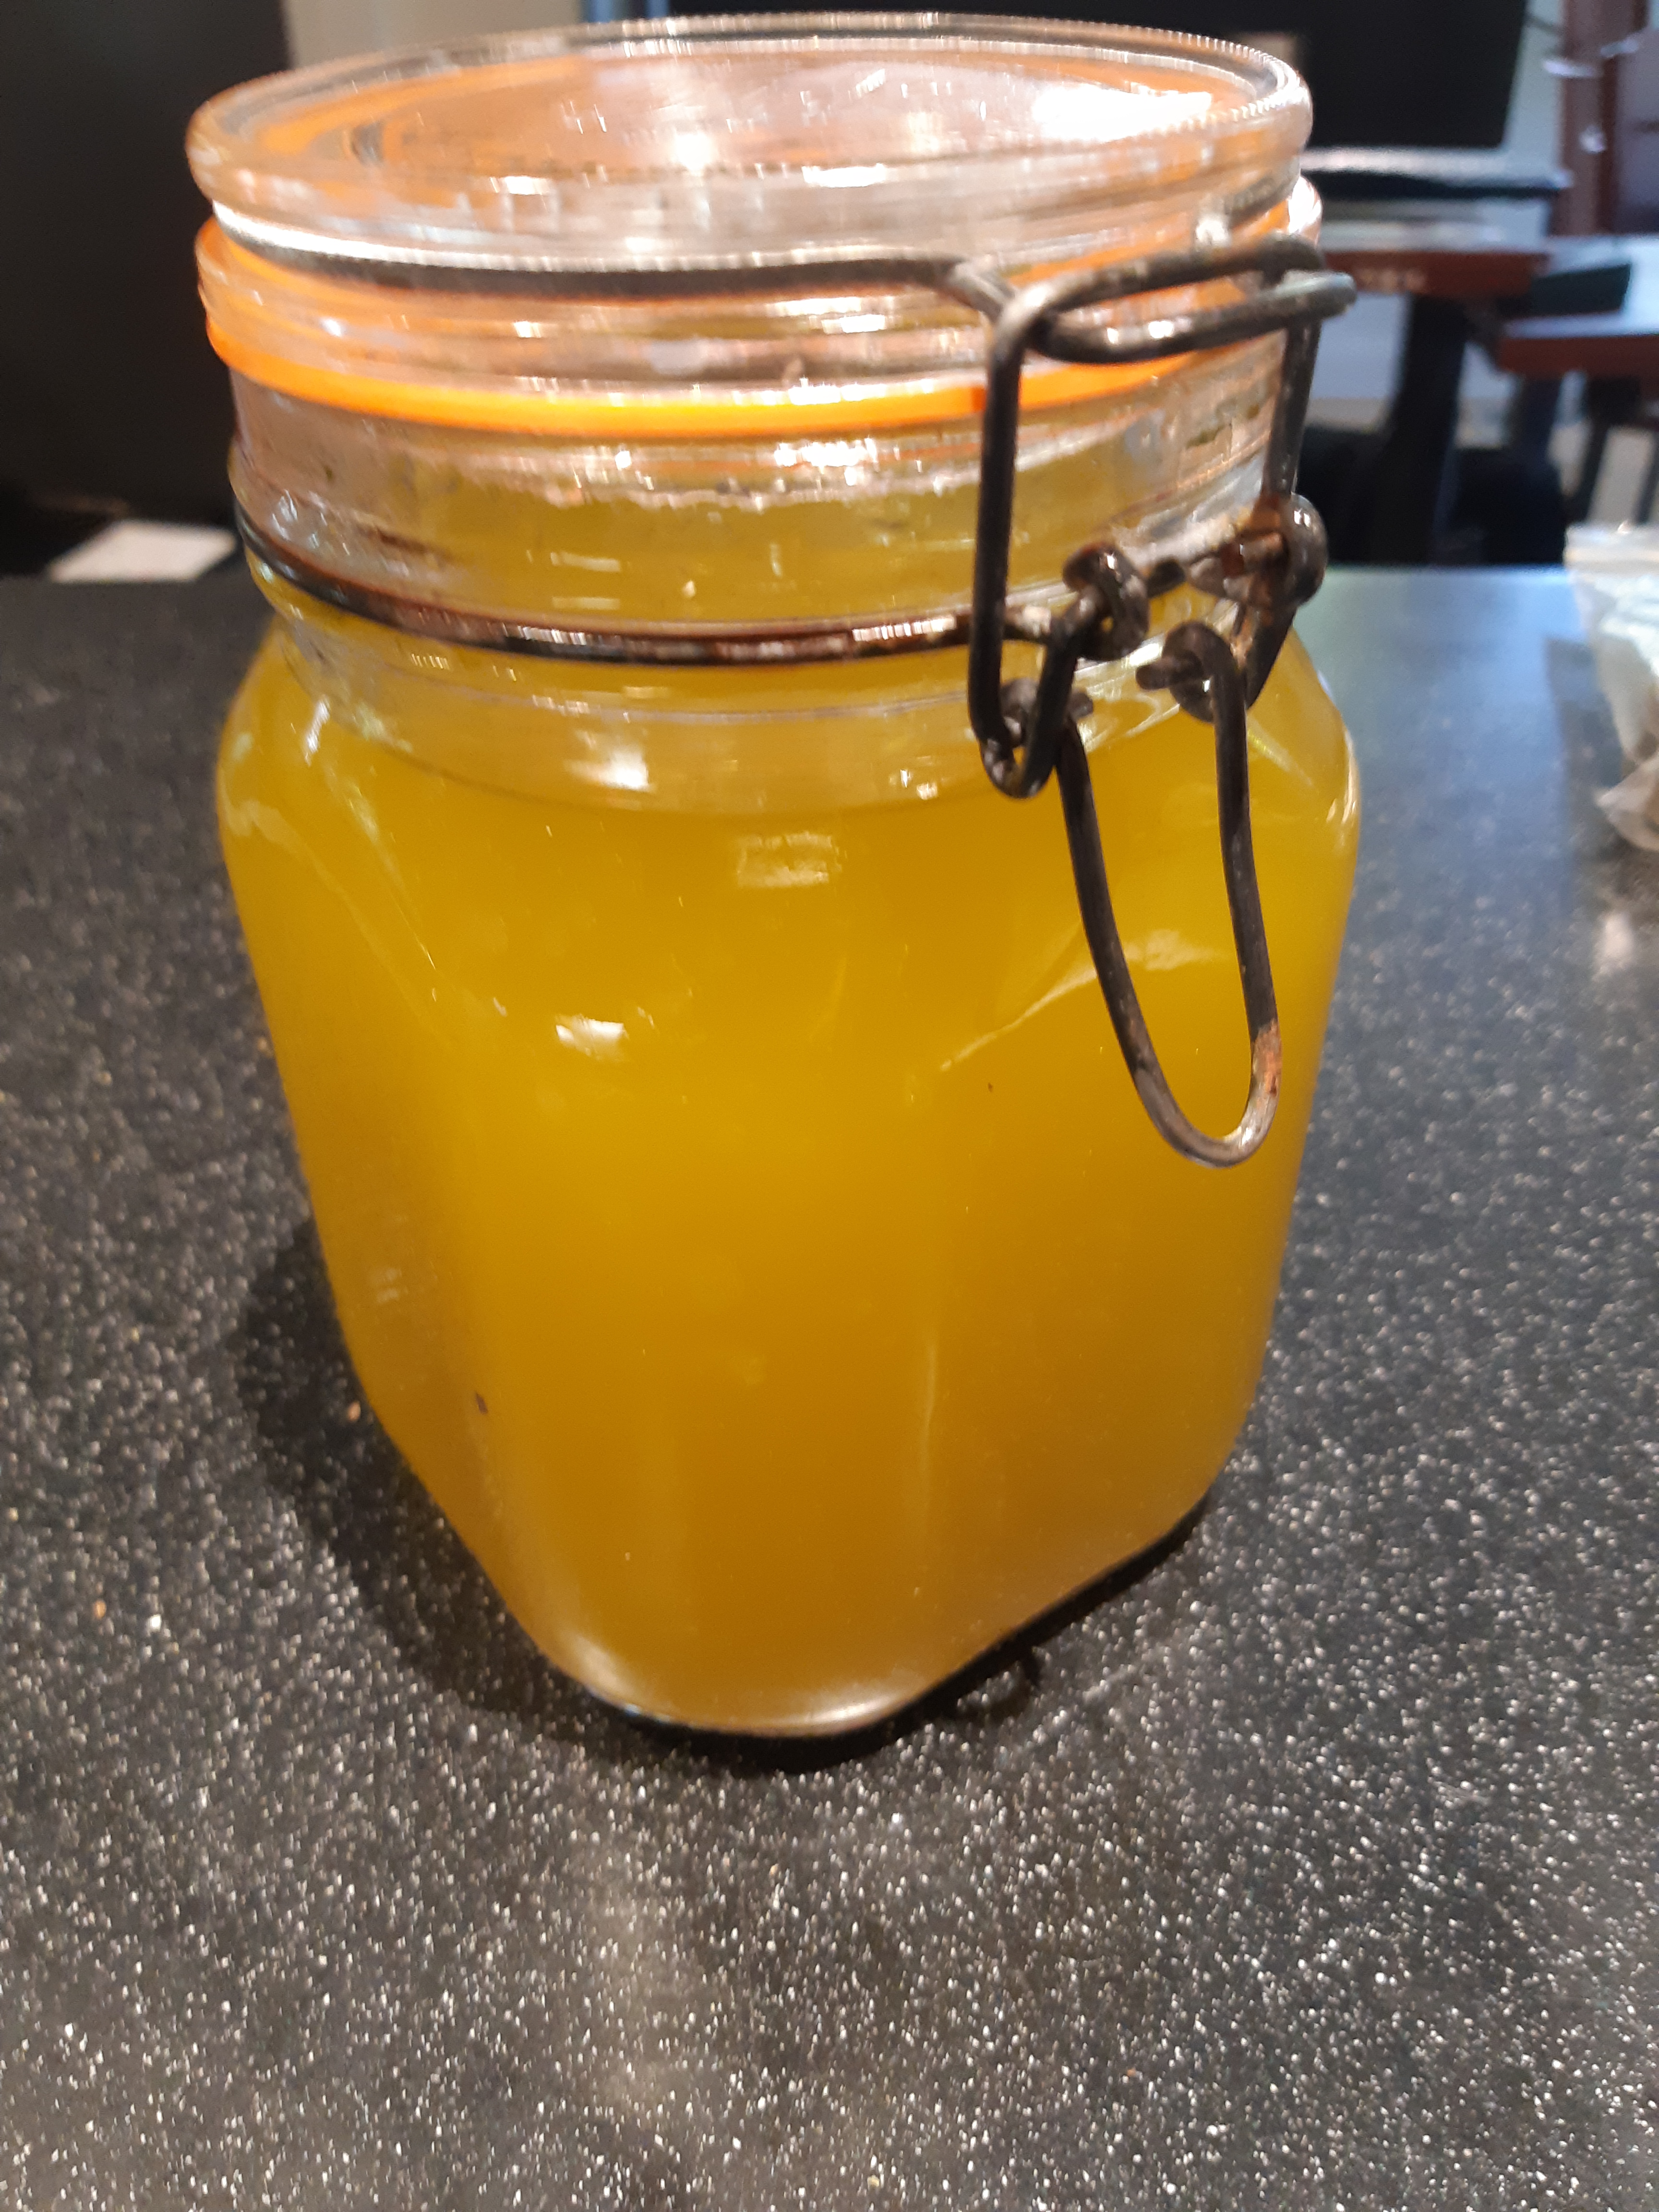
  4. At our fish dinner, bags 1 and 2 were mixed together along with 230g of water – about a cup – eyeballed!  

I wanted this to proof overnight but I did not  want to add in the baking soda, milk  powder sugar mix  and oil until shortly before cooking. My son was a little concerned about  leaving this freezer bag of yukky liquid, sincerely hoping  it would not explode in the night  while in the food bag slung up in a tree to prevent bears or other creatures getting to it. The next morning after a night of 10-degree temperatures the bag was looking the way it should:  a nicely bubbling ferment. In went the bag of remaining flour and other stuff and also added a shot of sunflower oil – pancakes do  need oil for taste, texture and to  avoid sticking.  I have to say I was apprehensive about this mix, based as it was on quite theoretical assumptions  but they turned out amazingly.

Hotcakes 2

The second batch of hotcakes was for  lunch on the second day as an accompaniment to tomato soup. Again the first thing was to extract them from the bag, divide into 4, and put one back in the bag for the next batch. This batch I felt was a little dry so I added more water before turning it out. All went well  – as it did the night before.

One problem though – after a thorough check I could not find our final bag of flour/salt! Yikes! This was going to be for breakfast the next and final morning. Was it left behind? Must have been! There are  worse things in life.

Our  starter’s final hurrah

Going into our final campfire dinner, I still had the starter. We had planned to have mac and cheese, with rehydrated dried vegetables. What I had forgotten about in making mac and cheese was that you need a roux. The only flour I had left was in that little ball of starter dough. Necessity is the mother of invention and thus I made a valiant effort to convince a little piece of my remaining starter dough that it would have to serve up its life as flour for a roux.  It worked, barely  – with deft and quick stirring, lifting it off the flame, making it as roux like as I could, working the added cheese so it did not become a gloopy stiff chunk.

October 2  – heading back

The next morning I cooked what was left of the starter dough, and it all worked out well in the end. After sausage and trail mix, our food bag nearly exhausted, and we were fuelled for the 5 hour portage and canoe back.

Some conclusions are in order

  • Having hot fresh bread on your camping trip is a wonderful thing.
  • Sourdough camping can be done fairly easily.   70 grams of flour per person per serving is required, along with the 2% salt mixed in. A  100g ball of 66% starter is all that is needed to keep it going.
  • Camp sourdough it does not take a long time but it does need planning
  • It really does need one person committed  to doing  it.
  • Keep the starter in a large sturdy freezer bag and have a couple of other bags at the ready too.  
  • The cooler the temperature  the longer you have to proof it, and   vice versa.  If you need it quickly then you need to find a warm body.
  • There are lots of variations possible from pancakes to fritters to hotcakes. They can be fried or grilled or cooked on a hot flat rock. Cook it dry or in  butter, oil or  bacon grease.
  • One objection from my son was that the extra cooking uses up more heat. In our case it wasn’t on account of the hot cakes that we consumed a lot of fuel –  I was making  cedar tea in large quantities for one of our party who was feeling a little under the weather.
  • Next time (I hope there is a next time) I probably prefer to bring a whole bag of flour and dip into it as needed. That would have saved my bacon on this trip  There is also merit to having each meal laid out with its own bag of flour with the salt pre measured.