Mayonnaise slight revision

Featured

At the beginning of the Pandemic, I did a blog about making mayonnaise. At that point I was simply just excited to be able to make it and to be able to do so fairly consistently. However recently had a couple of occasions where the mayo failed. This will ultimately happen if there’s too much oil per egg protein. I’d also observed that I never quite used that whole cup of oil per egg yolk. So I’ve been determined to figure it out so that my efforts can be 100% consistently successful. That’s what this blog is about.

Essentially I’ve come to understand that one needs to multiply the weight of the egg yolk by 7.66. More than that, and it will fail. Less is OK. The less oil, the thicker the mayo.

Here is the text version of the basic 2 yolk mayo. Even if you never open up my little ap with the formulas all built in, the following proportions should give you a decent and dependable mayo:

(Originally from Michael Ruhlman’s Ratio)

Generally, one egg will yield a cup of mayonaise.
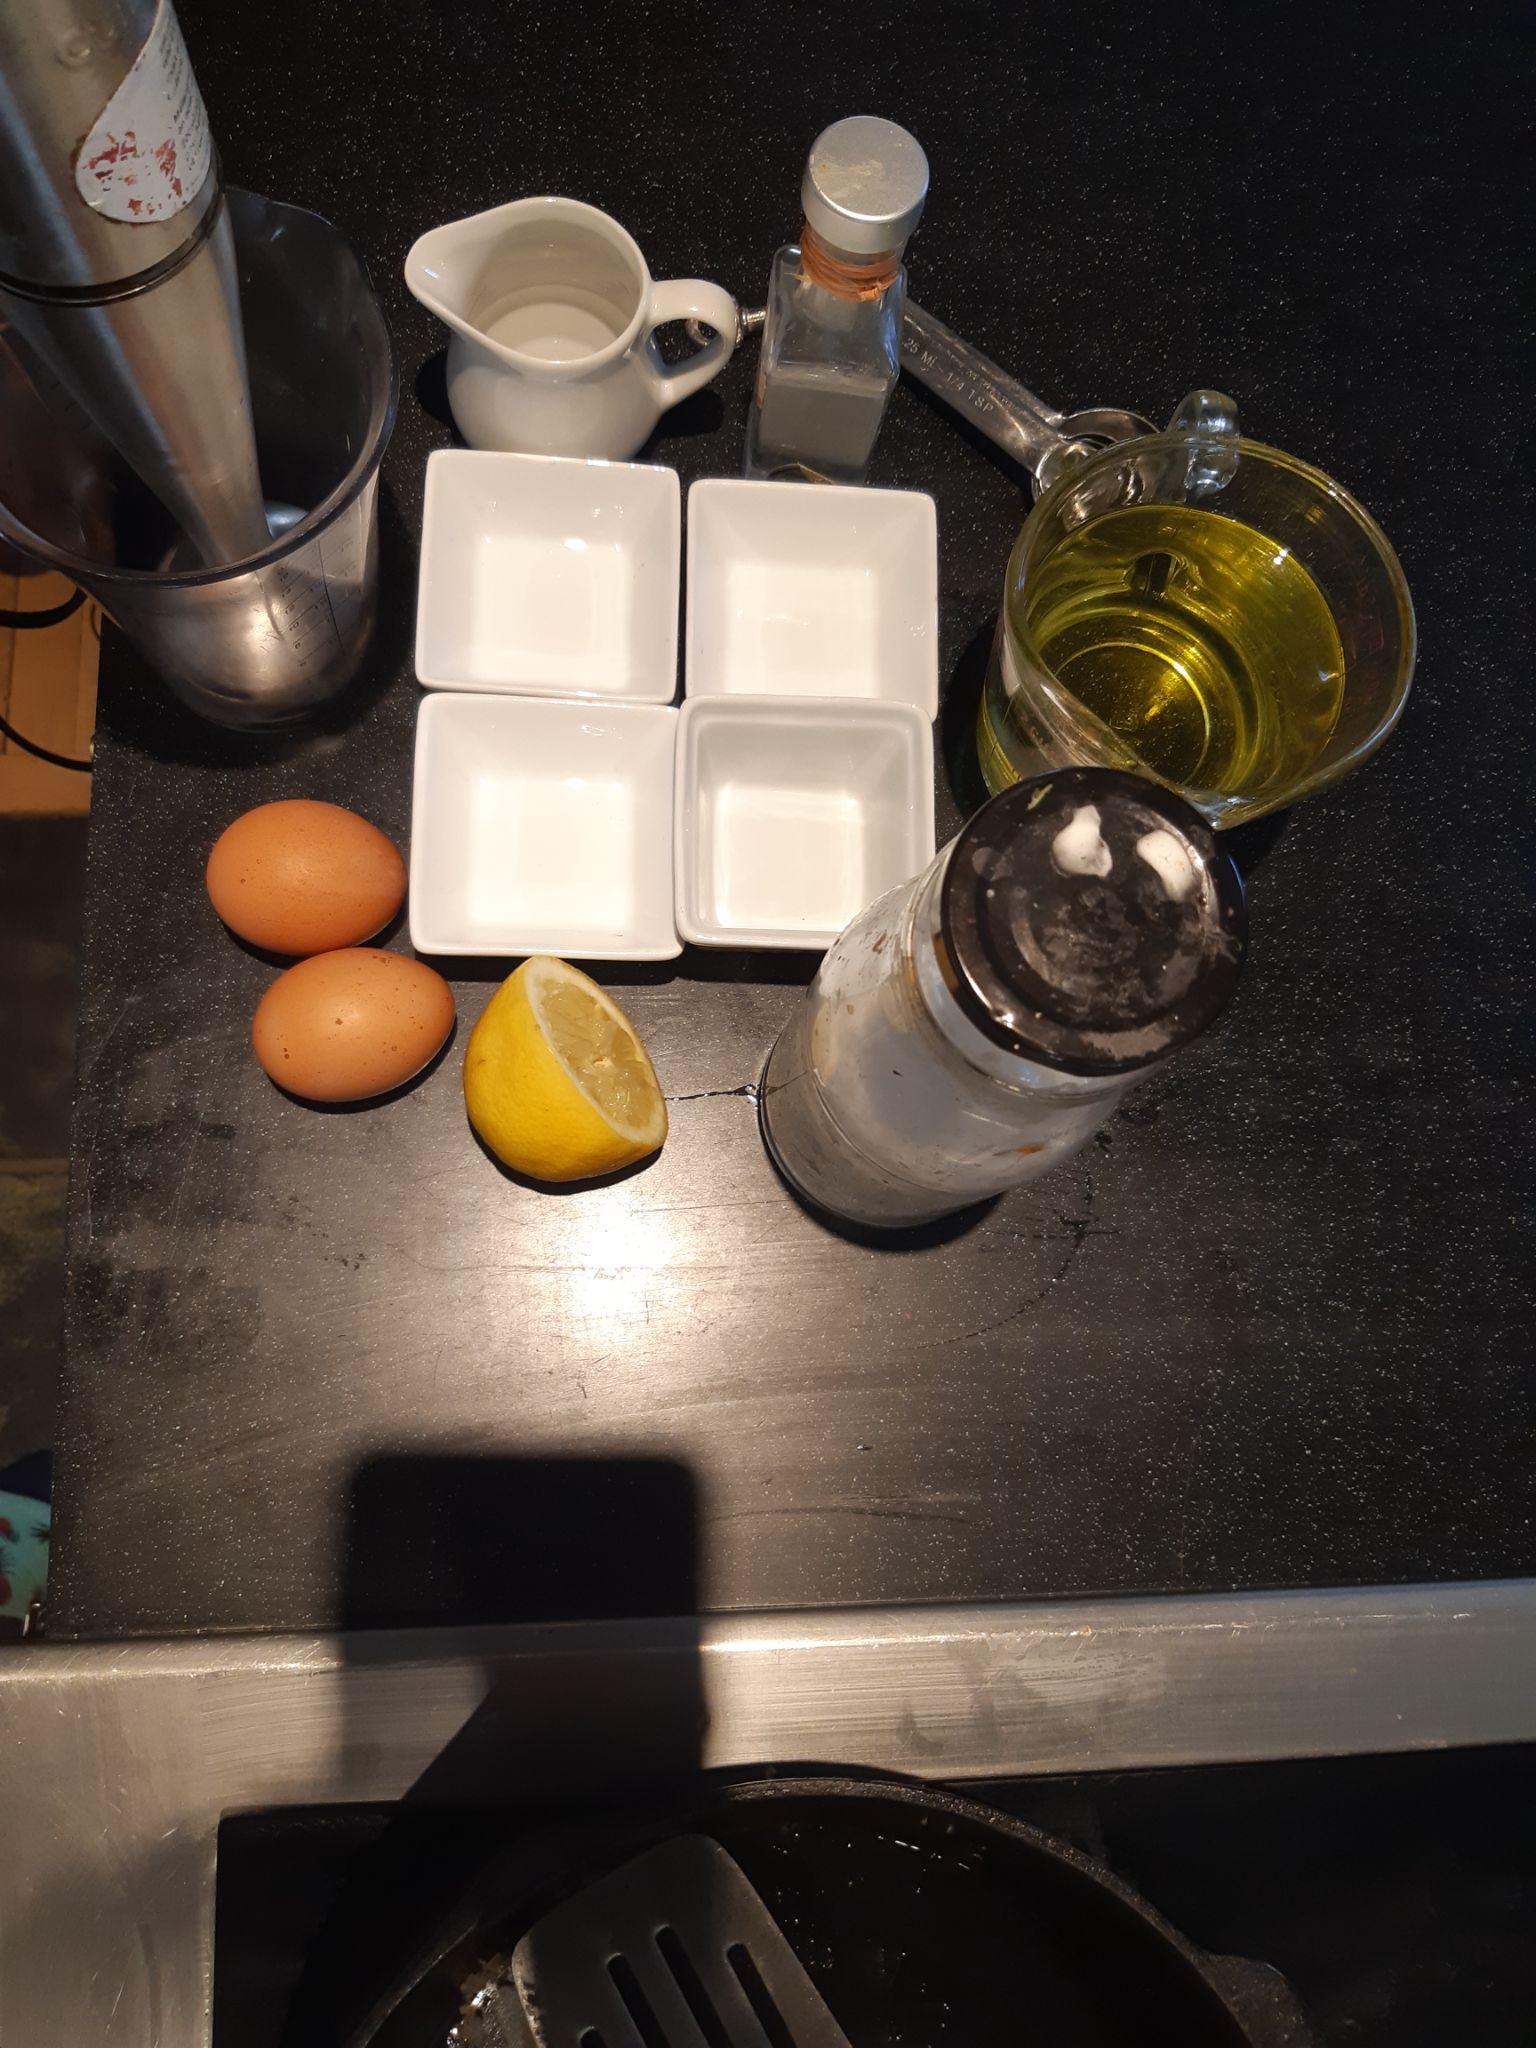
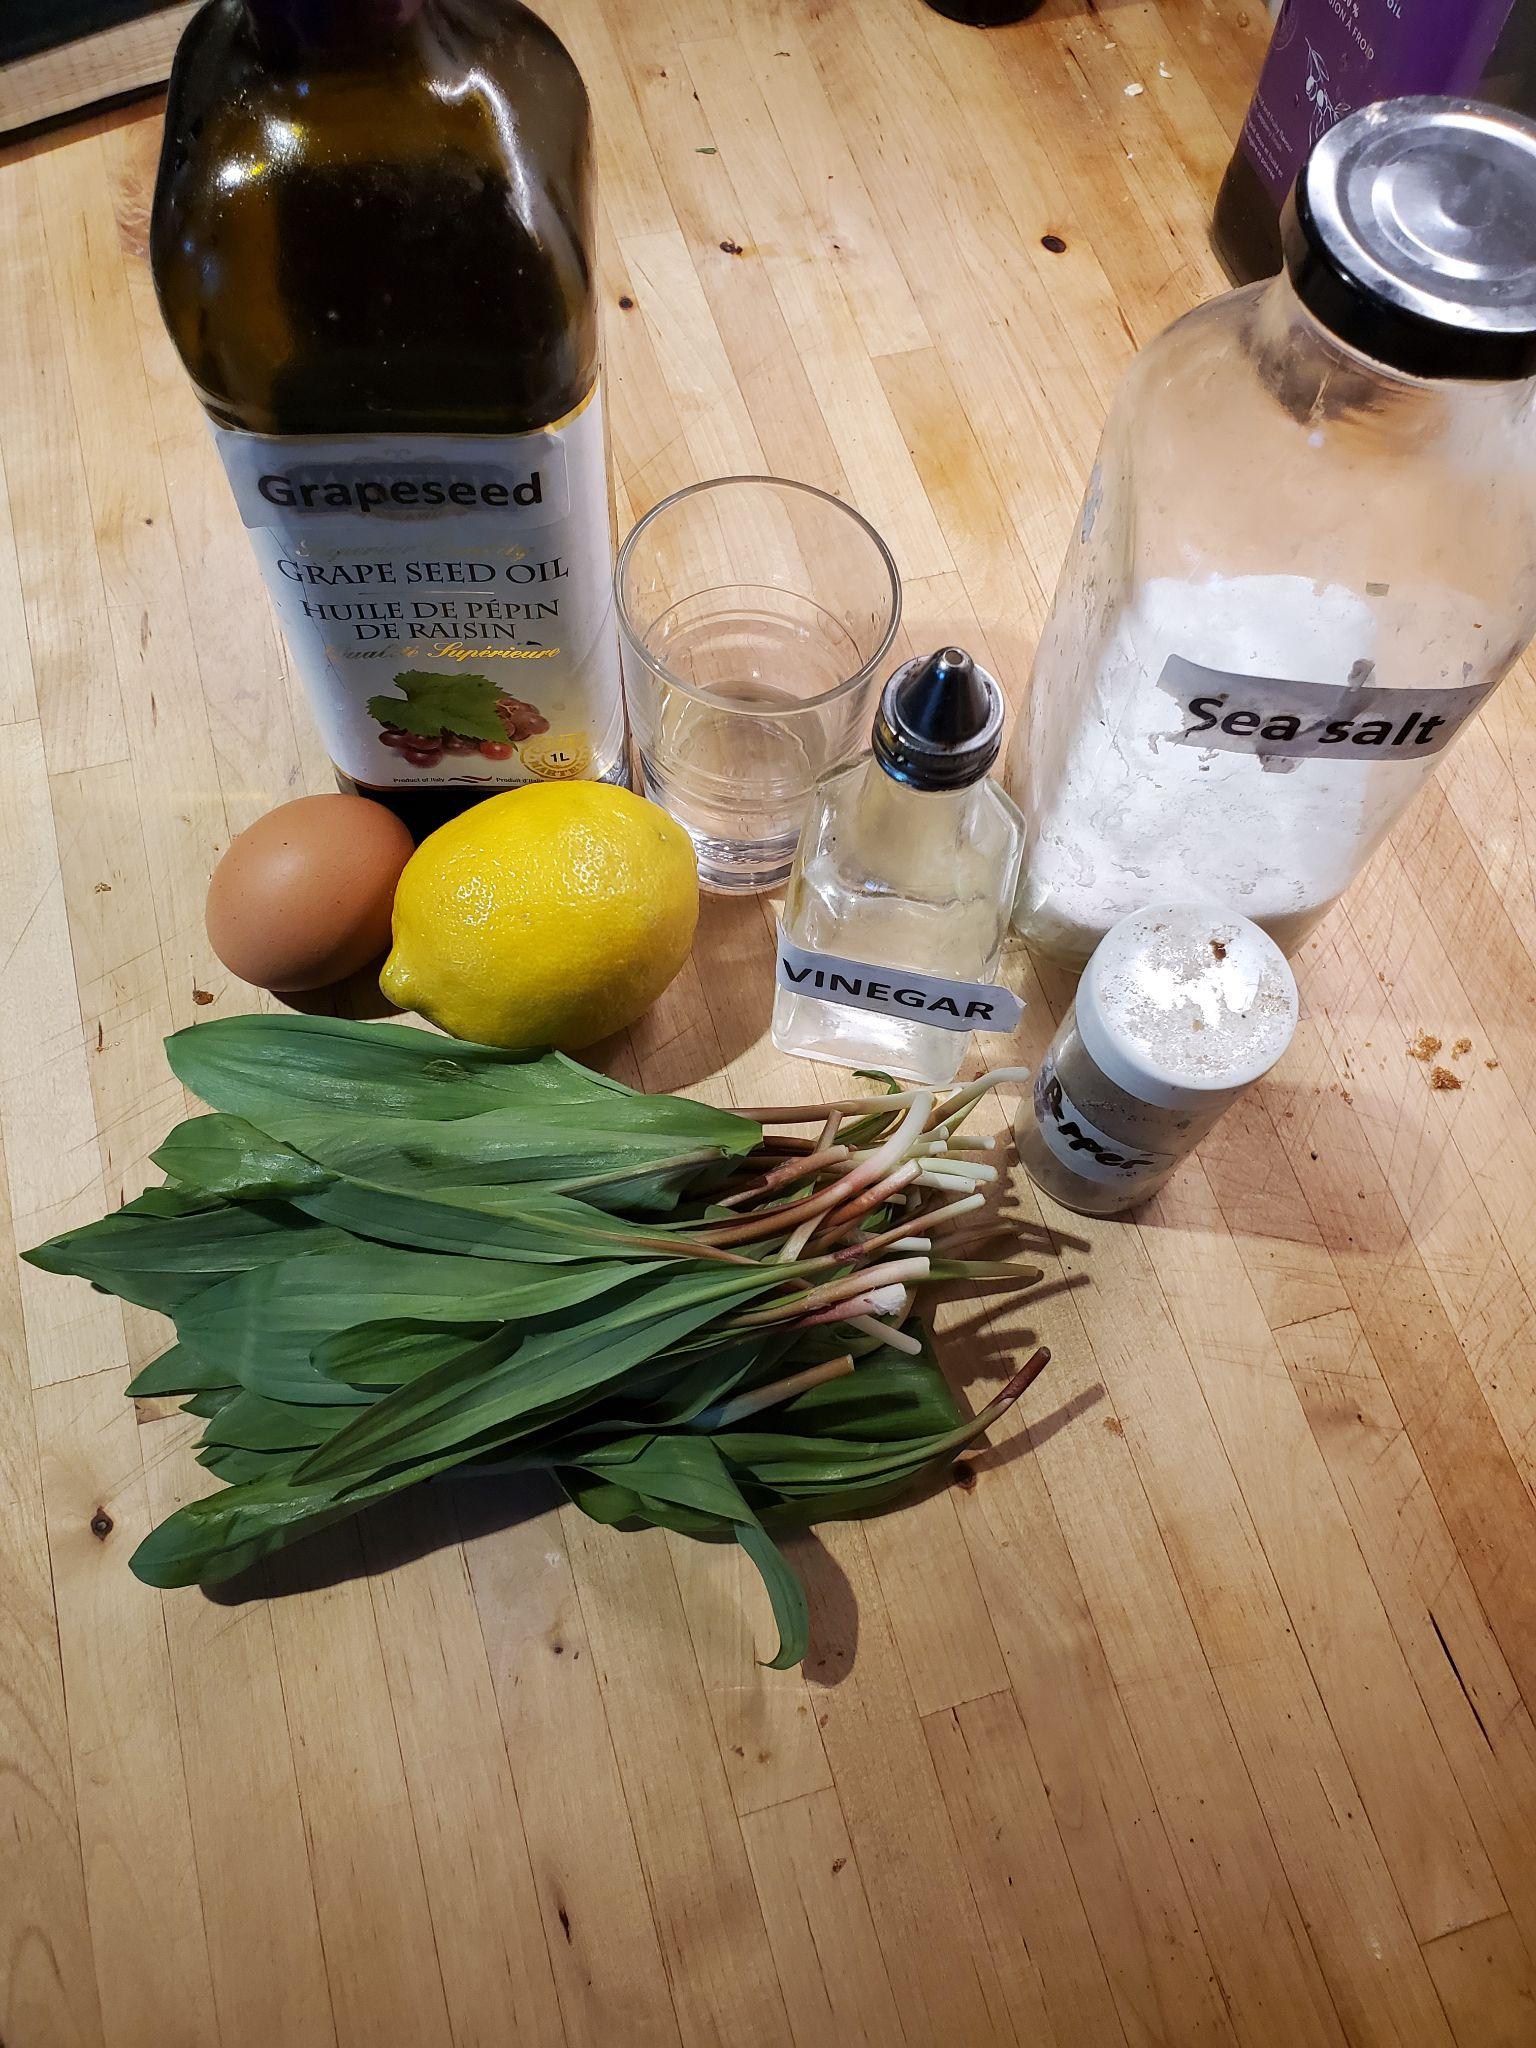
Ingredients

This will make 500ml mayonnaise.

2 egg yolks

330 g grapeseed oil

1 tsp salt

2 tsp water

2 tsp lemon juice

2 tsp vinegar

Method:

This recipe assumes you are using my little mayo ap.

  • Use an immersion blender and the mixing jug that came with it, or alternately a wide mouth 1 L mason or salsa jar.
  • Place the immersion blender container/jar on a weigh scale and tare to 0. Separate the eggs, putting the yolk in the immersion blender mixing jug. Input the yolk weight in the ap, then weigh/measure the oil, vinegar,lemon juice, water and salt.
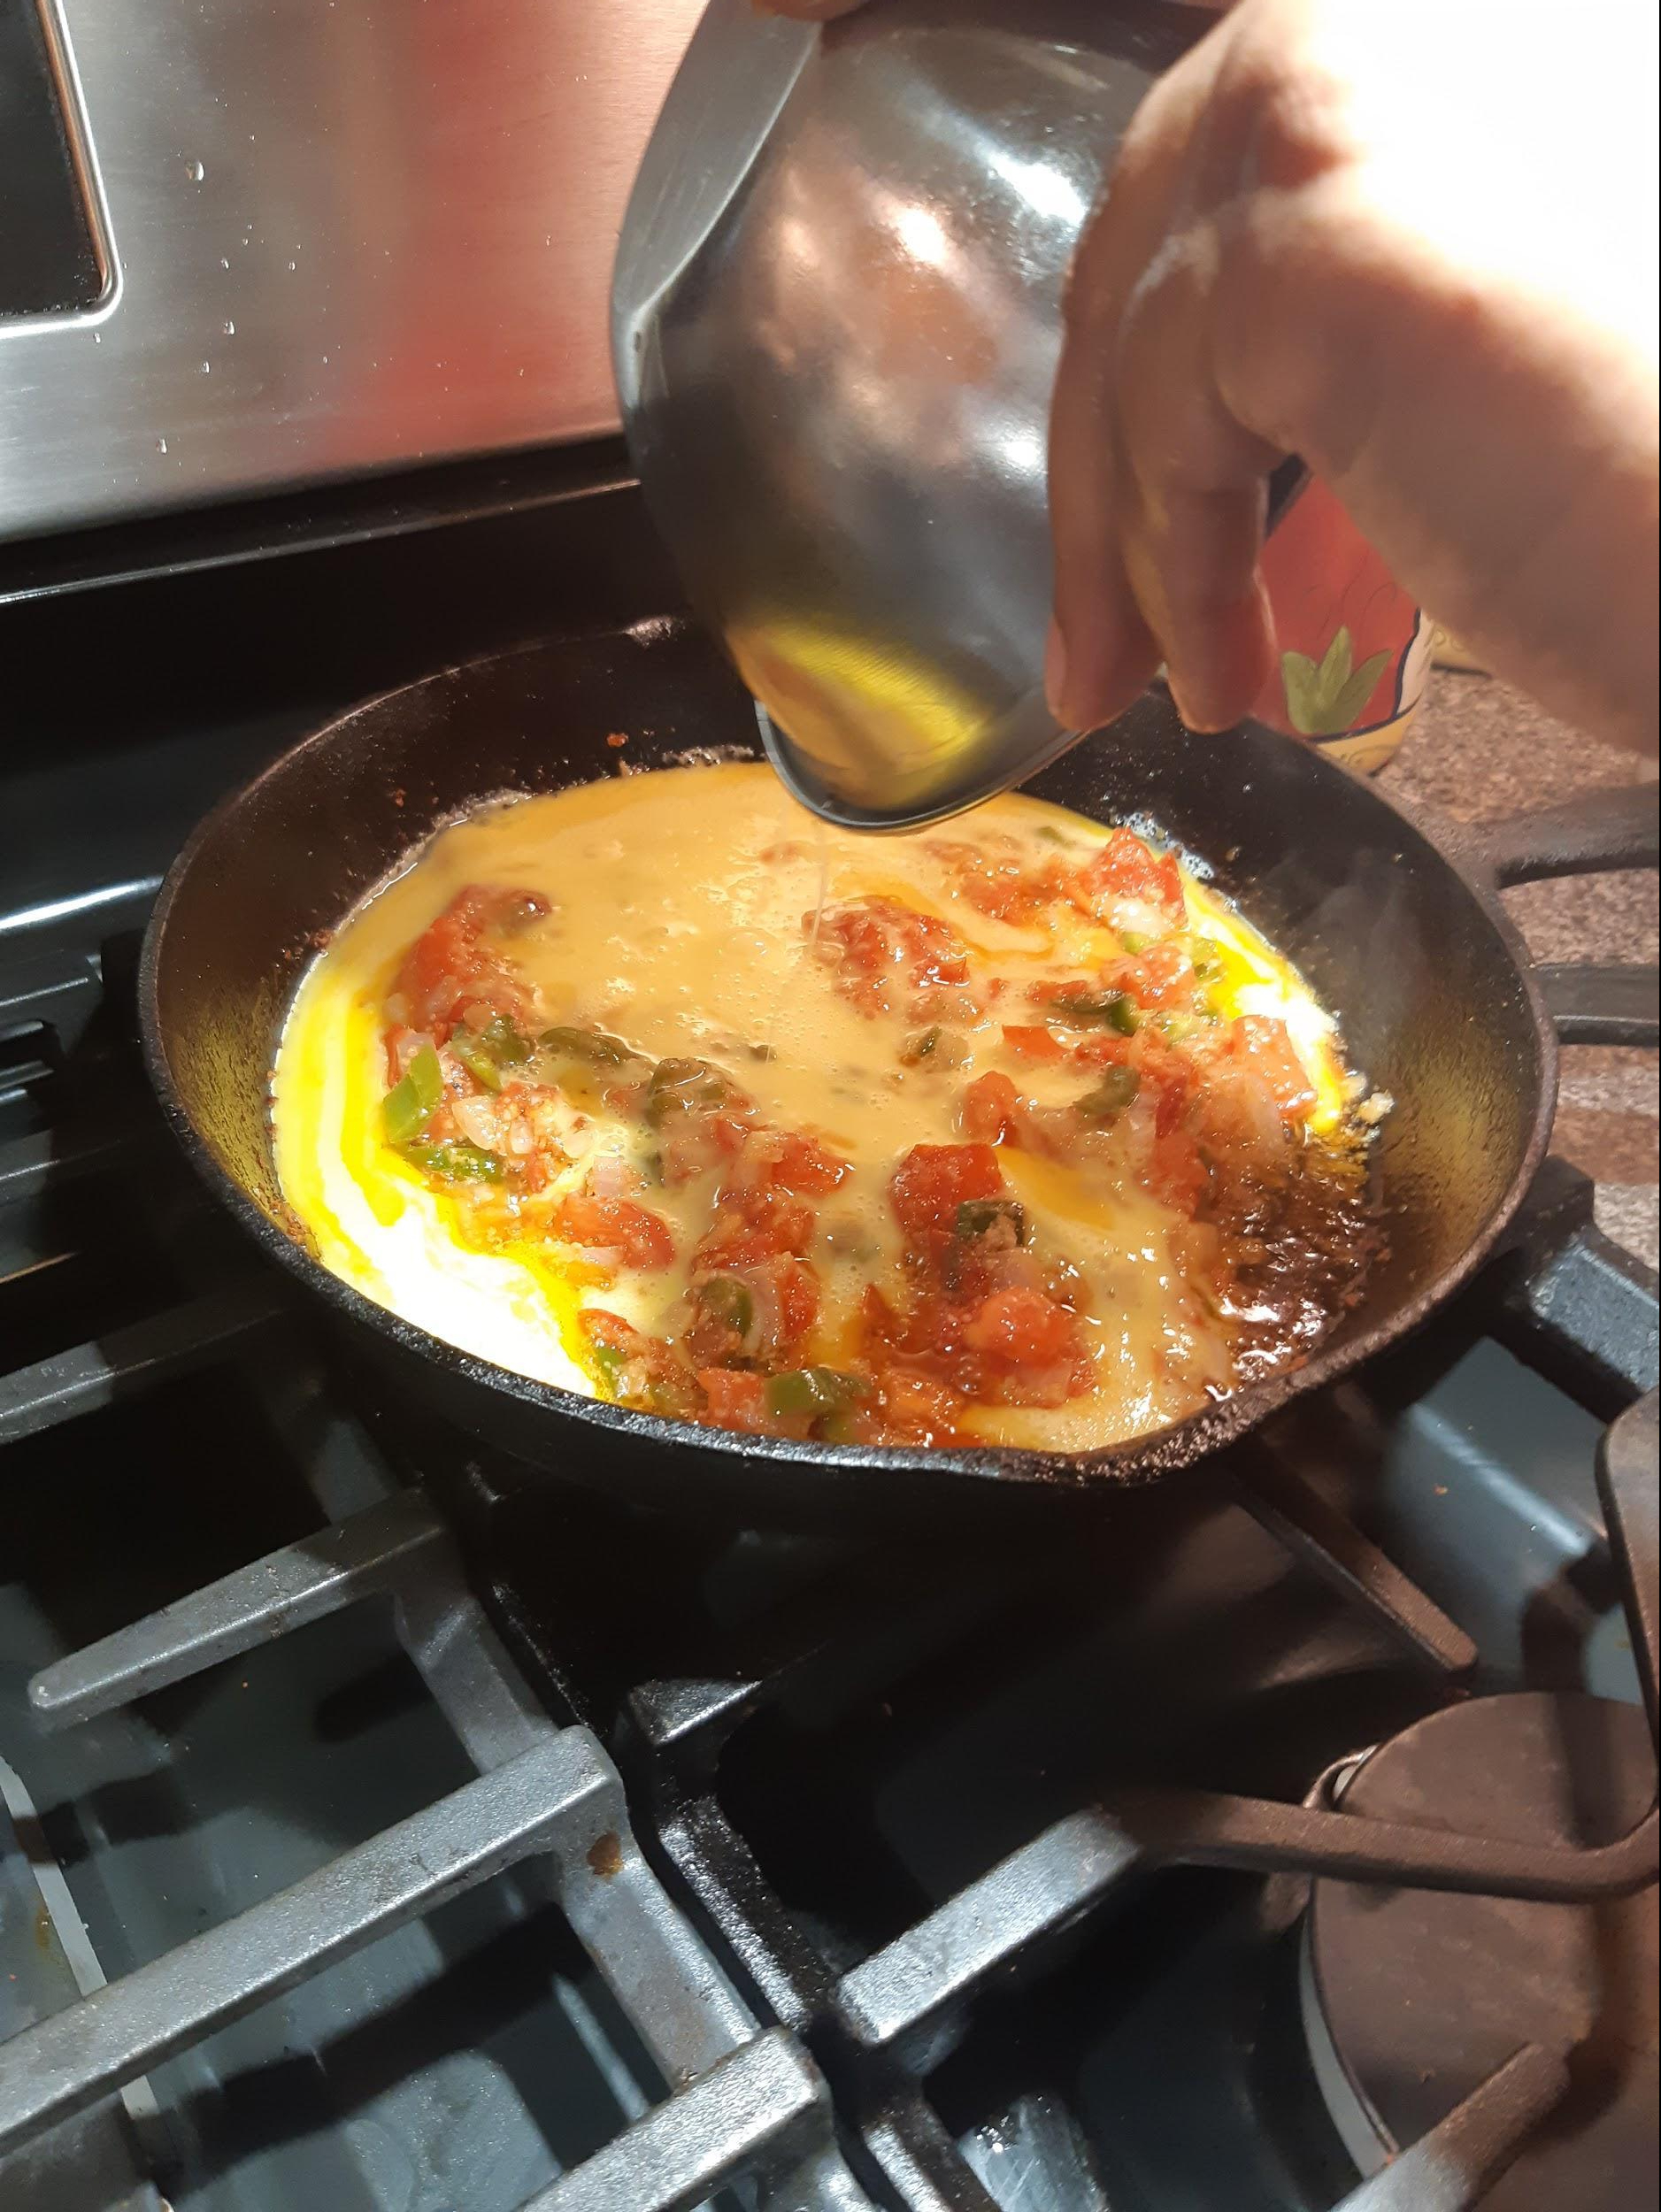
  • Add the vinegar,lemon juice, water and salt to the egg yolks and whirr around with the immersion blender until well mixed.
  • Slowly add the oil a little at a time to gain emulsion. Continue until all the oil is used.
  • Taste for lemon and salt at the end.
  • Refrigerate.

Other considerations and notes

  • Ensure your lemon is fresh. A ‘getting slightly bitter’ lemon can be disguised in other dishes but not this.
  • Ensure your oil is fresh and as tasteless as possible. Grapeseed oil is the best for this, but do taste before using. If there is any harshness or even a hint of rancidity, it will shine through in the mayo, and not in a good way.
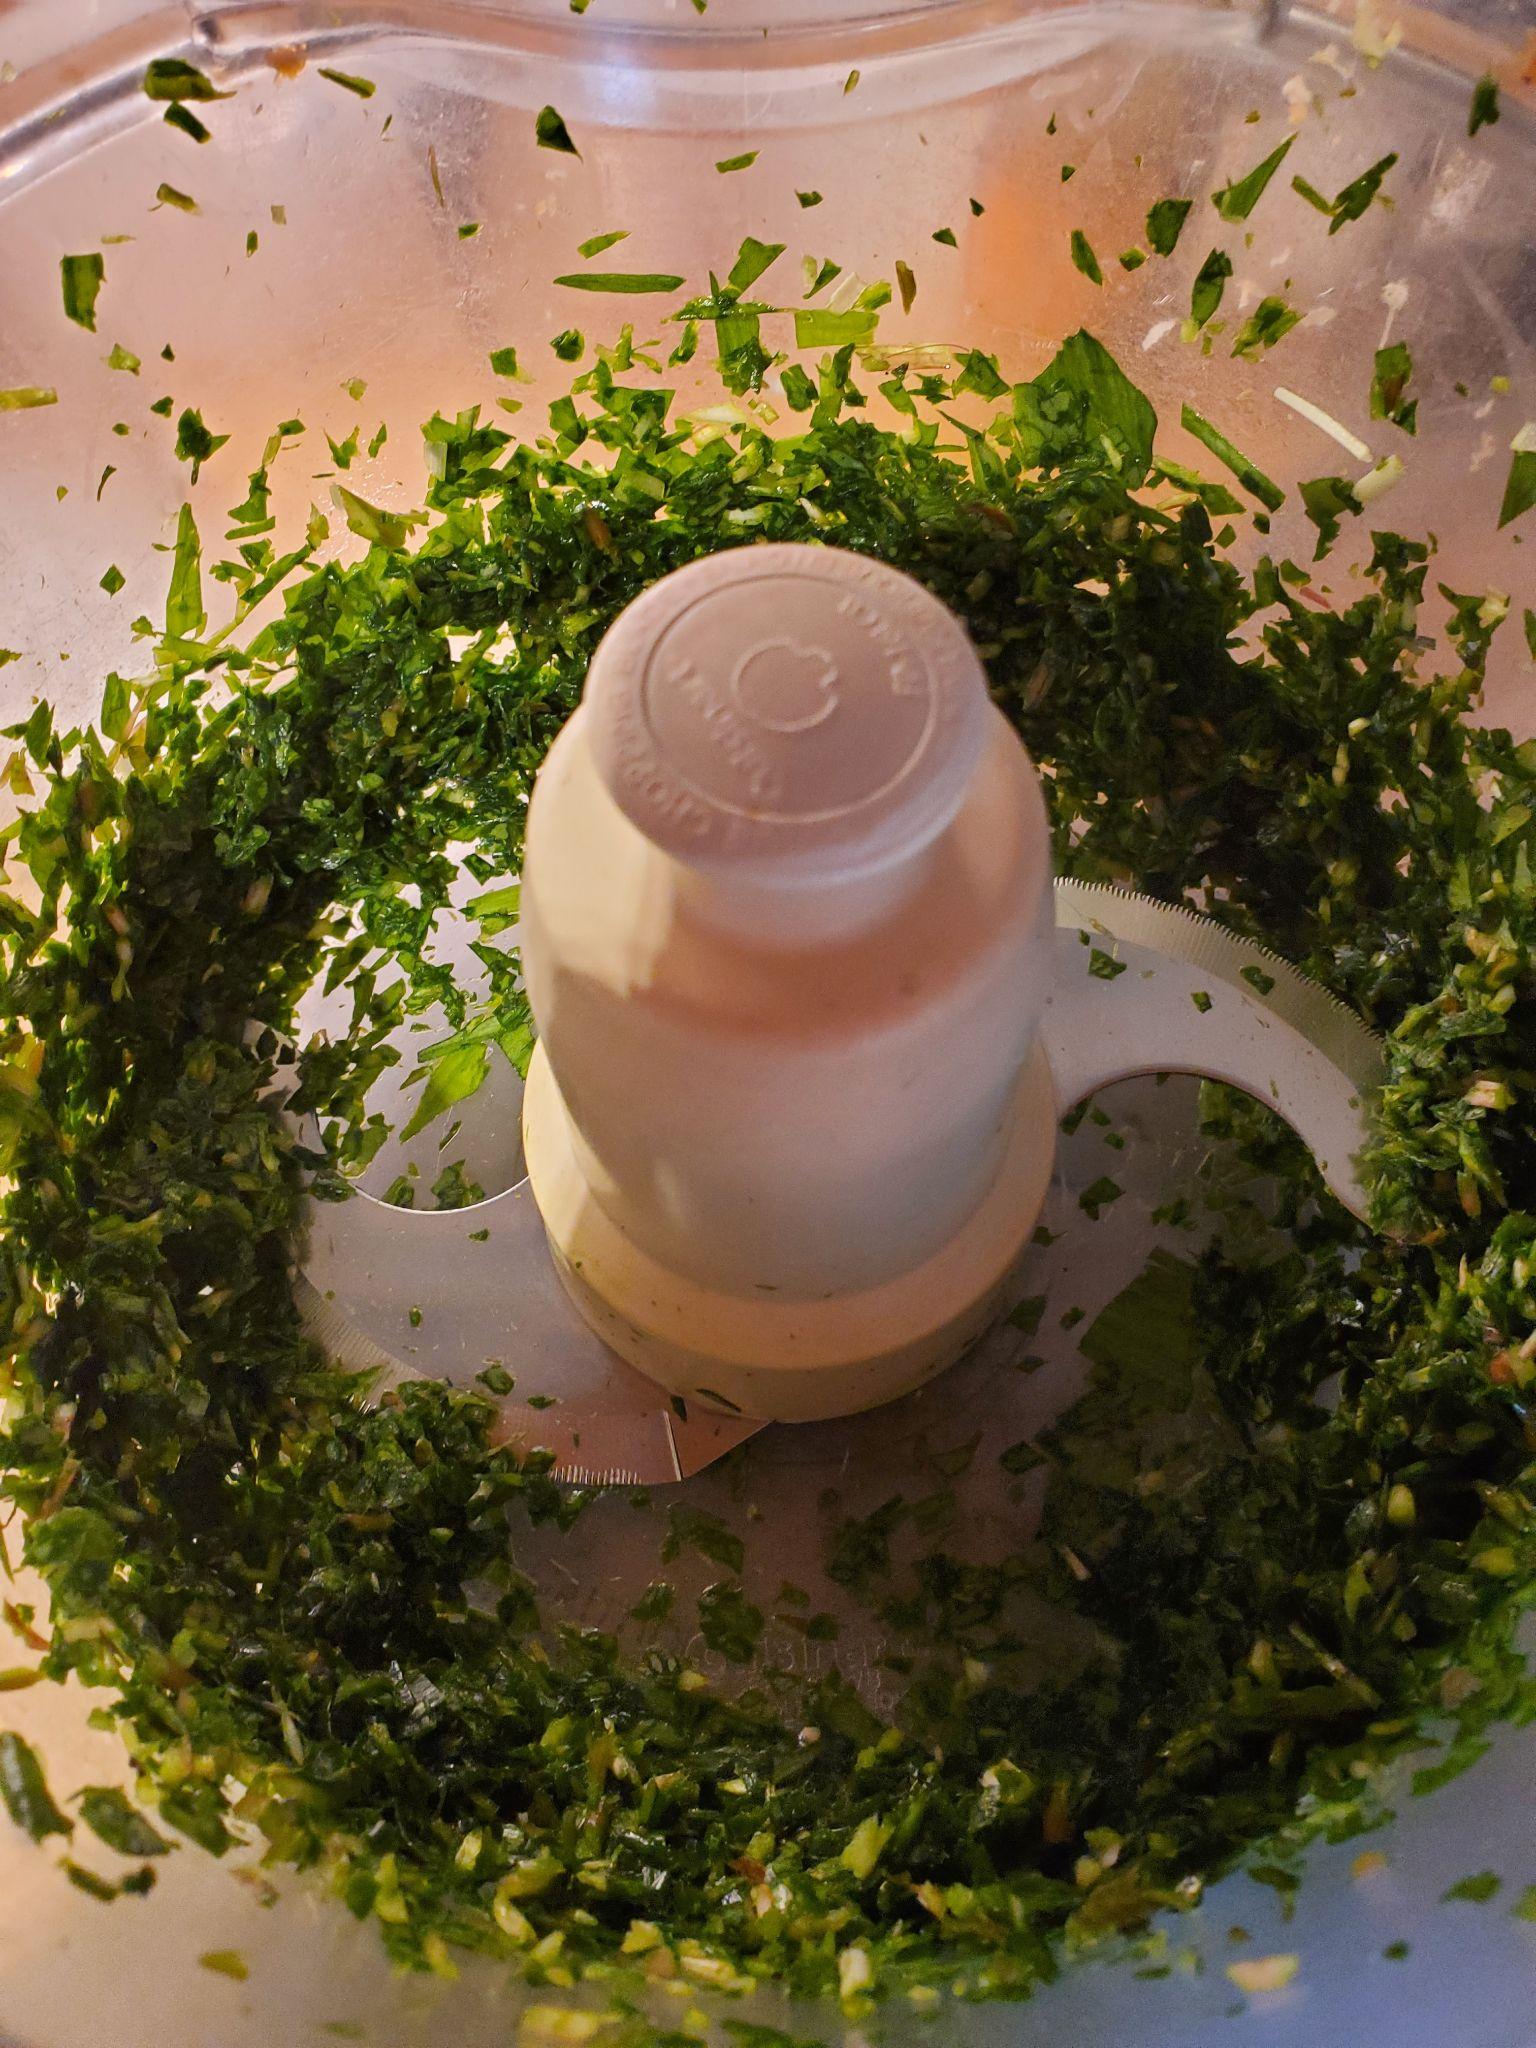
  • I like to make this simple 2 cup base. If I want to make variants such as dijon mayo, or hot mayo, I’ll scoop some in a 125ml ramekin or jar and go from there. There are so many variations! Dijon mayo (add a tsp of dijon to the ramekin size), or hot versions with cayenne, hot sauce, Harissa immediately come to mind. Adding ketchup leads you down the road to a Thousand Islands dressing.
  • Mayo and Cesar dressing are definitely culinary siblings. Both involve egg, oil and lemon juice. Both are emulsified. Cesar merely adds garlic, herbs, pepper, hot sauce and parmesan.
  • If you do mess it up, and the mayo breaks, pour the failed mayo into a measuring cup. Add a teaspoon of water and another yolk in the mixing jar. Slowly add in the broken mayo. Or you could use it as it is either a vinaigrette base, a dressing for coleslaw or potato salad, or as noted above, make into a Cesar dressing.
  • If you do need large quantities of mayo for that big summer BBQ coleslaw, you can do a quickie version that may not give you the full emulsification of that nice jar in the fridge, but will go a lot faster. Use the ap file to scale up the quantity you want, use whole eggs instead of only the yolk, and work with a food processor. It will also be a lot cheaper than buying all that mayo.

Mascarpone Cannelloni

Featured

This recipe is a long standing Christmas eve mains in our family, but its great to have anytime. The original published recipe (Step by Step Pasta Cookbook, p.117) has a good core, but is badly written – the book is quite old too.

Beside sharing a favorite dish, I also want to point out what makes for good recipe writing and what does not. In the picture above, this is the entire recipe! They have sacrificed space on the page taken up with an uninformative and mediocre photo to condense the recipe so that one has to continually ask, “ What exactly did they mean??” As a result, I’ve – shall we say – ‘rephrased’ it so it makes more sense.

I also made changes to the procedure. In the recipe, the spinach is boiled and squeezed. (Who would ever dare boil spinach these days?) In mine, I give it my standard green vegetable braise treatment.

Mascarpone

A note about the mascarpone is in order. Mascarpone is essentially a sweet cream cheese. Its flavour and sweetness is important in the recipe. This year when we did the cannelloni it was in a covid time lockdown, and it was very difficult to get into some stores to buy the required mascarpone.

I was about to give up, but then asked myself, “Can I do a workaround?” Once the question was asked, I realized I could! It was remarkably simple. Take organic cream cheese and add a spoon of honey. It does taste different: the organic cream cheese is a more fermented product and so you get a bit more of a tang to it but I quite like that. Besides which, mascarpone isn’t really any kind of a special cheese except that it’s really expensive. Take a look at the picture showing the ingredient list of the mascarpone and the cream cheese. The mascarpone is on top. After the milk, it is an entirely manufactured chemical product. It’s part of the big cheese industry, whereas the organic cream cheese is much more natural and a lot cheaper too. From now on I’m not going to worry about Mascarpone. Much easier to get a good quality cream cheese and add a little honey.

And on the subject of cheese:

Try Emmental/Gruyere/Swiss. The original recipe calls for Fontina. We prefer these other somewhat harder cheeses, for both texture and taste.

Ingredients & instructions for each step
The most efficient way to do this is to prepare the different components in the following order:

  1. Filling
  2. Pasta
  3. Assembly
  4. Sauce
  5. And, of course, the final bake

Filling

Ingredients

  • olive oil or unsalted butter for sauteeing.
  • 2 bunches of spinach or chard
  • 1 large onion
  • 250g mascarpone or cream cheese with honey
  • 250g ricotta
  • 3 tbs unsalted butter
  • Pepper, salt and nutmeg to taste
  • Approximately 500g of slices of fontina/ementhal/gruyere/swiss cheese. Its not necessary to lay down perfect squares of cheese. Rough slices with a potato peeler are fine.
  • 100 g grated Fontina/Emmental/Gruyere/Swiss cheese.

Instructions

  1. Finely chop a large onion and saute with olive oil and a little salt on medium until onions are translucent. Cover and turn low for about 30 minutes.
  2. Meanwhile, wash the spinach or chard, chop fine (including the stems) and add to the onion mix but do NOT stir it in.
  3. Leave the greens on top of the onions so the onion layer gently steams the spinach/chard. Put a lid on it. It should very gently simmer. Add pepper and a little nutmeg to taste. Cover and cook for 30-40 minutes (while you make the pasta.)
  4. Once cooked, thoroughly mix filling ingredients: spinach/chard/onion mix, 250g ricotta, 250g mascarpone, grated cheese. Taste for flavor: salt/pepper/nutmeg

Pasta

Make a pasta dough with

  • 4 eggs – but weigh them! They should come out to about 200g.
  • flour = weight of eggs divided by .6 – about 333g

See my blog on making perfect pasta every time. Here is what it should look like when it is properly mixed:

Although you could use a rolling pin, it will go faster if you use a pasta maker. The pasta should be thin, but not too much so. The main idea is to roll it through so that it eventually takes up the entire width of the pasta maker, which you cut into 5-6″ /13-15cm squares.

Here it is all set for the filling. Be sure to cover them with wax or parchment paper to avoid them drying out.

Assembly

The main part of the assembly is done before the sauce is made.

  1. Turn oven on to 375F/190C.
  2. Place slices of cheese in the middle of each square. You need to cover about 90% of the square’s area.
  3. Spoon a dessert spoon of filling on the pasta squares with cheese slices. Spread out the filling so it covers the whole square.
  4. Roll up the caneloni and place seam down in a large glass serving dish.

Sauce

Ingredients

  • 1 cup whipping cream
  • 1 cup whole milk (the original recipe does not make enough sauce!)
  • 2 tbs unsalted butter
  • 3 tbs all purpose flour
  • Pepper, salt and nutmeg to taste (You want to make your sauce sing a little.)
  • Grated cheese that is dropped on the casserole as it is going into the oven.

Sauce instructions & final assembly

  1. Make a roux: in a pot on medium-low heat, mix 3tbs/44g butter with 3 tbs/30g flour.
  2. Once combined and cooking, slowly add cream, then milk, & keep stirring as it thickens.
  3. Add in salt, pepper and nutmeg to taste
  4. If too thick, add more milk. The sauce should pour, but barely.
  5. Pour over cannelloni, dot with grated fontina/emmental/gruyere/swiss cheese and butter
  6. Brown in 375 degree oven for about 20-30 minutes

This recipe makes enough for about 8 servings (not 4 as the original recipe suggests). Should it not all be eaten, they make amazing day-after canapes when cut into half inch slices.

Ginger shots

Ginger shots? Ginger juice? Is it a thing? Apparently so!

A couple of months ago I set out to provide the fixings to make non-alcoholic cocktails – There’s a pregnant daughter in law who, in the past, has made some pretty amazing mixes for the family. There was also that report that recently came out claiming that any amount of alcohol can cause cancer. In many of these mocktails, ginger is a prominent ingredient. Think of ‘mule’ drinks, all of which use ginger of some form as a base. That makes sense: in order for a mocktail to work, it needs to have a strong base taste to replace what the alcohol gives. My options were, as expected, centred around ginger beer, or ginger ale. I found that the ginger hit in these drinks was limited, and the drink itself really defined the resulting mix. I wanted to be free of that, to be able to create from truly raw ingredients.

At the same time I was exploring different tea infusions. Since we live in a lovely place with lots of cedar trees, I started thinking I should make some cedar tea again. Ginger teas are also great for you, but going from the ginger root to a tea involves time and prep. The cedar would make an excellent compliment to the ginger, especially when mixed with maple syrup or honey.

This all caused me to think: “I’d really like my ginger as a liquid.” I didn’t want it to be anything except ginger. No sweeteners, no other flavors. Those can all be added later. How can that happen?

Once I thought about that a little, the answers were fairly clear: Break the ginger down as much as possible. Boil/infuse it. And the logical next step: strain it. I’m always trying to make my cooking processes as efficient as possible, so in the case of ginger, it was clear to me that while I needed to clean and get rid of bad bits, there was no need to peel it.

I then started asking myself, “Why have I not thought of this before?” And, “Is this a thing?” I do not have an answer to my first question, but I did find out that, yes, its a ‘thing’. Ginger shots. $4.00/2oz at our local supermarket. (see the picture at the end)

There are other bloggers who have landed on this as well, though they have gone for juicing the ginger, whereas my process is about making a boiled infusion. Another variation is to steep the shredded ginger in room temperature water then squeeze it all out. Also included in these blogs are further process recipes that usually involve some kind of sugar. This is needed to cut the bitterness and harshness of the ginger.

How to Make Ginger Juice (Juicer + Blender Recipe)

How To Make Ginger Juice & Ginger Shots + Why You Should (Benefits)

Ginger Juice | FoodByMaria Recipes

I haven’t tried juicing it yet, but I will. I’m guessing I’d get a lot less final product. As to strength, I’m pretty pleased with the kick I’m getting from the infusion.

Here’s how:

Ingredients:

  • 950g/2lb ginger root
  • 3 L water

In other words, approximately 300g ginger per litre of water will yield approximately 750ml of ginger juice.

Method

  • Clean and inspect ginger, cutting out any bad bits
  • Shred the ginger. I use the grating wheel on my food processor. The aim is to break it down as much as possible to make extraction more efficient
  • Boil the water and ginger together. Bring to a rolling boil, then reduce to a simmer for 1 hour. Covering it is fine; uncovered will evaporate water and make the resulting liquid stronger.
  • Strain. Once the ginger mash has cooled down squeeze our as much of the liquid as you can. This can be done either by putting the mash in a metal colander and pressing a pot lid on the mash, or by squeezing it through cheesecloth.
  • At this point it can be bottled. It can either be waterbathed if you want it to remain shelf stable for a long time, or simply refrigerated if you are going to be using it regularly.

How can you use it?

Any situation where ginger is called for: soups, casseroles, baked goods, The resulting juice is going to be very strong, so use sparingly. Taste as you go! Most commercial ginger products have sugars added, so you may wish to do the same.

Teas

My impetus for developing this was to make tea. For this function, its particularly well suited: just add in the ginger juice, likely some sugar, pour boiling water, and there you have it. 30g/1 oz will nicely flavor a cup of tea. Here are a couple of tea ideas:

  • 1 oz ginger juice/1 oz maple syrup/2 oz cedar tea
  • 2 oz ginger juice/1 oz lemon/1 oz maple syrup
  • 1 oz ginger juice/1/2 tsp turmeric/1 oz liquid sweetener – honey, agave, syrup

Extract even more

A further possibility to extract as much usable ginger as possible is to dry the mash. There’s still a lot of ginger flavor in it. To do this, wrap cheesecloth around a cookie cooling rack, spread the mash over it, and put in a convection oven at 170F for about 6-8 hours. Turn it every so often until it has dried out. Once it is dry, use a food processor or spice mill to grind it down to a powder. Keep in mind that a lot of the flavor has already been extracted, but it should be close to what you would get commercially.

The photos show what it all looks like. From my 950g of ginger and 3 L water, I got 2.25 L juice and 250ml of ginger powder after drying the mash.

What I started with

Post shredding

Pre boiling: I wasn’t sure how much water to add. In the end 3L adequately covered the mash and provided for a simmer that would sustain and not evaporate significantly

The infused mash post boil in a colander

The resulting juice

Post bottling. This should last for a couple of months. Maybe more.

This is what you get at the store. 2 oz/60ml for $4.00.

Wild onion Aioli

This week I’ve been doing a lot of wandering through the woods. There’s a pretty big woodlot right beside us – some of it privately owned and (once every 25 years) logged, some of it belonging to the local conservation authority. Rarely is there anyone in it. A couple of us follow trails started this past winter by cross country skiing,

Walking through the woods is both a mindful and a mindless activity. You can let your mind go, taking a deep spontaneous and random dive into your thoughts (while keeping an eye out for exposed roots and other trail hazards). I understand this is a wonderfully creative place to be.

A week ago (mid April), I sighted the very first wild onions of the year. A sure sign of spring.

I was so excited! I didn’t think they’d be up quite this early but here they are so I started gathering them. Today I’m only gathering leaves. Not many, just what I immediately need. Pulling the roots as well would be a lot more invasive. You have to use a tool and dig under the the roots. Although they can propagate through both seeds and runners, they reproduce best by the root bulb splitting in half. Also by just taking the leaves, its a lot cleaner.

This year I’m continuing to do what is becoming a tradition for me: putting wild onions in everything I cook. I wrote about this last year.

So what will I use them for tonight? We’re having steak tonight so … as a garnish on the steak? Potato salad?

Possibly as an onion accompaniment to mushroom sauce? But I have a feeling if I did that that they would lack their unique taste. Definitely a garnish in the salad.

A couple of years ago I made wild onion wine jelly which is a variation on garlic wine jelly. That’ll go on the table. Like everything made with wild onions/leeks/garlic, it has its own very unique taste.

Recently I’ve been working with aioli – something I have not done much until recently. I thought, “whoa how about using the wild onions to make a wild onion aioli?” It would essentially substitute for the garlic. I was wondering about if there were a natural citrus kind of flavor and acid to substitute for lemon & keeping it all local. I think the first time I’ll just stick with lemon, grapeseed oil, wild onion, pepper, salt and of course an egg. I’ll forgo the oregano and thyme in order to focus on the true wild onion flavor.

My first attempt was as follows, and I’m happy with the result. Initially the taste was too strong, but after a while, it settled down and became pretty amazing.

Ingredients

75 g wild onion leaves. This is an approximate measure. Take your cue from the picture below.

¼ tsp pepper

1 tsp vinegar

1 tsp lemon juice

1 tsp water

½ tsp salt

1 egg

250g grapeseed oil

Method

Equipment needed:

  • Bowls
  • Immersion blender
  • its mixing container (or a wide mouth 1L mason jar). Its important to use a container like this (i.e. barely wide enough for the immersion blender to fit into) in order to make the emulsification work.
  • Weigh scale. The weight of the oil is important for a successful emulsification.
  • Measuring spoons

Instructions

  1. Go pick your wild onions. You will need to fill a sandwich bag to get enough for a one egg aioli. Its best to harvest and prepare on the same day, though a day or 2 later is fine too.
  2. Weigh and puree wild onion leaves
  3. Measure the pepper, vinegar, lemon juice, water, salt and egg in the immersion blender container, and thoroughly blend.
  4. Add the wild onion puree and blend until fully combined
  5. Slowly add the grapeseed oil until it begins to thicken, and the sauce is smooth. It may not thicken in the way you may be used to with garlic, but it will get thicker once chilled.

This should make enough to fill a 500ml jar.

Enjoy in all the ways you would use with aioli or mayonnaise: as a dip, a spread, a sauce…..Let your imagination go.

A late June postscript:

The Aioli is definitely the way to go with wild onions. Its easy to make, incredibly versatile, and refrigerated lasts a very long time just like mayo and other aiolis. This is the in between season where garlic is concerned: by April last fall’s bulbs are finished or sprouting, and only now is the first of this year’s crop coming to local farmer’s markets. Garlic scapes are making their presence known, and that will be the next aioli I make. I’m planning on the same recipe, just sub in scapes for the ramps. Although I can’t wait to get new garlic, I see using wild onions and scapes as a wonderful part of the yearly culinary cycle.

Ethiopian Tea Spice Mix

Ethiopian Tea Spice Mix

A few years ago, my Ethiopian friend S showed me how to make a remarkable spice mix. It’s so simple, and also so versatile. Although its main purpose is as a tea mix, (similar to Bengal spice, except for the ginger), it can also be used to flavor coffee. Lately I’ve used it successfully to make a spiced coffee cake and as a steak rub.

The recipe itself is super simple. To make 1 spice jar (about 100ml) here’s what you do:

Ingredients:

cinamon 7g

whole cardamom 10g

cloves 10g

Method

I use a dedicated coffee grinder for grinding spices, so just throw these 3 ingredients in, grind them up and voila!

What can you do with it?

  • Make a tea: approximately 1 tsp per mug. Top up with boiling water and enjoy. If you want to replicate Bengal Spice add ½ tsp of dried ginger.
  • Flavor your coffee: If using a crema, bodum or espresso, add ½ tsp to the single serve coffee you are making.
  • Meat rub: add salt (weigh the meat and divide by 60 to determine how much salt to use), pepper and the spice mix so it is lightly covering the meat.
  • Spice cake: I have not worked out the precise measurements. Depending on your cake, add approximately 1/2 tsp per egg used in the recipe to the dry ingredients. Try a small cake first and adjust your spice mix to your taste.
  • Cookies: I haven’t tried these yet, but a similar amount would apply.
  • Vegetable Casserole: One of the issues some have with Ethiopian cuisine is its dependency on Berbere and Nitr Qibe – the spiced butter. Using this mix as the key flavoring in a vegetable dish provides a wonderful compliment to your other Ethiopian dishes. It would likewise compliment any of the tropical world cuisines that rely on strong spicing.

Wild onions part 3: Braised nettles

This is a continuation of the last blog where I’m still experimenting with wild onions. 2 weeks in and the wild onions are at their height. A few days ago, the forest was a carpet of trout lillies, and today it is a wash of green and white trilliums. In the past 2 days, all the leaves have suddenly come out on the trees. Such a magical time of year.

This recipe features nettles – another of the first springtime crops to come up here in Ontario. I buy them in a bag of maybe 50-60g from the market. ( I don’t have a personal spot in the woods yet). When I buy them in the bag I don’t touch them until they are cooked.

I’ve covered the cooking of nettles and other wild greens a couple of years ago, and this recipe follows that basic braising technique.

Ingredients

2 tbs coconut oil

1 bag (about 60g/2oz fresh nettle leaves

1 medium onion

2-3 garlic cloves

15 or so fresh wild onion leaves

3 tbs chevre

salt to taste

pepper to taste

1/4 tsp nutmeg

Instructions

  1. Dice onions and garlic and sautee in coconut oil with a 1/2 tsp salt until nicely caramelized.
  2. Once they are well caramelized, throw on the bag of nettles, cook on a bare simmer, lid on, for maybe about half an hour. Add water if needed.
  3. Meanwhile, toast the sunflower seeds in a dry frying pan until they’re a little toasty.
  4. Cut the chevre into a few small pieces.
  5. Chop the wild onion leaves so they are like a garnish & set aside.
  6. Mix in the chevre. It will act as a sauce. Mix in the cranberries, sunflower seeds, nutmeg.
  7. Taste for salt and pepper and transfer to a serving dish.
  8. Spread the wild onion on top.
  9. Serve immediately. Its probably best served warm.

Wild onions part 2

It’s been a long time since I’ve blogged here. February 2021 was my last. It’s been an exceptionally busy time boiling down our lives from a house in the city and another place in the country to just one place in the country. It’s meant packing, selling, donating and tossing. This work still continues. It’s time to get back into blogs, though. I miss doing this a lot. They are my vehicle to learn about food and cooking.

Much has changed in how I approach cooking. There’s much more of a focus on simplicity. A focus on one or two ingredients in a dish to showcase those specific flavours. I’m cooking in smaller quantities, and preparing fewer dishes. Somehow I seem to be getting a lot more efficient as well.

The place we are currently living is Grey County, Ontario on the Niagara Escarpment. We’re in an area full of wonderful deciduous forests. At this time of year there’s a succession of new growth as the first gentle green of the year comes in. Just in in this past week the trout lilies are in full bloom turning the forest floor into a carpet of green speckled with little yellow flecks of the emerging flowers. These will be followed by carpets of trillium, with ferns coming in short order while the trees bust out their annual leaves.

In terms of cuisine it’s significant because it’s the rare two to three-week period in the year where wild onions are available. It means I have the wonderful luxury of heading out my door into the woods and foraging for just enough wild onions for the meal at hand. This blog documents my recent exploration using wild onions in a variety of ways. I’ve written about wild onions before and my work in developing a hot Wild Onion jelly condiment. I still have a few of those and they are quite unique, different and also delicious. The fact that two years on I still have them also speaks to the uniqueness of the taste. This year my focus is on using the leaves fresh and examining different treatments and uses of them. With wild onions, you do need to keep tasting to get the right balance between them not showing up at all and being too overbearing with their unique musky forest taste.

I developed 4 recipes using the leaves, and this blog describes them. In the first case I wanted to make a potato salad. Potato salads typically involve potatoes, some kind of a mayonnaise type dressing and sprinkles of parsley or chives to give a little kick in flavour. Here I am using the wild onions for that garlic/onion function. I also decided to use a couple of boiled eggs in the mix. I felt that would be a nice taste and textural complement to the potatoes. There aren’t specific quantities here. I used 4 potatoes, 2 eggs, and a couple of tablespoons of mayo. I also have some chives growing and I used those as well. Pretty simple: combine the ingredients, tasting as you go. Obviously there’s some salt and pepper to taste.

The second recipe I worked on was a spinach salad. The same principles apply: wild onions substitute for regular onions and garlic, taste as you go for the right amount and balance. Spinach is the fairly neutral base of the dish, with the other ingredients adding the pop and excitement. In this case its the wild onions, chives and sorel.

My third application was a beet salad salad. Beets already have a pretty strong individual taste, so they can take a lot more wild onions to balance the flavors. I like some heat in my beet recipes so a little bit of Scorpion sauce went in too. Olive oil and apple cider vinegar as the dressing were the dressing base. A final addition was pomegranate seeds. These are always great to provide that bright, fresh slightly tangy pop in any dish they appear.

My final effort which worked out really well was a barley salad. Again the wild onion leaves form the base of the flavoring. to taste, a dressing of olive oil and apple cider vinegar, The wild onion is finely chopped wild onion, with salt and pepper to taste. Since I already had that pomegranate out, it seemed like a natural addition. For the cup or so of cooked barley grain I used about a third of the seeds of a pomegranate. Other possibilities that would have a achieved a similar result could have been dried cranberries or Granny Smith apples. I wouldn’t want more than that otherwise the dish would be too busy and the wild onions would recede to the background.

I should make a note about cooking whole grain barley used here. Start in the morning. 1 part barley to 3 parts water. A little salt. Simmer for 30 minutes, lid on. Take off the heat, keep the lid on, and leave it for the rest of the day. It can be used in multiple ways: in soup, salads, as a breakfast grain, a substitute for rice or other grains….

I hope where you are that you can get into some local woods and suss out some wild onions. These are but a few possibilities – there are many more!

Can apples be like onions?

This is an account of our February 22nd pandemic dinner which took an interesting culinary twist.

As usual I had really not much of a clue of what I was going to make for dinner, other than defrosting some chicken parts earlier in the day. What I usually do with chicken is cut off what breast I need, and also a leg. (We have one family member who only likes breast and other family members who don’t care.) I did my usual basic rub where I weigh the chicken and add 1.5% salt by weight and 1.5% sugar by weight (in other words equal parts of each) and then I figure out what else I want to spice it with. I decided to use my pumpkin spice mix. Why not? Let’s try chicken with pumpkin spice! Get that cloves, allspice and nutmeg thing going.

Having done that I next turned my attention to a squash which we had sitting in the fridge needing something to be done with it. My usual squash treatment is to cut it in half, remove the seeds, score the seed cavity, and fill it with butter, maple syrup and cinnamon. This was also a flattish Kabocha squash with a very wide seed cavity. Here I started with the butter, thought that since I had the pumpkin spice out, it might work well here too, and then a splash of maple syrup. Here’s where things got a little interesting. The butter and syrup did not come near to filling the squash so I’m asking “What else can I add? Apple! Why not?” The apple would really nicely complement both the meaty squash and the pumpkin spice mix. A little like bringing back the Fall in February. This is getting interesting! I then thought “What goes well with apple?” How about some cheddar cheese? I found a package of goat cheddar in the fridge and added slices of that as well. Once it was nearly baked I would add some Quinoa I had previously cooked on the top just to heat through.

About this point it occurred to me that perhaps one can make apple work like an onion. Where else can I go with this? The chicken! Beyond the rub I’m still wondering how I’m going to finish it. I knew I would wind up braising it because I was too lazy to do much else. So I cut up some onions, added a little bit of salt and pepper to them (The chicken parts have already been salted) and some butter to saute and caramelize, lid on. At that point I began to think about the apple idea. I had a half Granny Smith level left over from the squash. What if I cut that up fine and pretended it was an onion? That’s what I did. Once the apple and onion had disintegrated into their sweet buttery mushiness, the chicken went on the top. Low heat – 30 minutes – until the chicken had cooked through and the flavors had all come together.

This pandemic dinner had a couple of other parts to it too – a typical ‘leftover’ soup, steamed broccoli, rice and sourdough bread on the side.

So that is how apple became the theme of the dinner and that is how I began this spontaneous inquiry about how apple can function like an onion. Indeed it can! It’s sweet, and when you cook onions they’re sweet as well with a completely different yet complementary flavor. Depending on how much apple you put in you can give a range of dishes anything from a sublime hint of apple to it being a full on part of the flavor profile. Apple is not all you can use in this way. Pear also would work well. I can see this working with fish, pork, lamb, carrot, parsnip, rutabaga, as well as a variety of grains – rice, bulgar, quinoa, couscous… – and that is only what immediately comes to mind.

It also occured to me that I’m hardly the first to think of apples in this way. Check out Mollie Katzen’s Sweet Potato Surprise which does the same apple treatment only with bananas as well.

What a great new tool in my culinary toolbox, hiding all these years in plain sight!

Chocolate mini pots

A few weeks ago I had this dessert challenge. I wanted to come up with a dessert that was fast, chocolaty, delicate, not too sweet, very rich, easy, small portions with nothing left over.

I had a recollection of something like this – and sure enough there were some inspirational ideas in America’s Test Kitchen.

But they weren’t quite what I wanted. Usually the amounts were too big, or they were too complex. What I had in mind was small ramekin sized chocolate pots to serve 3-4 people who are watching their weight, have just had a great dinner, and want a little dessert finisher at the end.

Here is what I came up with that will yield 4 – 3 ounce ramekins.

null

Mise en scene (not including the flour)

Ingredients

  • 1 tbs all purpose flour
  • 1/4 tsp baking powder
  • (you can happily make the recipe without the flour – it will be more moussy)
  • 125g unsalted butter (about 1/4lb butter)
  • 125g semi sweet chocolate (about 4 oz)
  • 1 large egg
  • 1 cup whipping cream with a teaspoon of sugar and a dash of vanilla. You only use 2 tbs in the dessert itself. The rest is for the topping or whatever else you want it for.
  • 1 tsp liqueur – your choice
  • 1 tbs whole milk
  • 1 tsp vanilla

Instructions

  1. Melt the butter and chocolate together. Any way you can. Microwave is fine
  2. Make whipped cream. The whipping is optional, but it will make a difference, as you are adding in air that will make it lighter and somehow silkier
  3. Mix the flour and baking powder together – if you decide to use them. With them, the result is a little more like a cake and without, more moussy.
  4. Whisk together the egg, milk and vanilla and liqueur
  5. Blend in the melted butter and chocolate until fully intergrated
  6. Blend in 2 tbs of the whipped cream
  7. Fold in the flour/baking powder (if you are using them)
  8. Pour into ramekins.
  9. Cooking can vary. Essentially you need to get them to a temperature where the eggs solidify, and it does not matter how you do it. You can zap it in a microwave for 30 seconds at a time until it looks cooked & a toothpick comes out clean – about 1-1.5 minutes. Or you can stick it in a cooling down oven beginning at 375-400. Leave it and let it cook gently. Or you can push the oven to 375, put in the ramekins, turn off the oven. They should be done in 10 minutes. I imagine that 250 for 30 minutes will also work, though I have not tried that yet.
  10. Cool the ramekins down to room temperature or lower.
  11. Add topping as you see fit: whipped cream, icing of your choice, fruit, candied nuts, jam- whatever grabs you.
  12. Other options: add a tbs of your favorite jam to get a fruit flavour.
  13. Also your liquer can change or if you don’t like, omit it. I’ve tried bourbon, brandy, kirsh so far. The main thing is that it should have a distinct flavor. (So no vodka)

Qurs – Our Ethiopian breakfast

Its not often that one has the opportunity to deeply participate in a culture that is not ones own. Unless you are someone like Anthony Bourdain who did it for a living, I would say its extremely rare. I’ve often thought that an ideal personal holiday for me would be to spend a week in the home kitchen of another culture, taking it all in.

I got pretty close on this one, and it felt like a real honour.

Here’s how it all came about.

We’ve known S for a number of years now. She arrived as a teen here in Canada about 30 years ago, but she says she wasn’t taught how to cook in Ethiopia. She was however, very well taught by her friends, relatives and the restaurants she worked in once here. She is now a master of Ethiopian cuisine and has over the years shown me things about heat and spices I never could learn from reading a recipe.

So this past summer, she was staying with us at our place up north on the Bruce Peninsula. She said “I’m going to cook you guys an Ethiopian breakfast.” How exciting! We didn’t even know there was such a thing. My almost immediate response was, “And I’m going to blog about it.”

And so it has come to pass. I took on the role not of someone learning and practicing – that comes later – but of note taking and taking pictures that hopefully capture the technique in the moment. Unlike me, S does not weigh out things. Everything is by feel. She has very finely honed taste and scent buds. She doesn’t need to compare a prior smell or taste, she knows how close or not something is, and usually what to do to adjust it.

For each of us, our way works. If you have read my other blogs, you know that what I’m after is consistency and transferability. If someone 15,000km away from me reads one of my recipes, I want it turn out the same as what I would do, and on the strength of my text and pictures alone.

Ethiopian cuisine is unique in the world. Possibly its a result of the harsh mountainous terrain that separates it from its neighbours and may have led to the development of a more singular and unique cuisine – though there was definitely sharing – importing and exporting of ingredients and ideas. Please check out Harry Kolman’s site on Ethiopian cuisine – its extensive and rich. His is one book I would not mind getting. He also has a blog entry on Ethiopian breakfast!

Nit’ir Qibe

Nit’ir qibe is quite literally the secret sauce that makes all the recipes work. I’ve described it more fully, in my companion blog along with a version that can be made with more commonly available ingredients here.

Kinche

A good breakfast must have its grains, and bulgur is the grain of choice here. The cooking process is the same for any other delicate grain like couscous or white rice: rinse thoroughly to remove starch, add some salt, boil then immediately simmer, lid on. Finally turn off the heat (lid still on) and let the grains fully absorb the water. The difference here is that the nit’ir qibe is added right before serving.

Ingredients

  • 1 cup bulgur
  • 1 3/4 cups water
  • 1 tsp salt
  • 4 tbs nit’ir qibe

Instructions

  1. Rinse bulgur well
  2. Add water and salt to bulgur & bring to a boil uncovered
  3. Reduce heat to lowest, cover, and leave for 20 minutes null
  4. Turn off heat, keep the lid on, and let sit for another 20 minutes
  5. Add 4 tbs of nit’ir qibe.null

Firfir

Firfir is a berbere based stew that is infused into pieces of cut up injera. What’s important in this recipe is the heat and water. My western approach to breakfast was stretched a little here with this very spicy meat dish, but it was a case of ‘twist my rubber arm’.

Ingredients

  • 1 large onion, finely diced
  • 1 lb beef or lamb, chopped into 2-3cm (1″) cubes
  • 2-3 tbs sunflower oil
  • 3 large garlic cloves, minced
  • 3 tsp minced ginger , minced
  • 10 tbs berbere
  • 1 tbs salt
  • 2-3 c water
  • 2 tbs nit’ir qibe
  • 2-3 injera

Instructions

  1. Finely dice a large onion and put in a 4 or so litre pot on the stove. Cook dry on a medium heat for 3-4 until the onions begin to soften – but not burn.
  2. Cut 1 lb beef or lamb in 2-3cm (1″) cubesnull
  3. Add garlic, ginger and sunflower oil. Cook stirring on a fairly hot heat to disintegrate the onionsnull
  4. Add berbere, adding a little water as needed to prevent sticking. Keep stirring for 5 to 10 minutes. If you cook the berbere longer it’s taste will infuse into the onion and it will also lose heat.
  5. After 10 minutes of cooking and stirring, add meat, and continue stirring for a further 10 minutesnull
  6. Add 2-3C water and 1 tbs salt, bring it to a simmer, and cover it. null
  7. As it is simmering, tear up injera into the bowl you will be serving this dish in. It should be about 10-12″ (25-30cm) wide. These should be in strips big enough that you can use them to pick up a bite of food with your fingers – about 6-8″.null
  8. After 30 minutes of simmering, raise the heat with the lid still on, and add 2 tbs of the nit’ir qibe. Cook, stirring on this higher heat for a few more minutes.
  9. Work the meat mix gently into the injera pieces and servenull

Chechebesa

This is a very addictive carb dish. The ingredients speak to that: flour, salt and qibe

Ingredients

  • 400g (3 cups) all purpose flour
  • 8g salt (1 tsp) – 2% of the flour
  • 240g water (1 cup) In other words a 60% hydration dough.
  • 3 tbs berbere
  • 3 tbs nit’ir qibe
  • small bowl of water on the side

Instructions

  1. Make a dough with the flour, water and salt. Once fully combined and kneaded, separate into 3 balls and let rest for a few minutes
  2. Heat a cast iron frying pan to a high temperature. Flatten the balls using the palm of your hand. It should be about 1/4″ 6-7mm thick. turn itnull
  3. Place the dough in the hot pan and press it out as much as you can. Dip your fingers in the water and continue pressing it out. Fip it several times. It should be about 1/4″ 6-7mm thick. turn it to cook evenly on both sides, until you see brown flecks on both sides. Check this video to see the technique.
  4. Once it has cooled, tear into bite sized pieces
  5. Melt 3 tbs of nit’ir qibe and add 3 tbs berbere
  6. Work the berbere & spiced butter mix into the torn up bread and serve

Enqulale firfir (scrambled eggs)

I really love this wonderfully spicy take on scrambled eggs. Note the treatment of the Jalapenos – the flesh only. The seeds can be saved and used in something else hot.

Ingredients

  • 1 small onion chopped fine
  • 1 large tomato in small chunks
  • 2 jalapenos, no seeds
  • 4 cloves garlic
  • 4 large eggs
  • 1 tbs nit’ir qibe

Instructions

  1. Chop the onion finely
  2. Cut the tomato into small chunks
  3. Remove the seeds from the jalapenos and cut coarsely dice
  4. Dice or press the garlicnull
  5. In a cast iron pan, sautee onion, garlic, jalapeno and tomato in the nit’ir qibe until the onions are translucent.
  6. Beat 4 eggs and add to the sautee. Stir a little, taste for salt, turn off the heat, and cover.

null

And here is our final result. A truly spectacular cottage brunch!

null